My
I purchased my
You may have wondered about that
funny little white box on the table next to the
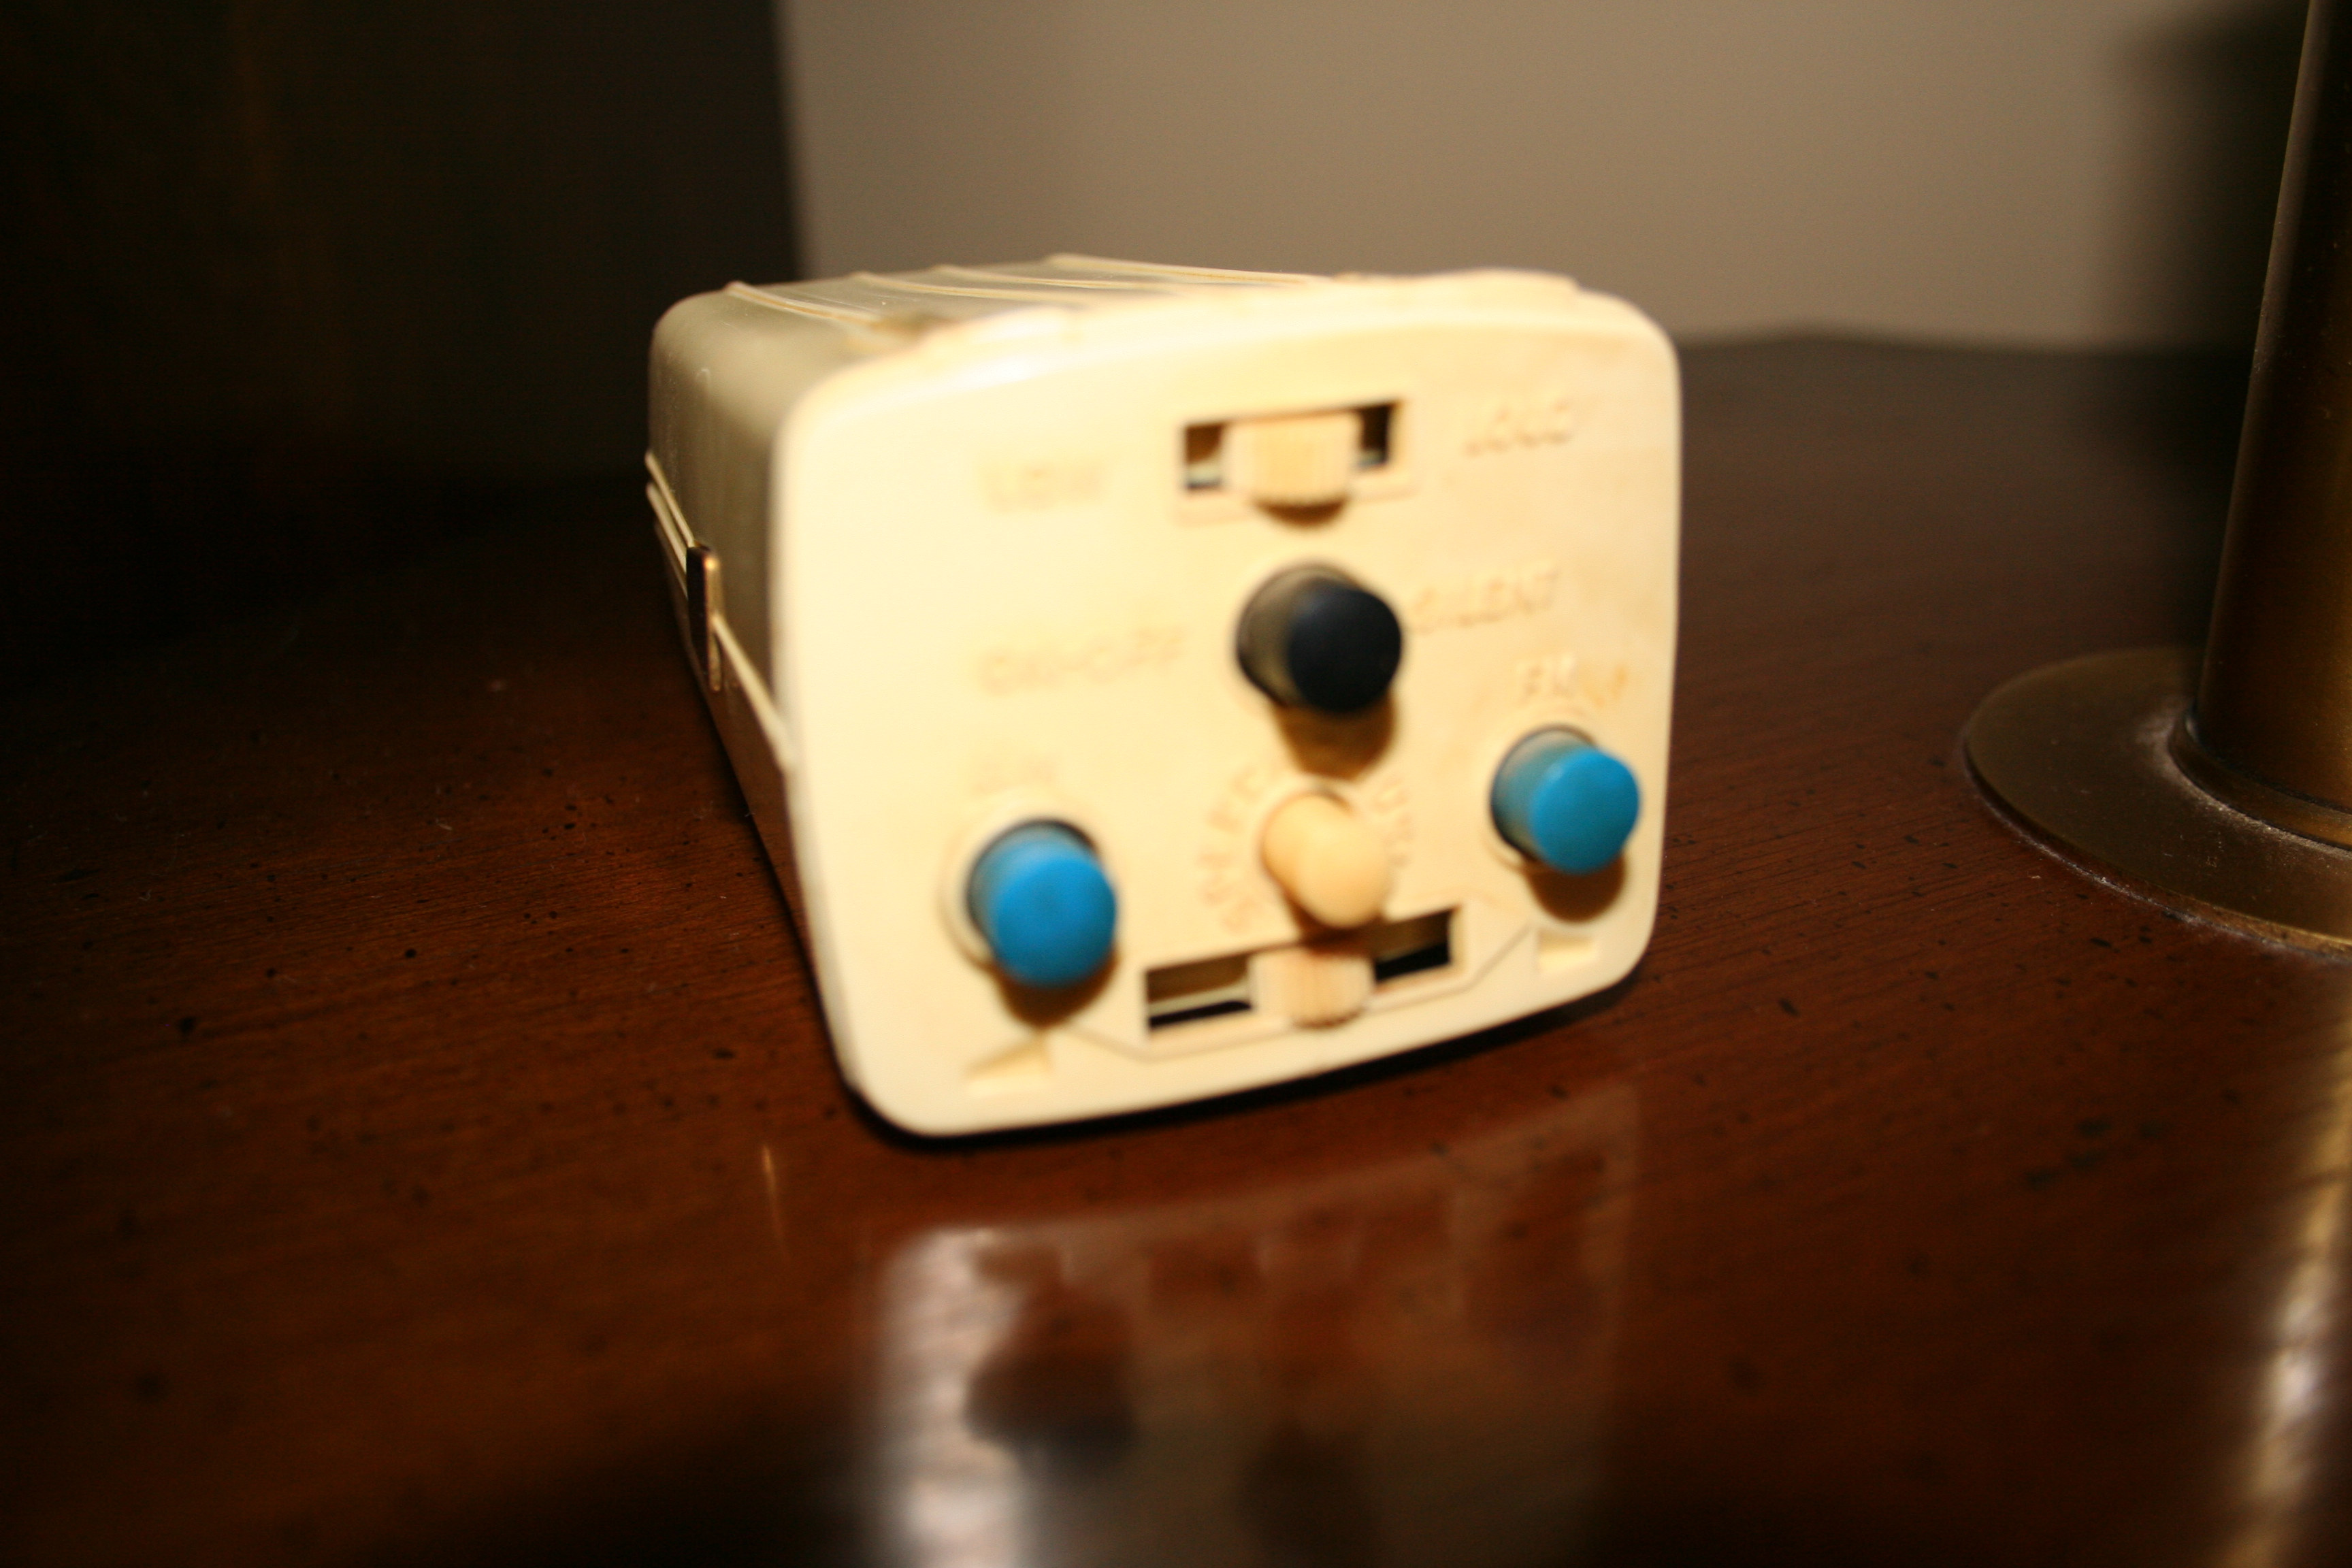
The top slide lever is for the
volume. The black button below that
serves as the on/off switch and for muting. Directly below it is a button to
alternate between a speech and music sound setting. The blue buttons on the left side
selects AM and the one on the right selects FM. Yes, this is a German radio and yes, it
does include the marine band and a short wave band. But only AM and FM are selectable using
the remote control. The slide lever
on the bottom starts the automatic channel search down or up. On the top are two indicators, one for
music and the other for speech. The
active setting is lighted when the stereo is on. The
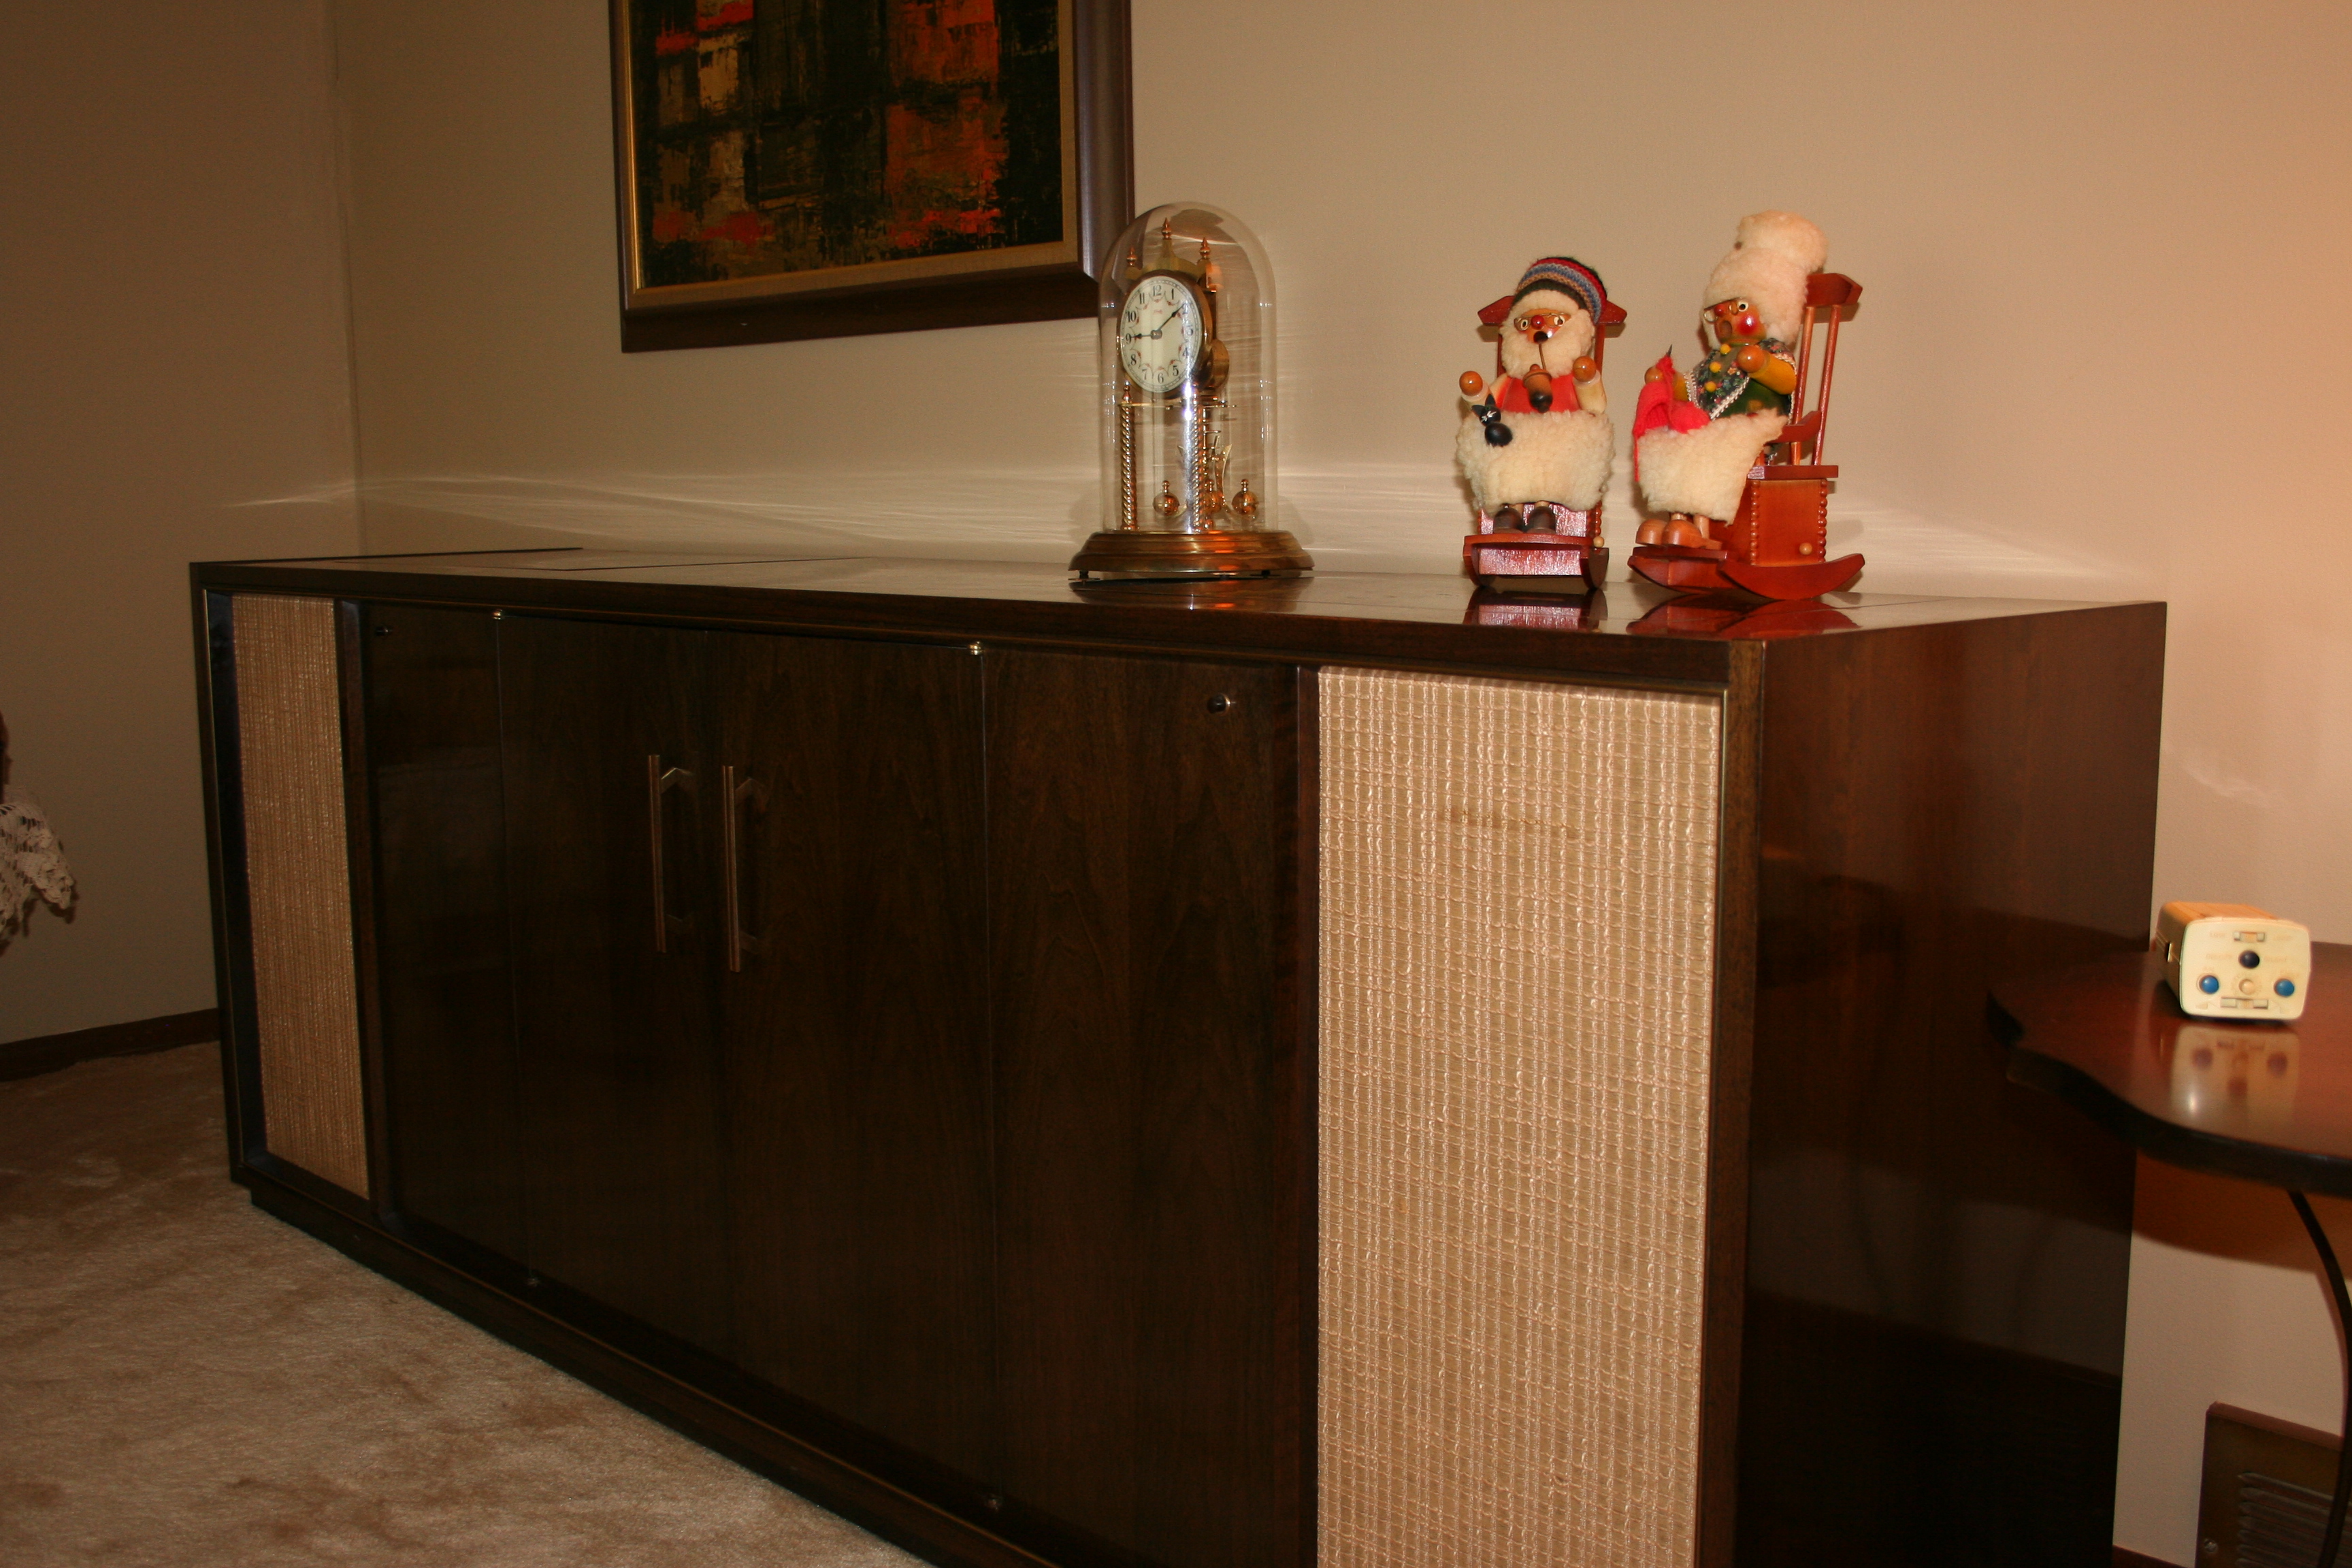
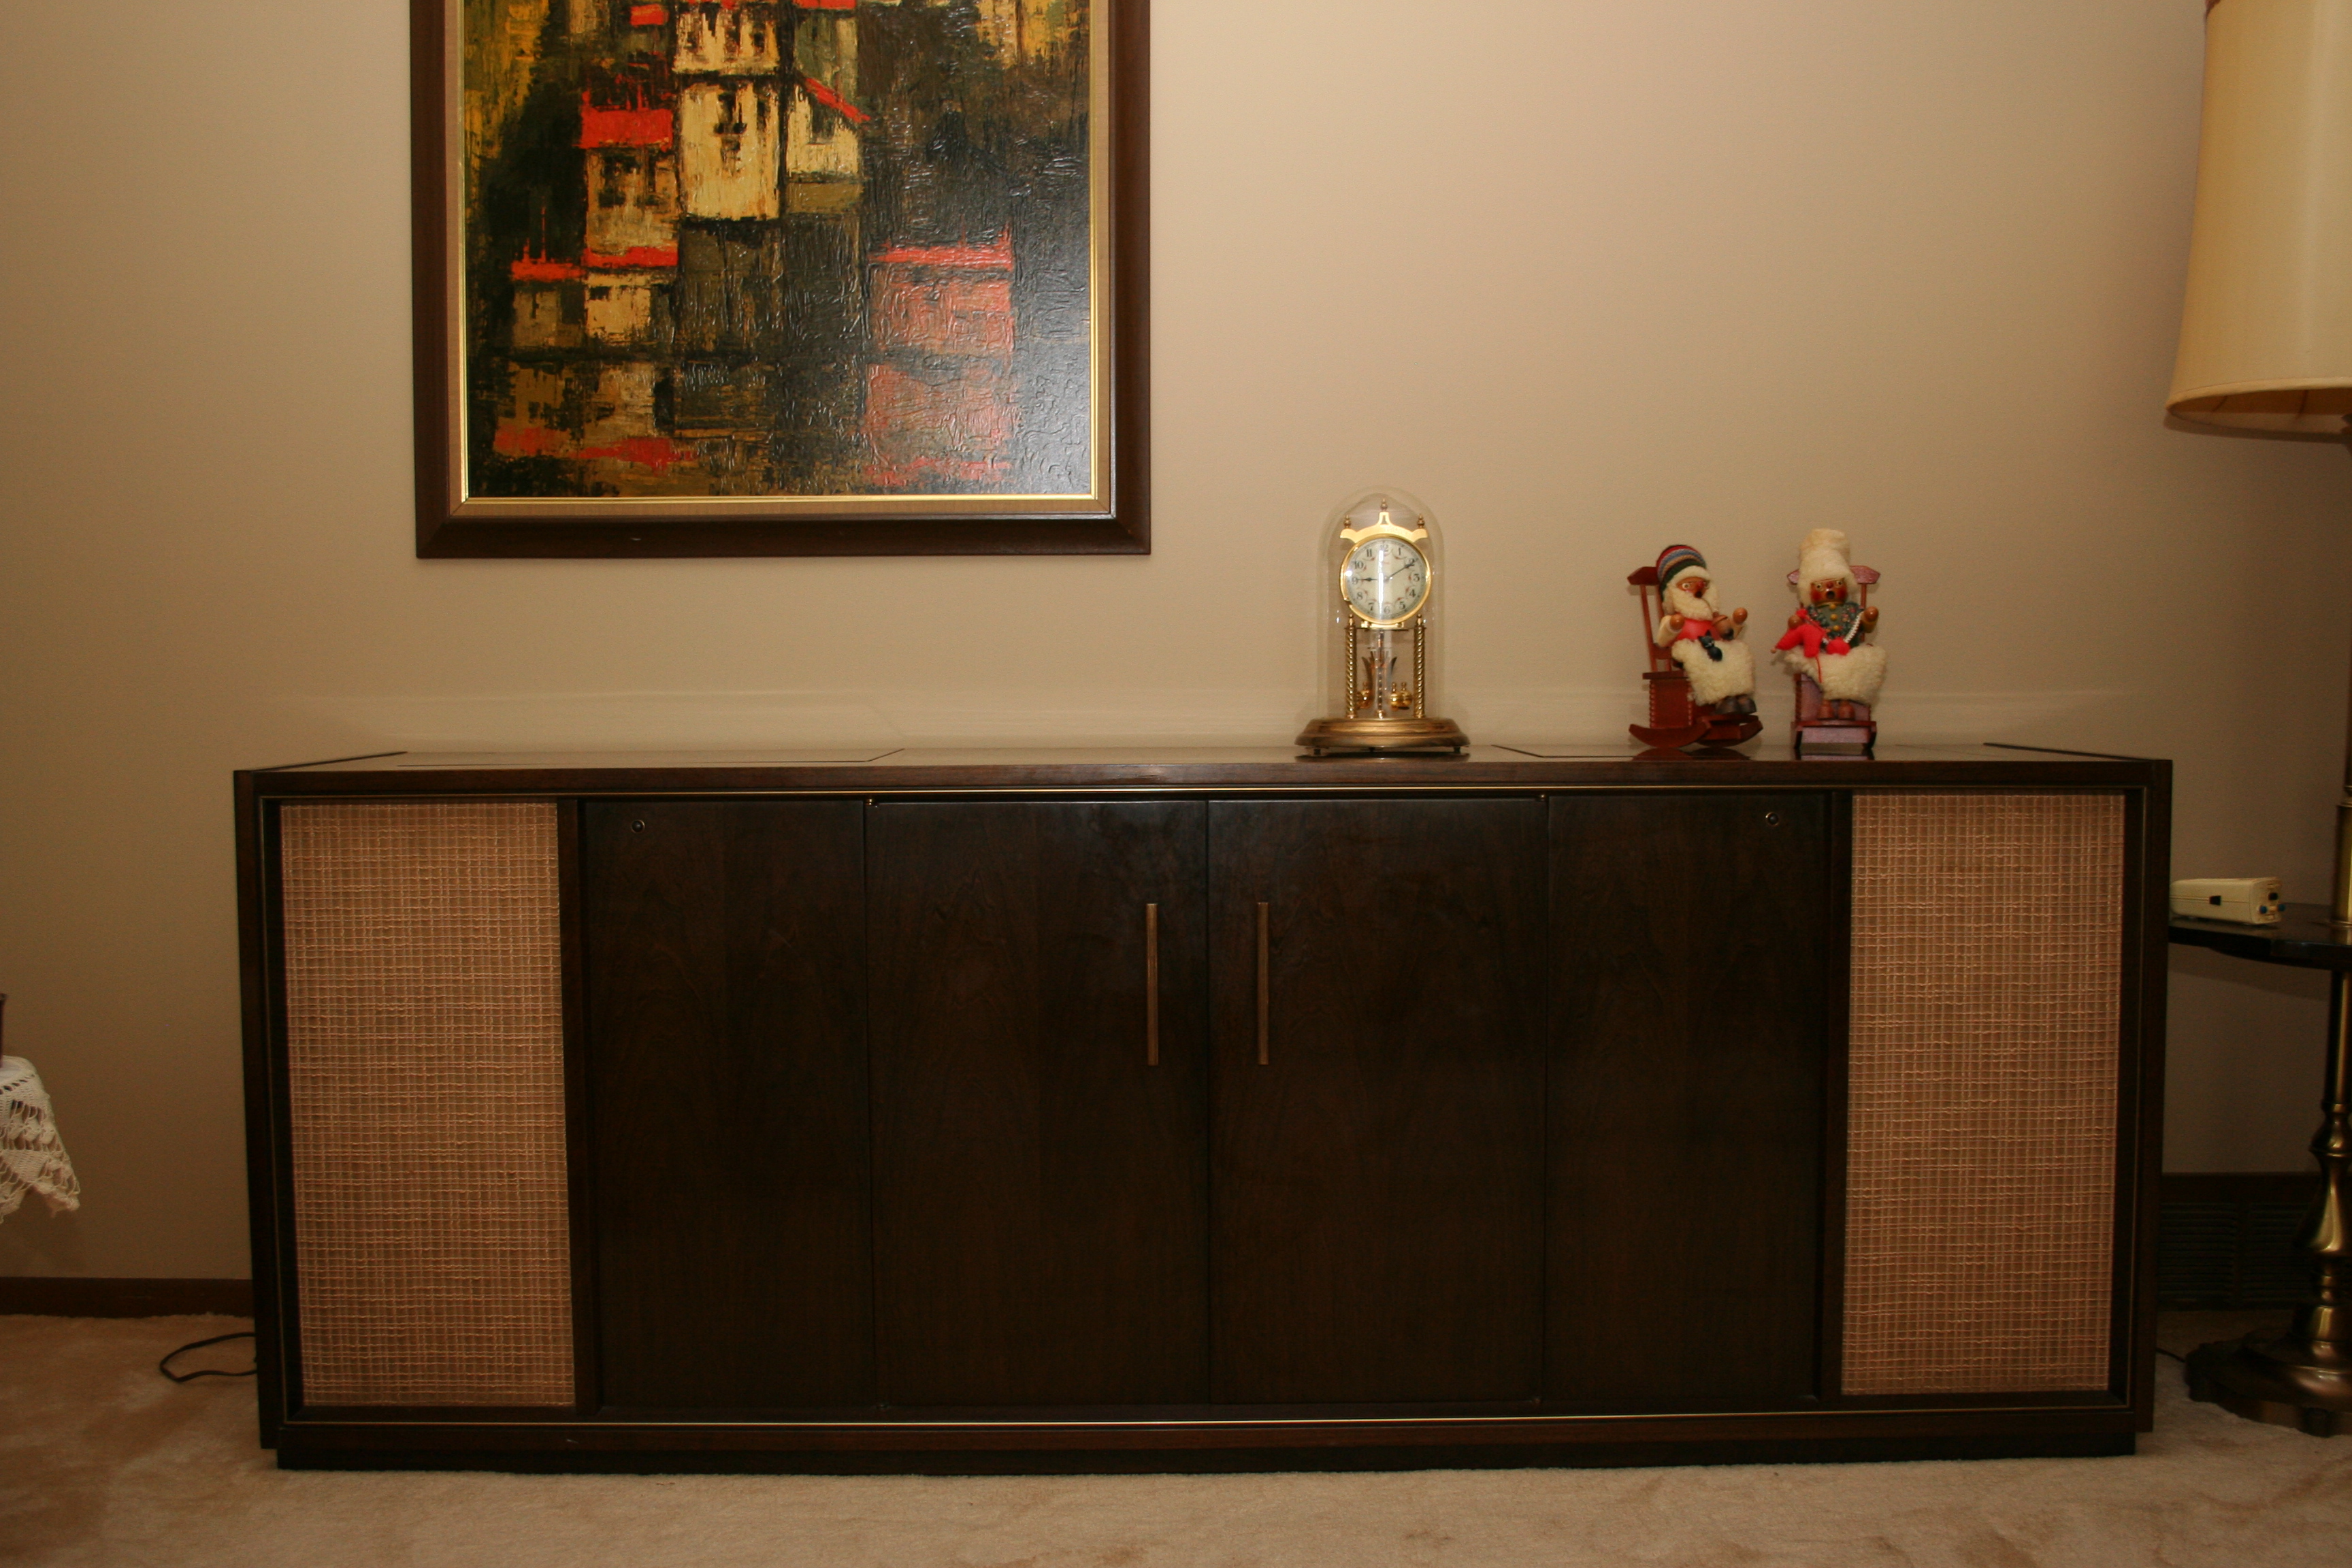
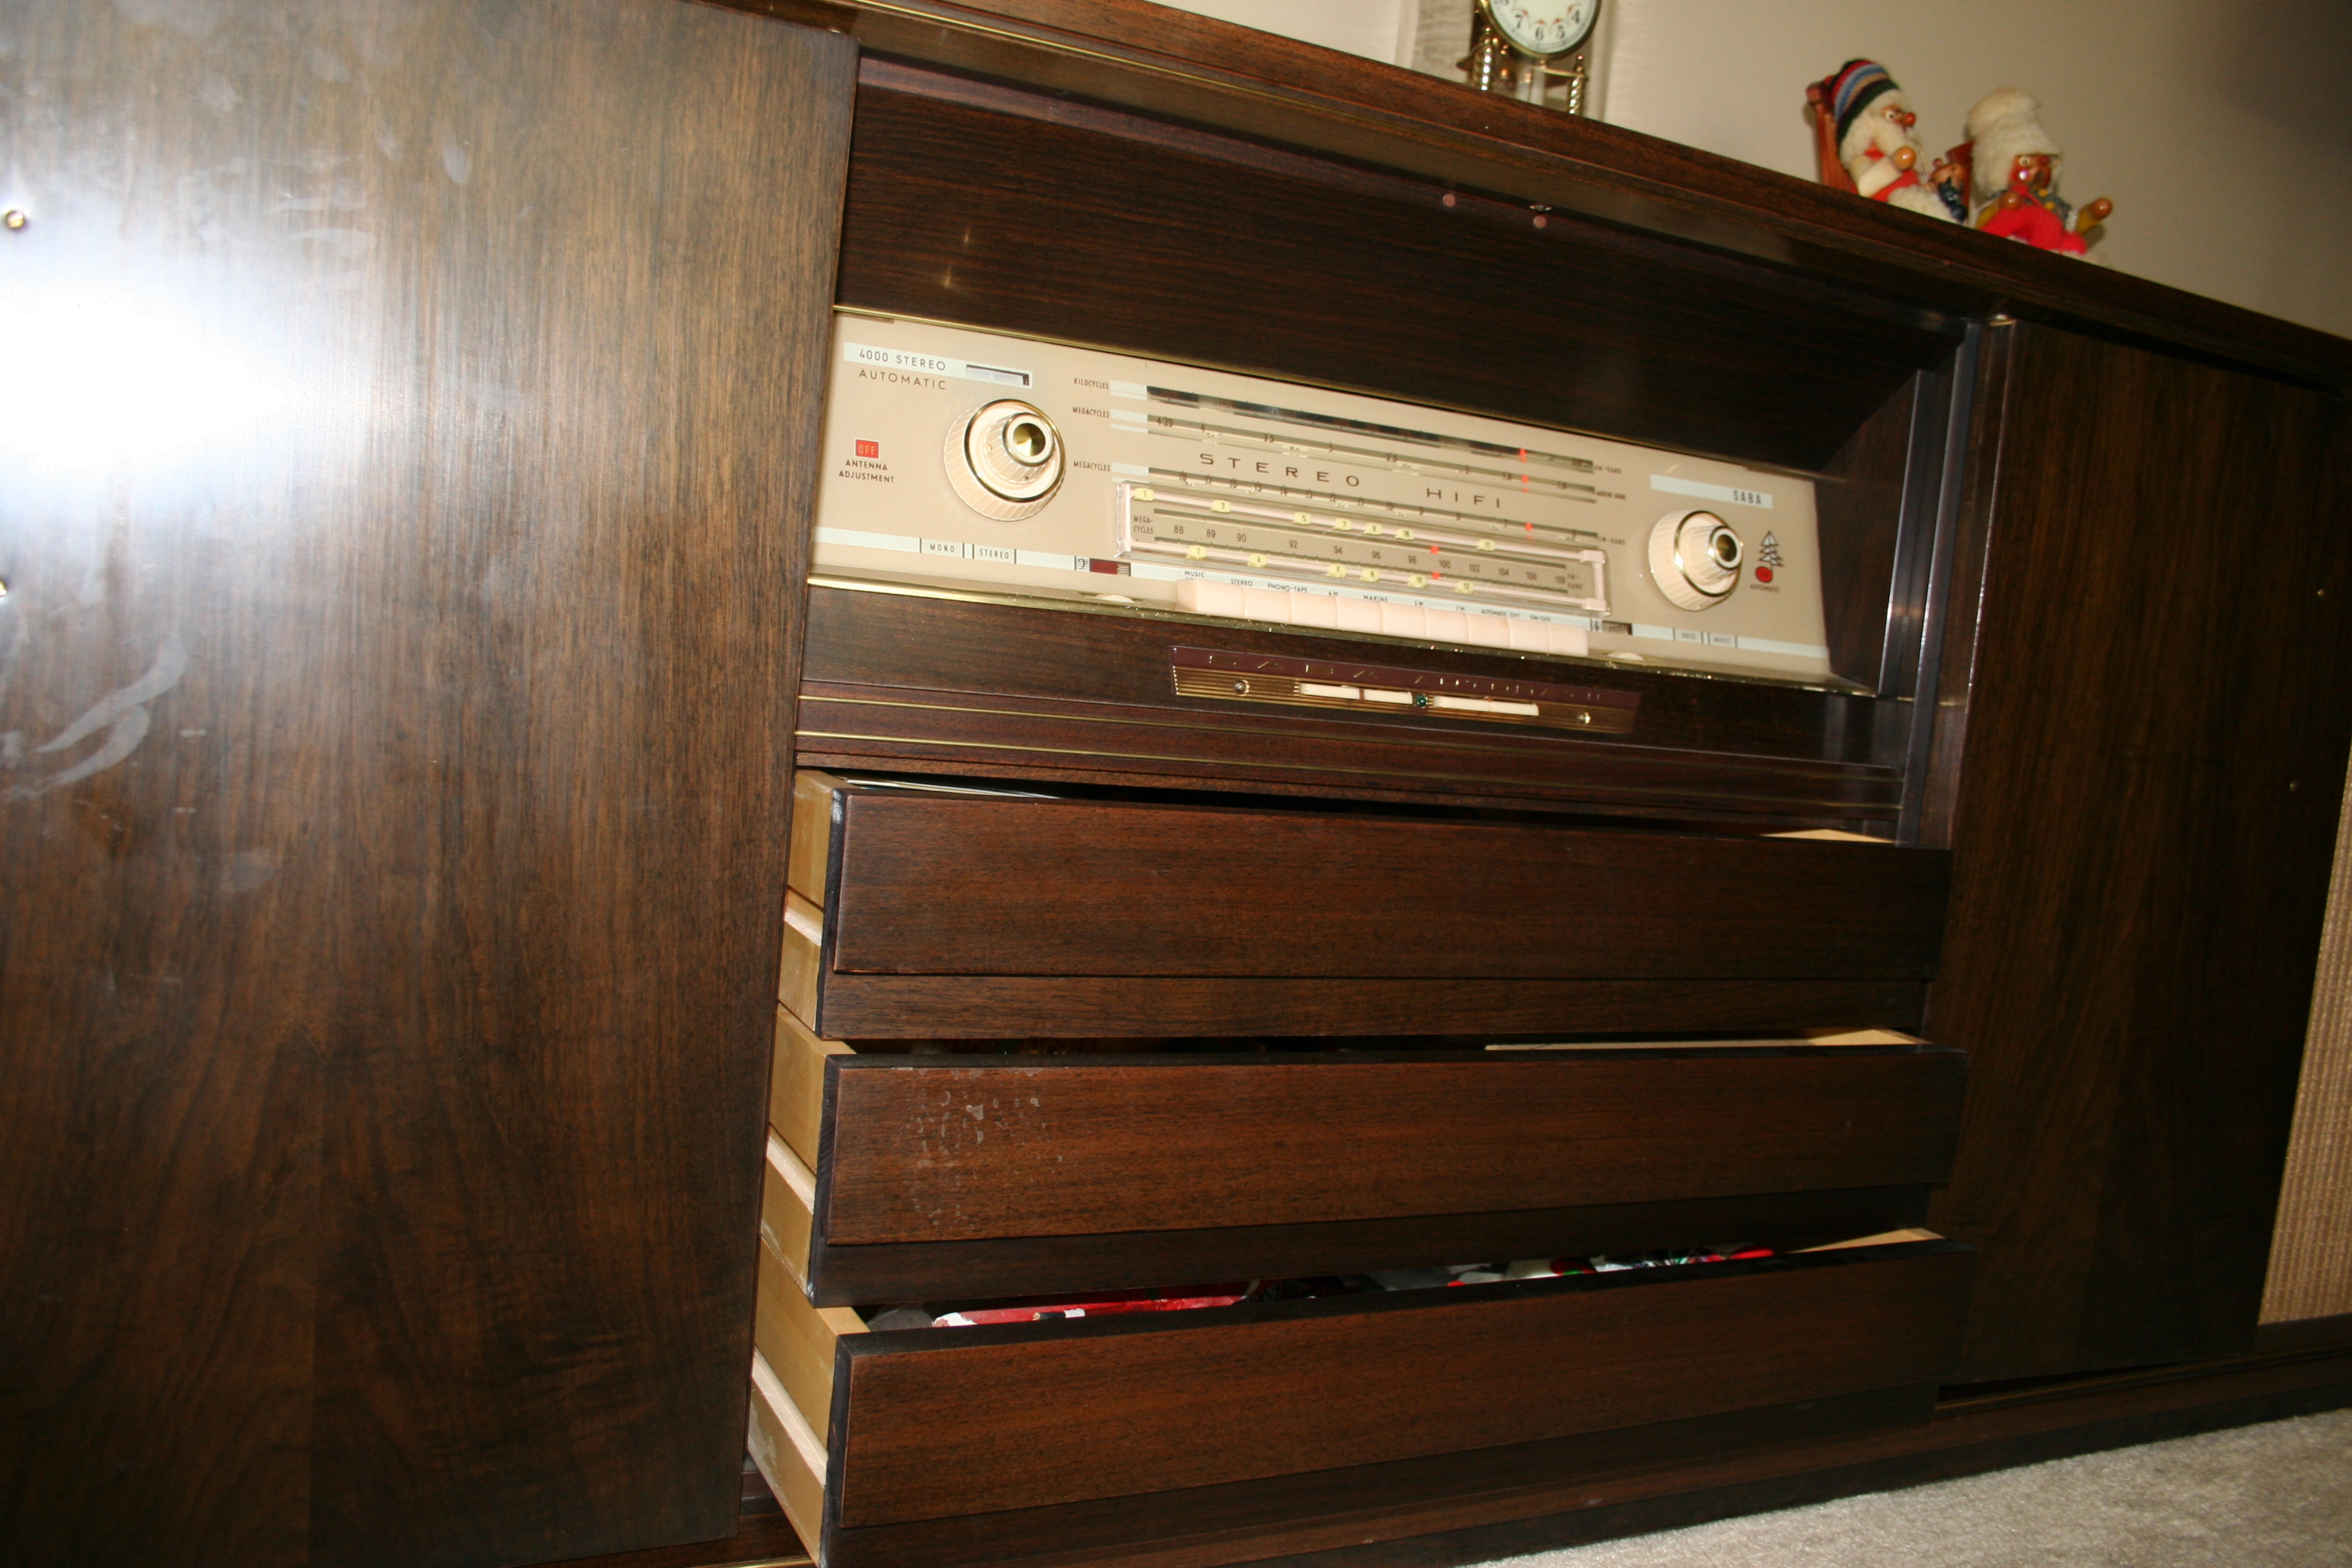
Okay. Heres a shot of the whole 24
feet.
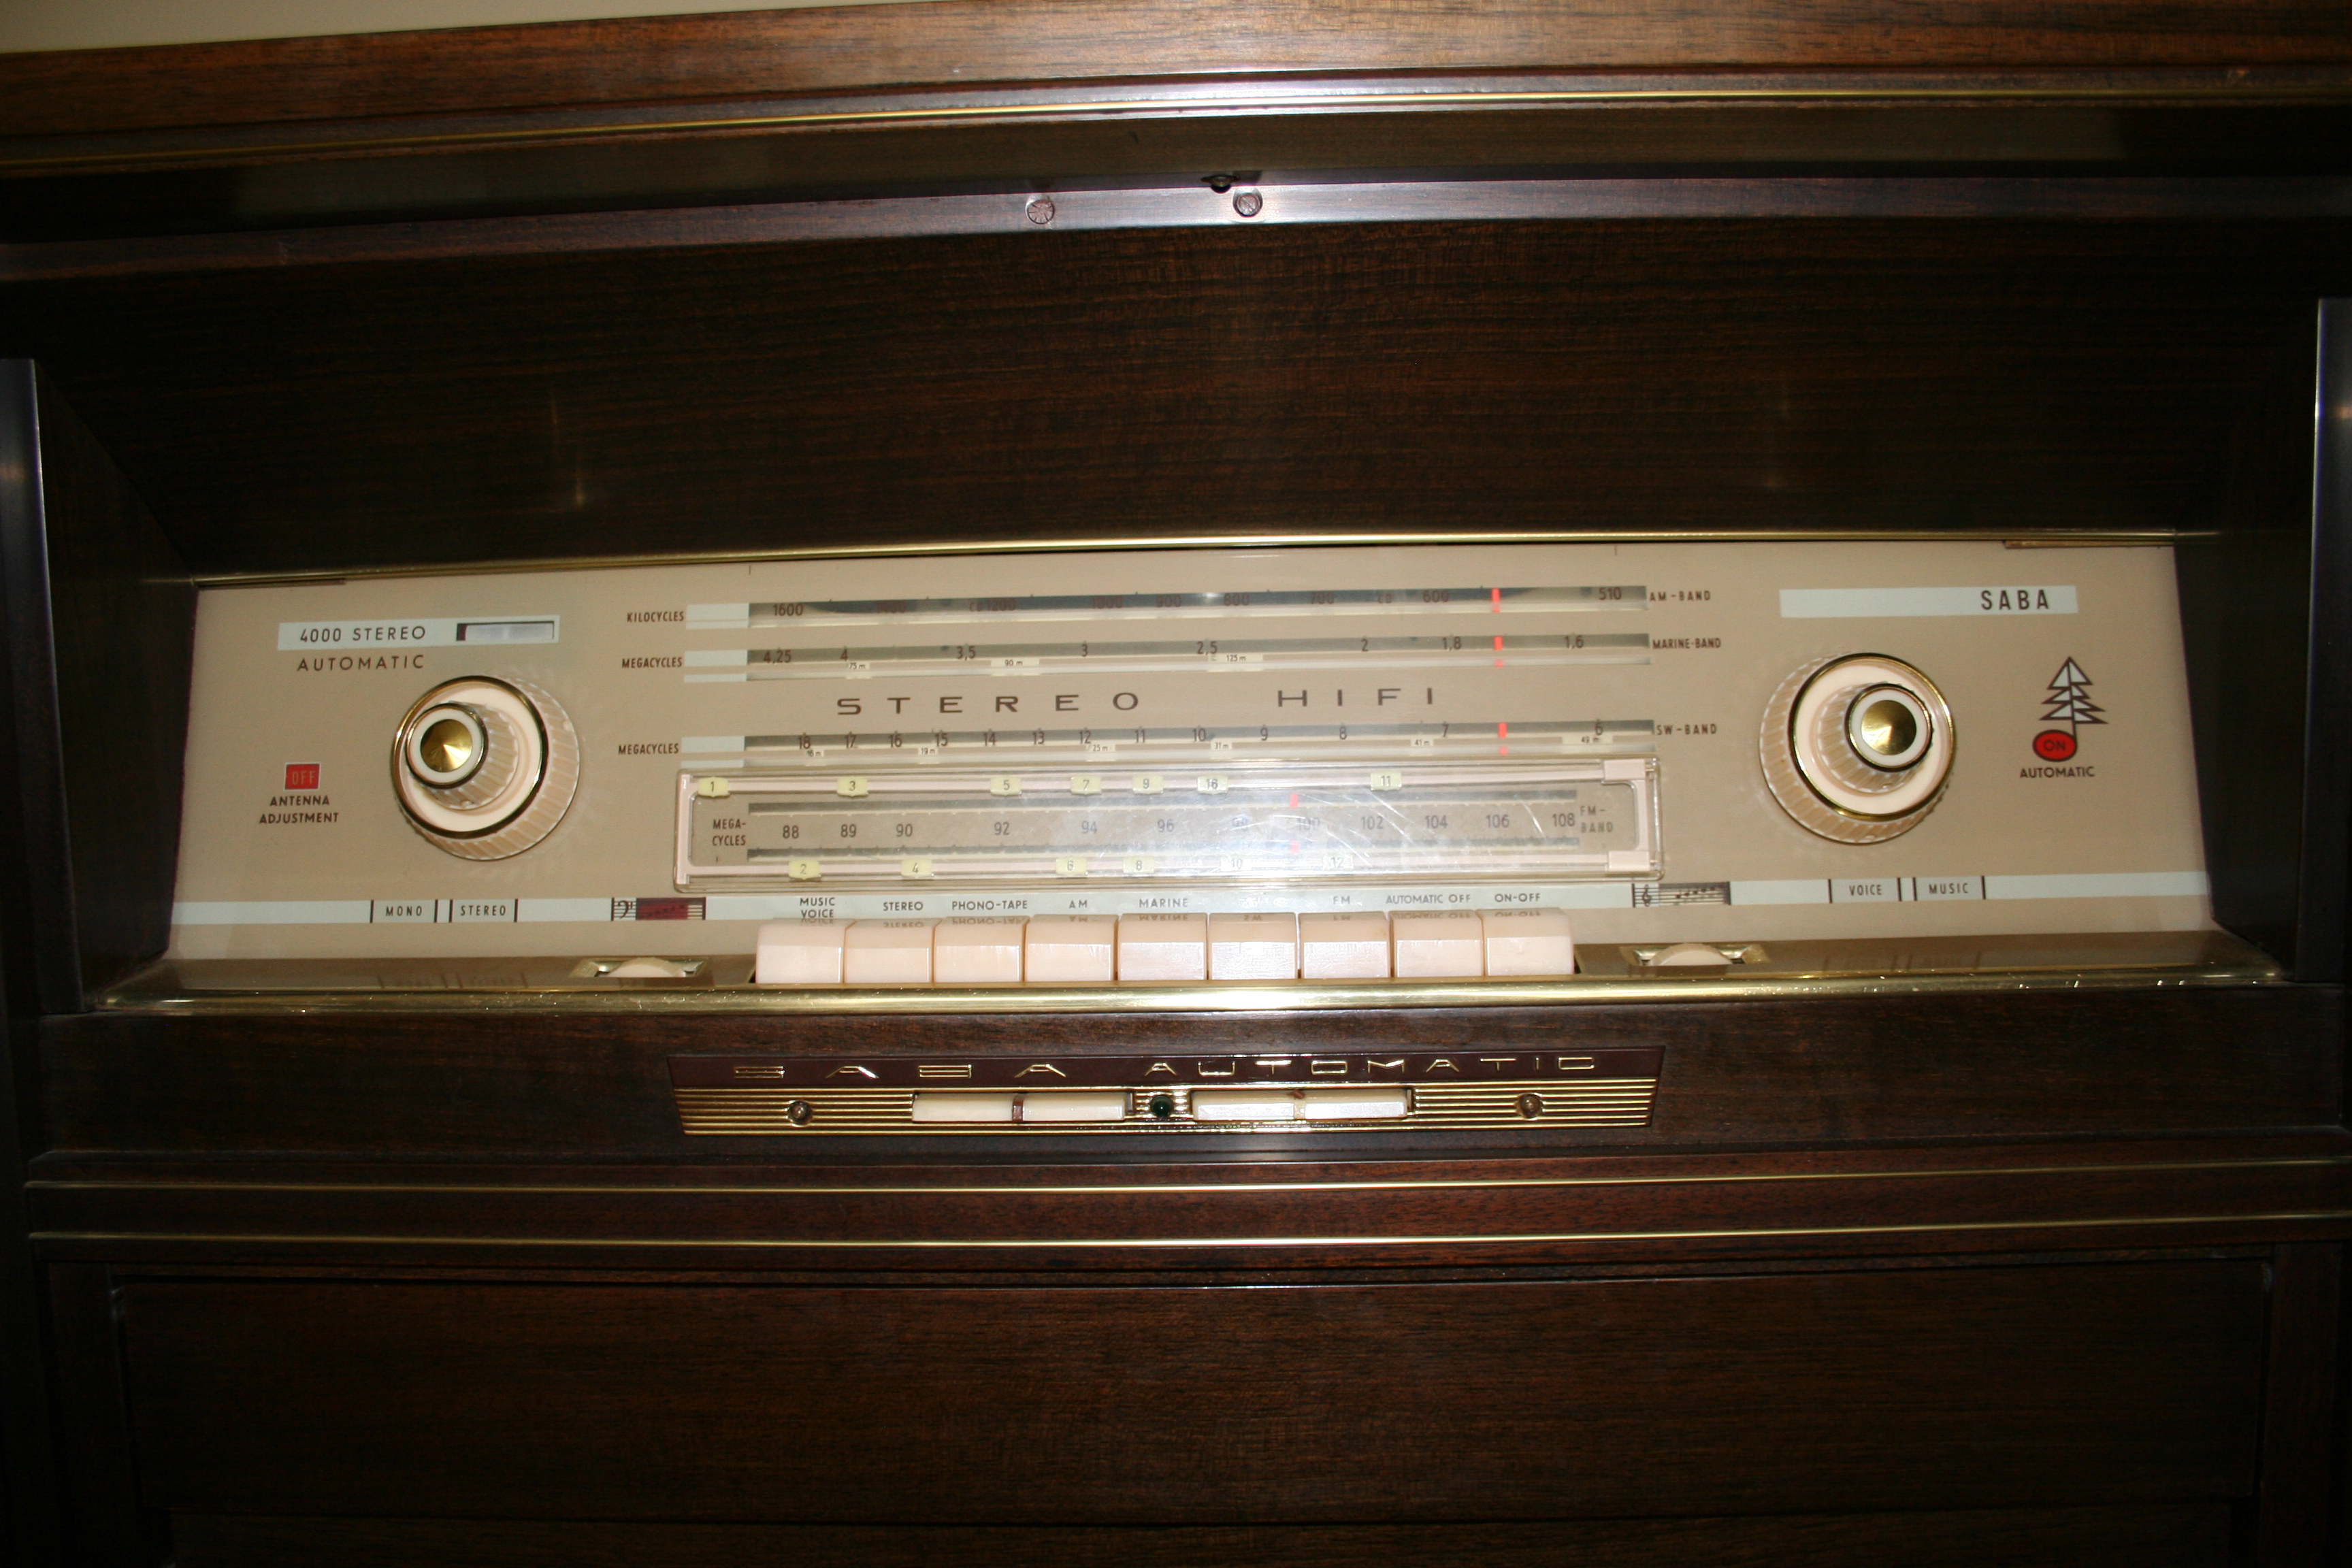
Next is a picture of the center of
the
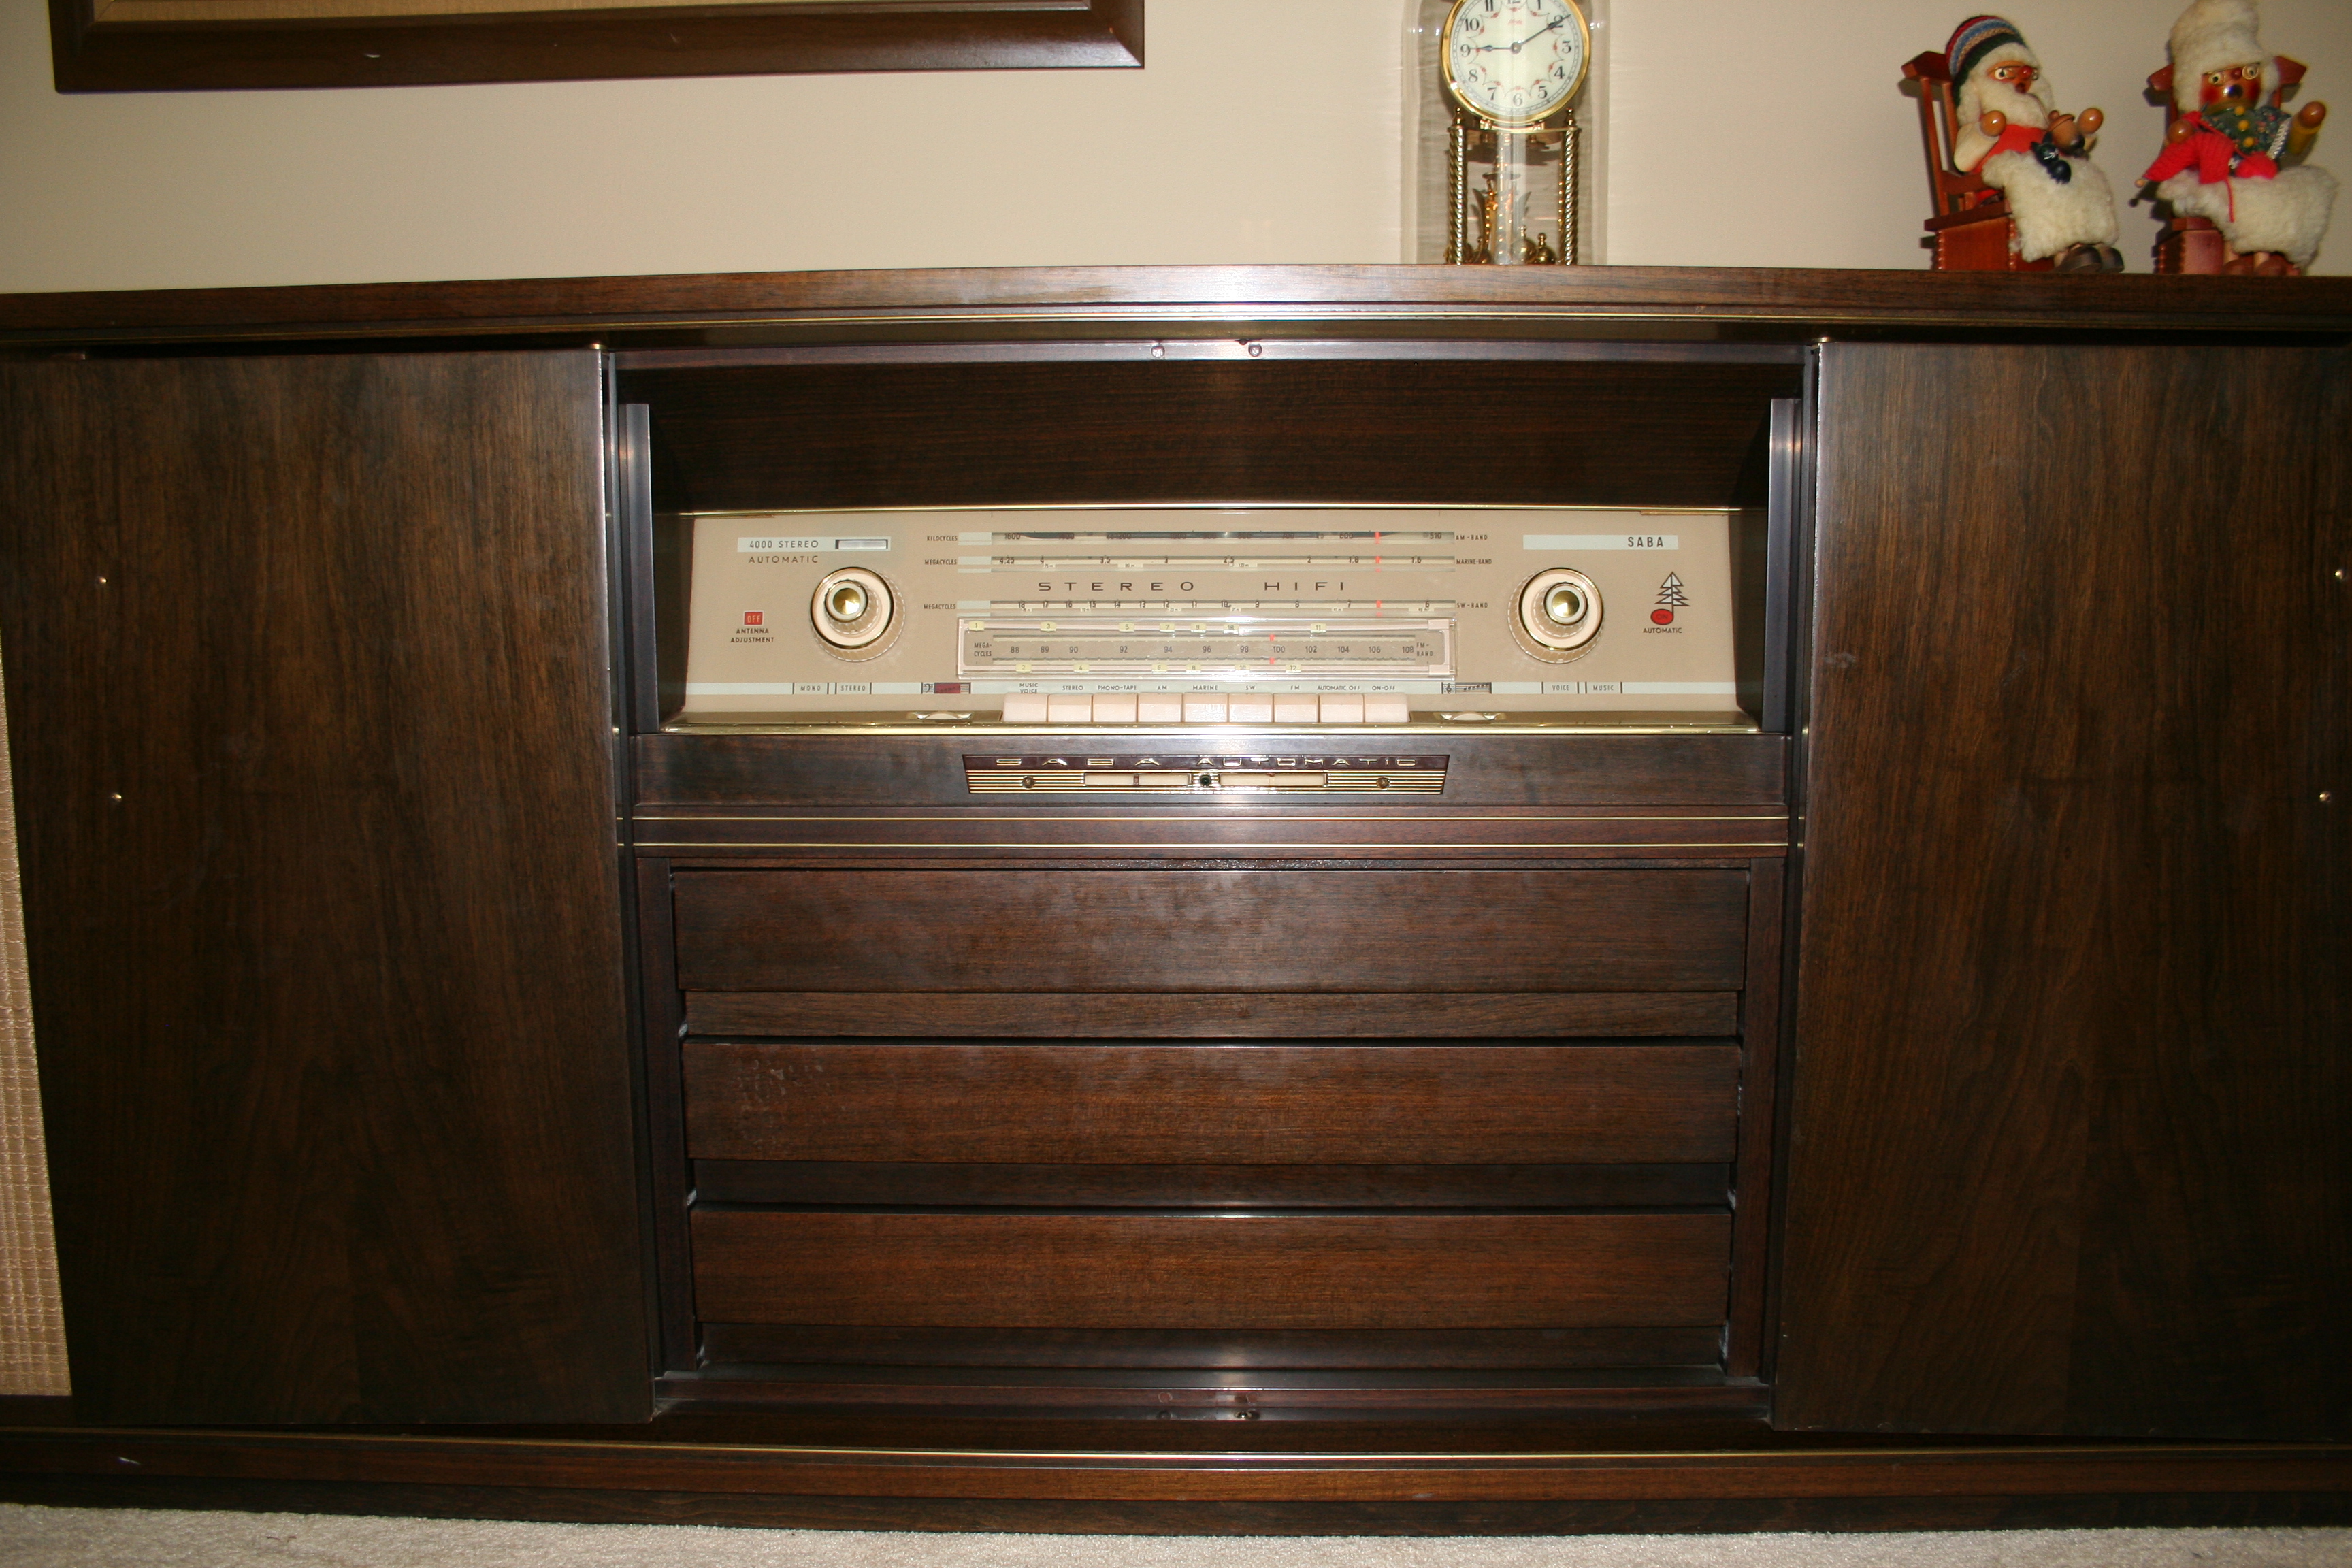
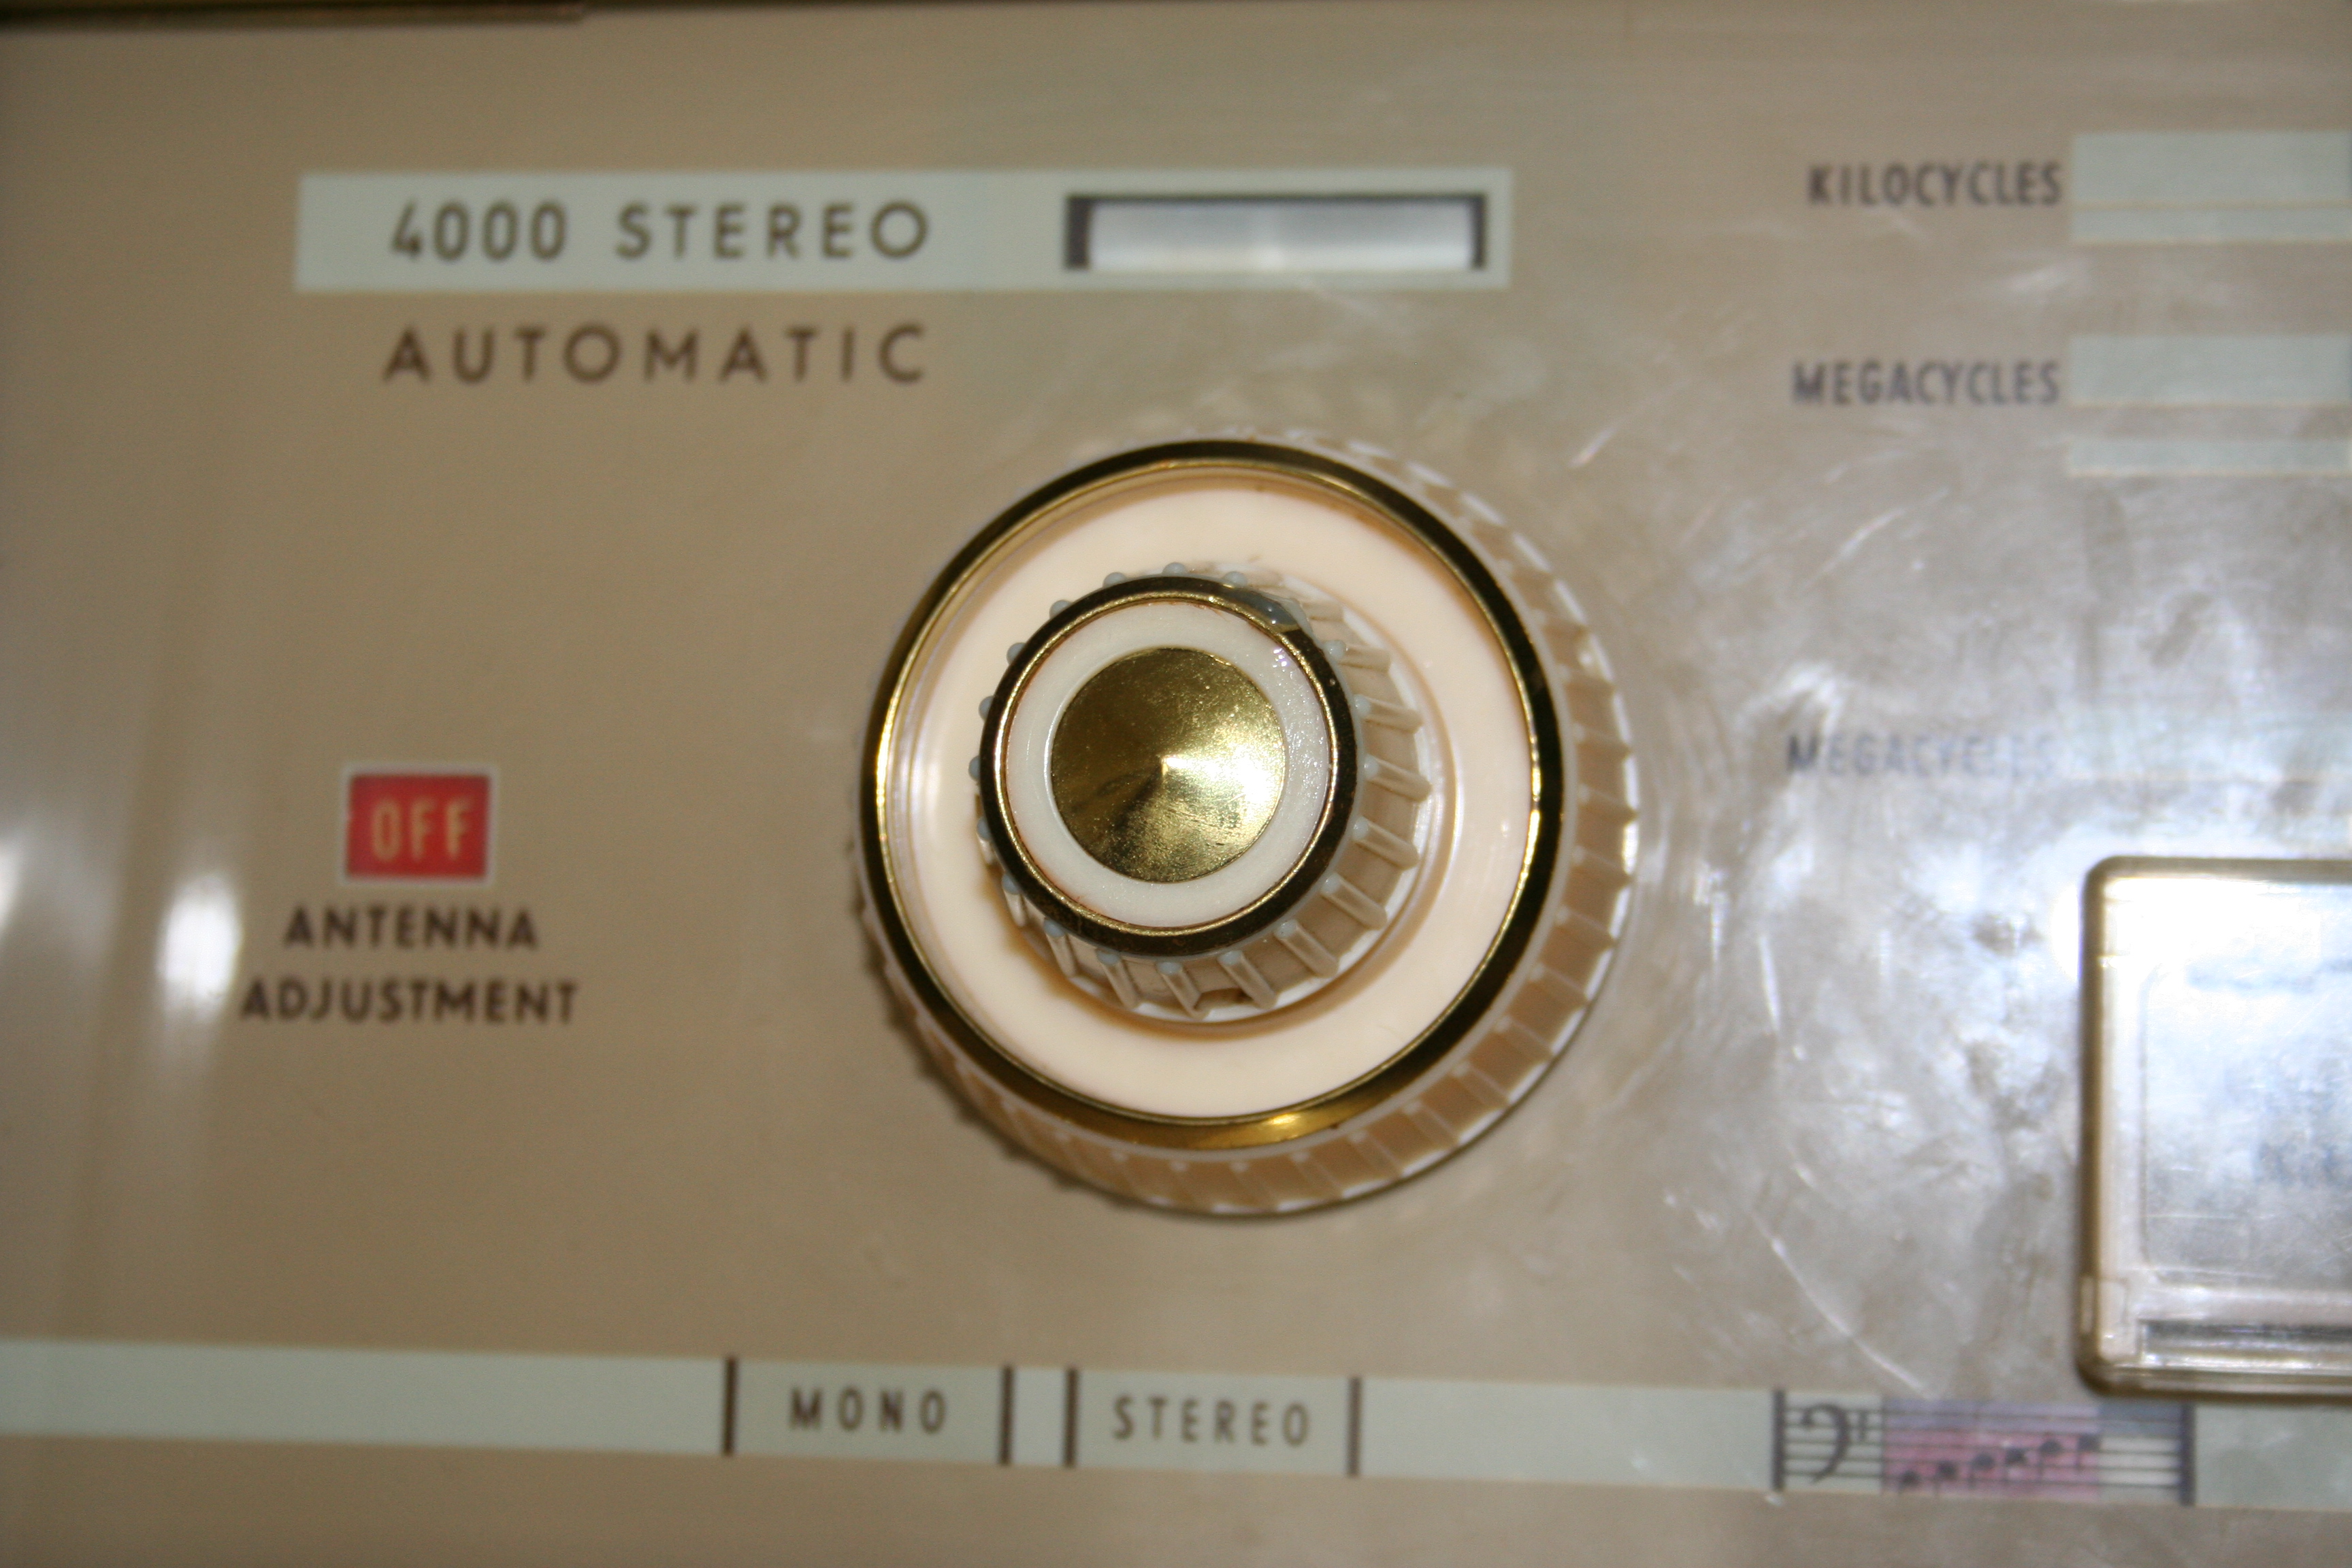
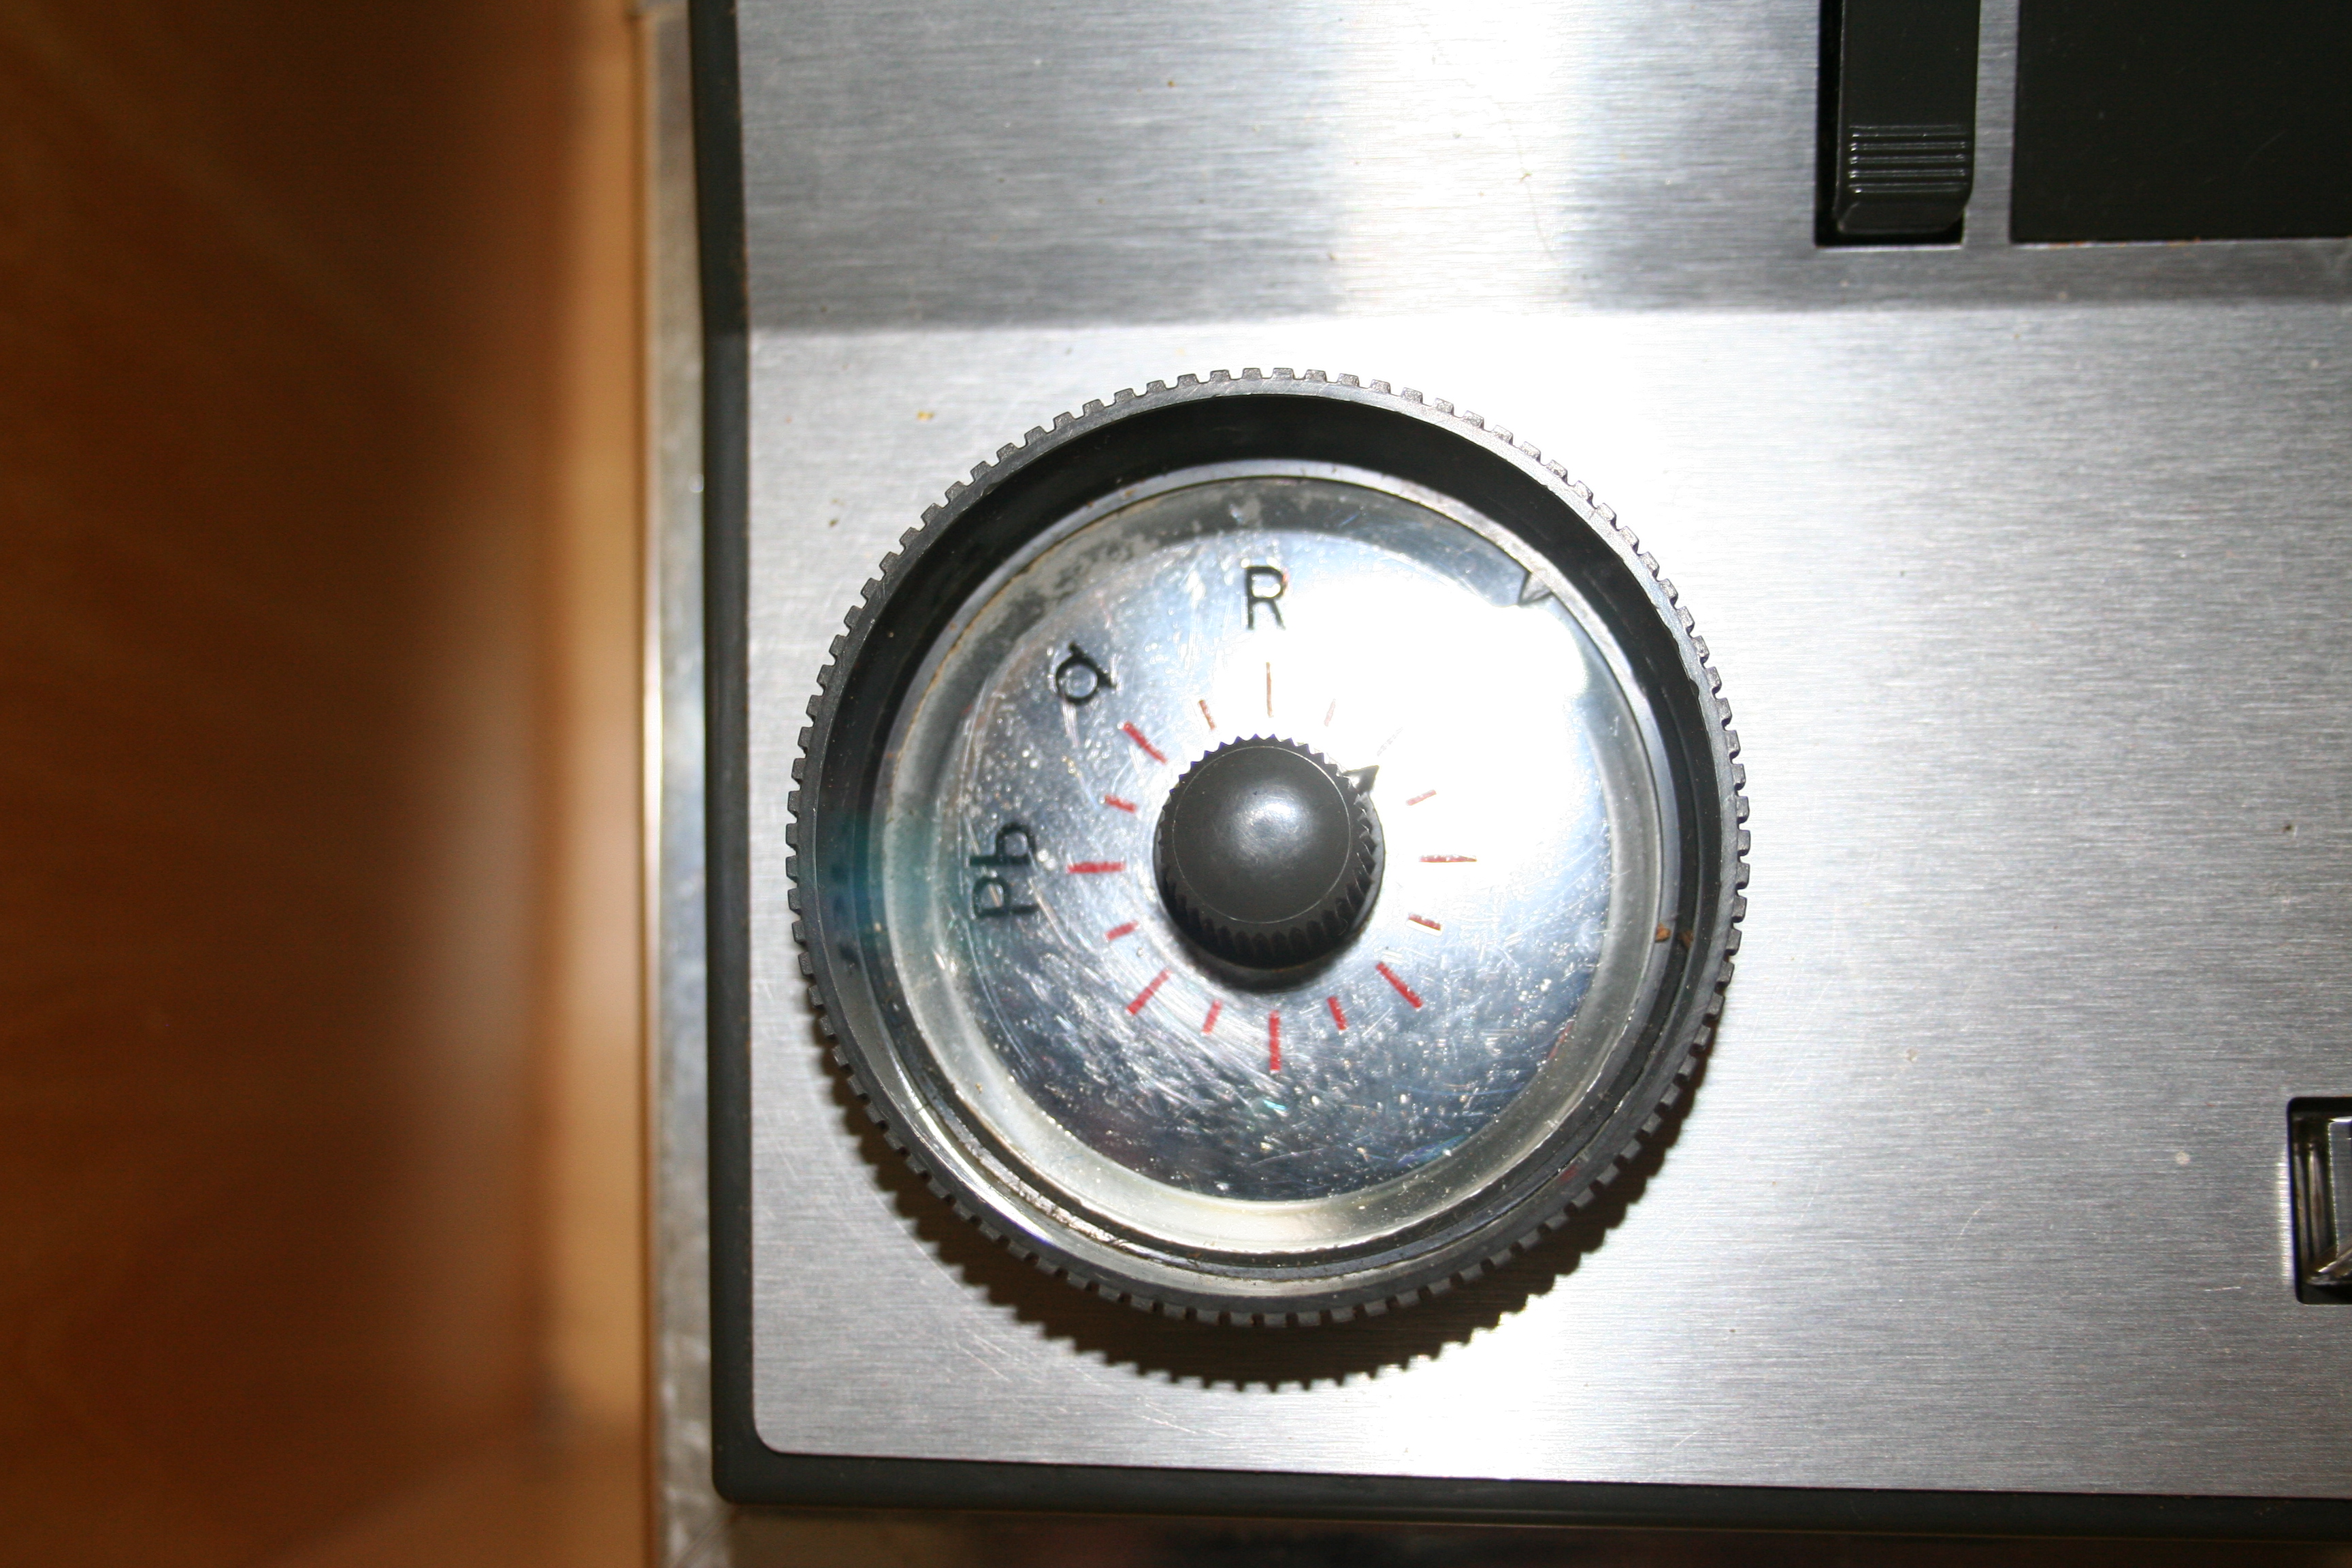
This picture of the left side of the
control panel shows the volume knob (inner ring) and the antenna trimming
adjustment (outer ring). Above the
knob is a signal strength indicator to assist in fine tuning. Because the volume knob is motorized to
accommodate the remote control, it takes a little more effort to turn it than
one might expect. The same is true
of the tuning knob, but only when the automatic tuning feature is turned
on.
The ivory buttons, reading from left
to right, are labeled Music-Voice, Stereo, Phono-Tape,
AM, Marine, SW, FM, Automatic Off, On-Off.
To the left of the ivory buttons is a bass adjustment knob with a
mechanical indicator above identified by a bass clef. On its
left are indicator lights for Mono and Stereo. A treble adjustment knob is on the right
side of the ivory buttons with its indicator identified by a treble clef. To the right of it are indicator lights
for Voice and Music.
The AM, marine, and short wave bands
share one indicator and the FM band has its own. An interesting detail is the small white
frame around the FM scale. It is
covered by clear plastic and can be removed so the owner can use the numbered
slides to mark favorite stations.
The top row of slides is close enough to the AM, marine, and short wave indicator to mark those
favorites. Slides from either row
can mark FM stations.
The tuner knob on the right has only
function. The center and outer
rings move together. To its right
is a lighted indicator for the state of the automatic tuning
feature.
This next photo shows the legs for the unit. As you can imagine, they are quite
sturdy. They have never been used
because I thought it changed the look of the 4000 to more of a 50s retro
look.

The
barely noticeable small button just to the right of the top of the left speaker
section releases a spring loaded lever to open the turntable enclosure. The white button in the front left
corner controls a light for the compartment. Alas, the bracket that holds the shade
for the light is broken, but I do still have the shade. There is a short spindle, a taller one
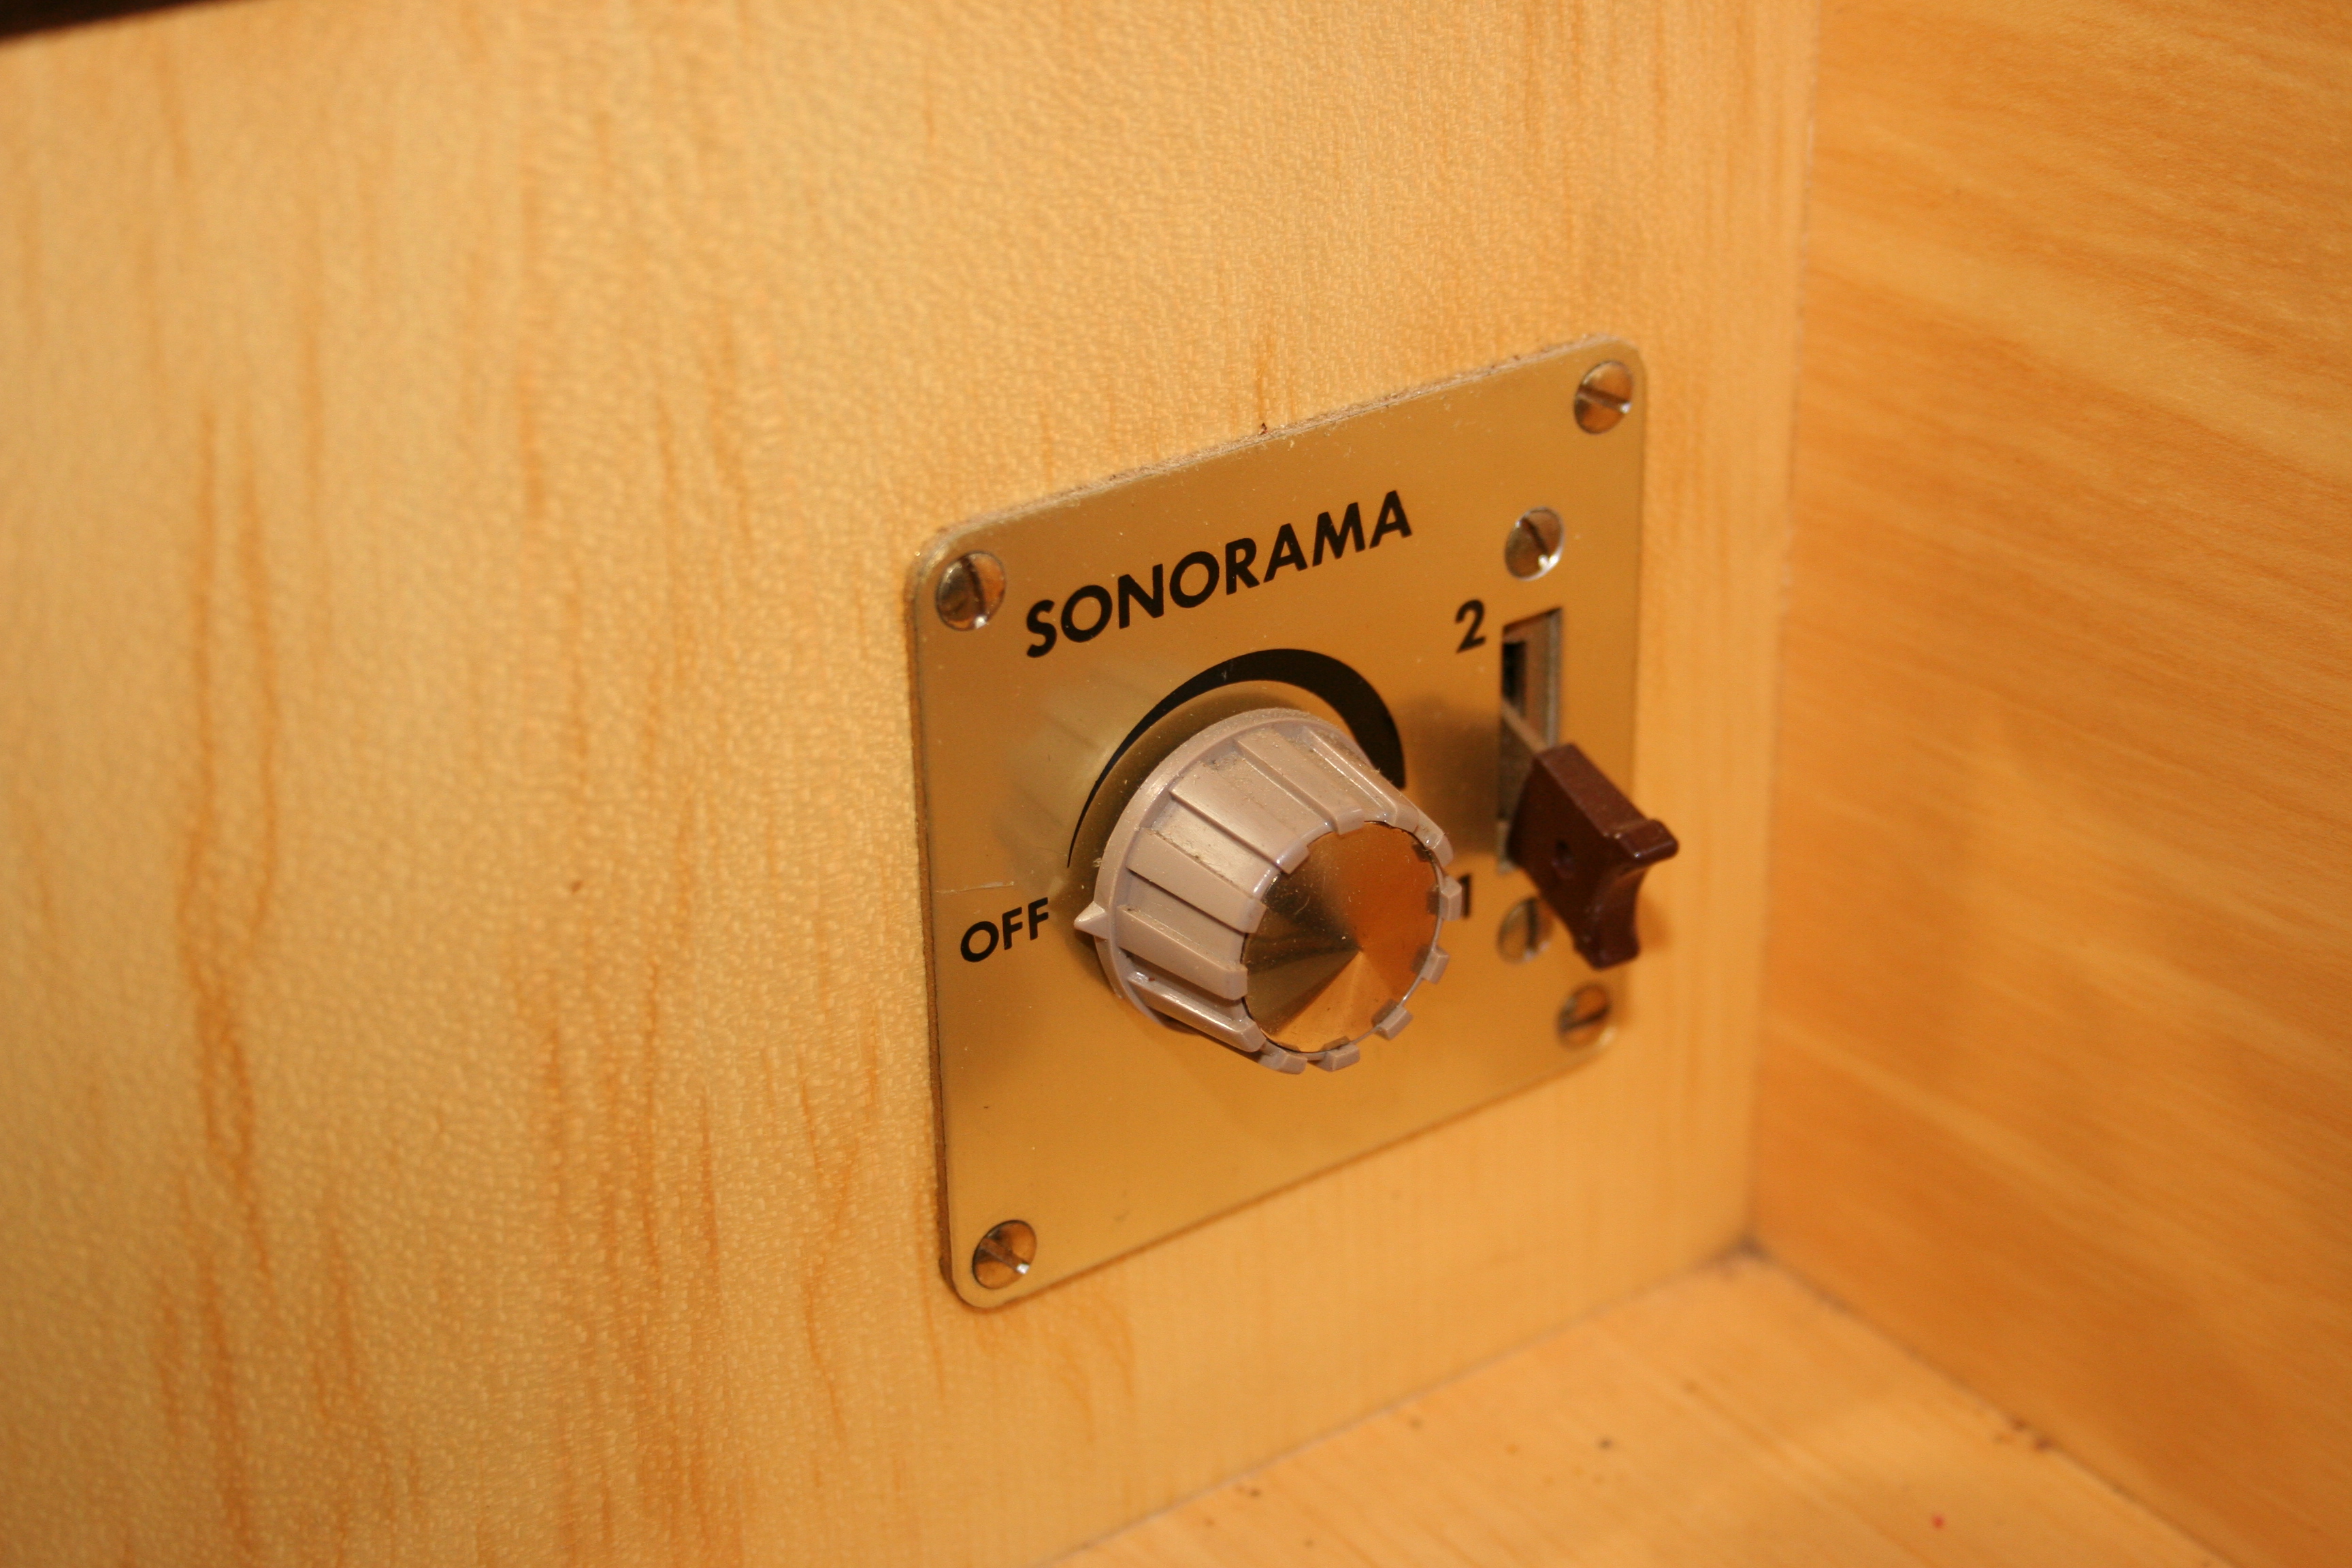
for use in automatic record changing, and the 45 RPM adapter. The knob at the left rear controls the
reverberator and the three-position switch beside it
is to control two sets of external loudspeakers. By the way, the Type listed for this
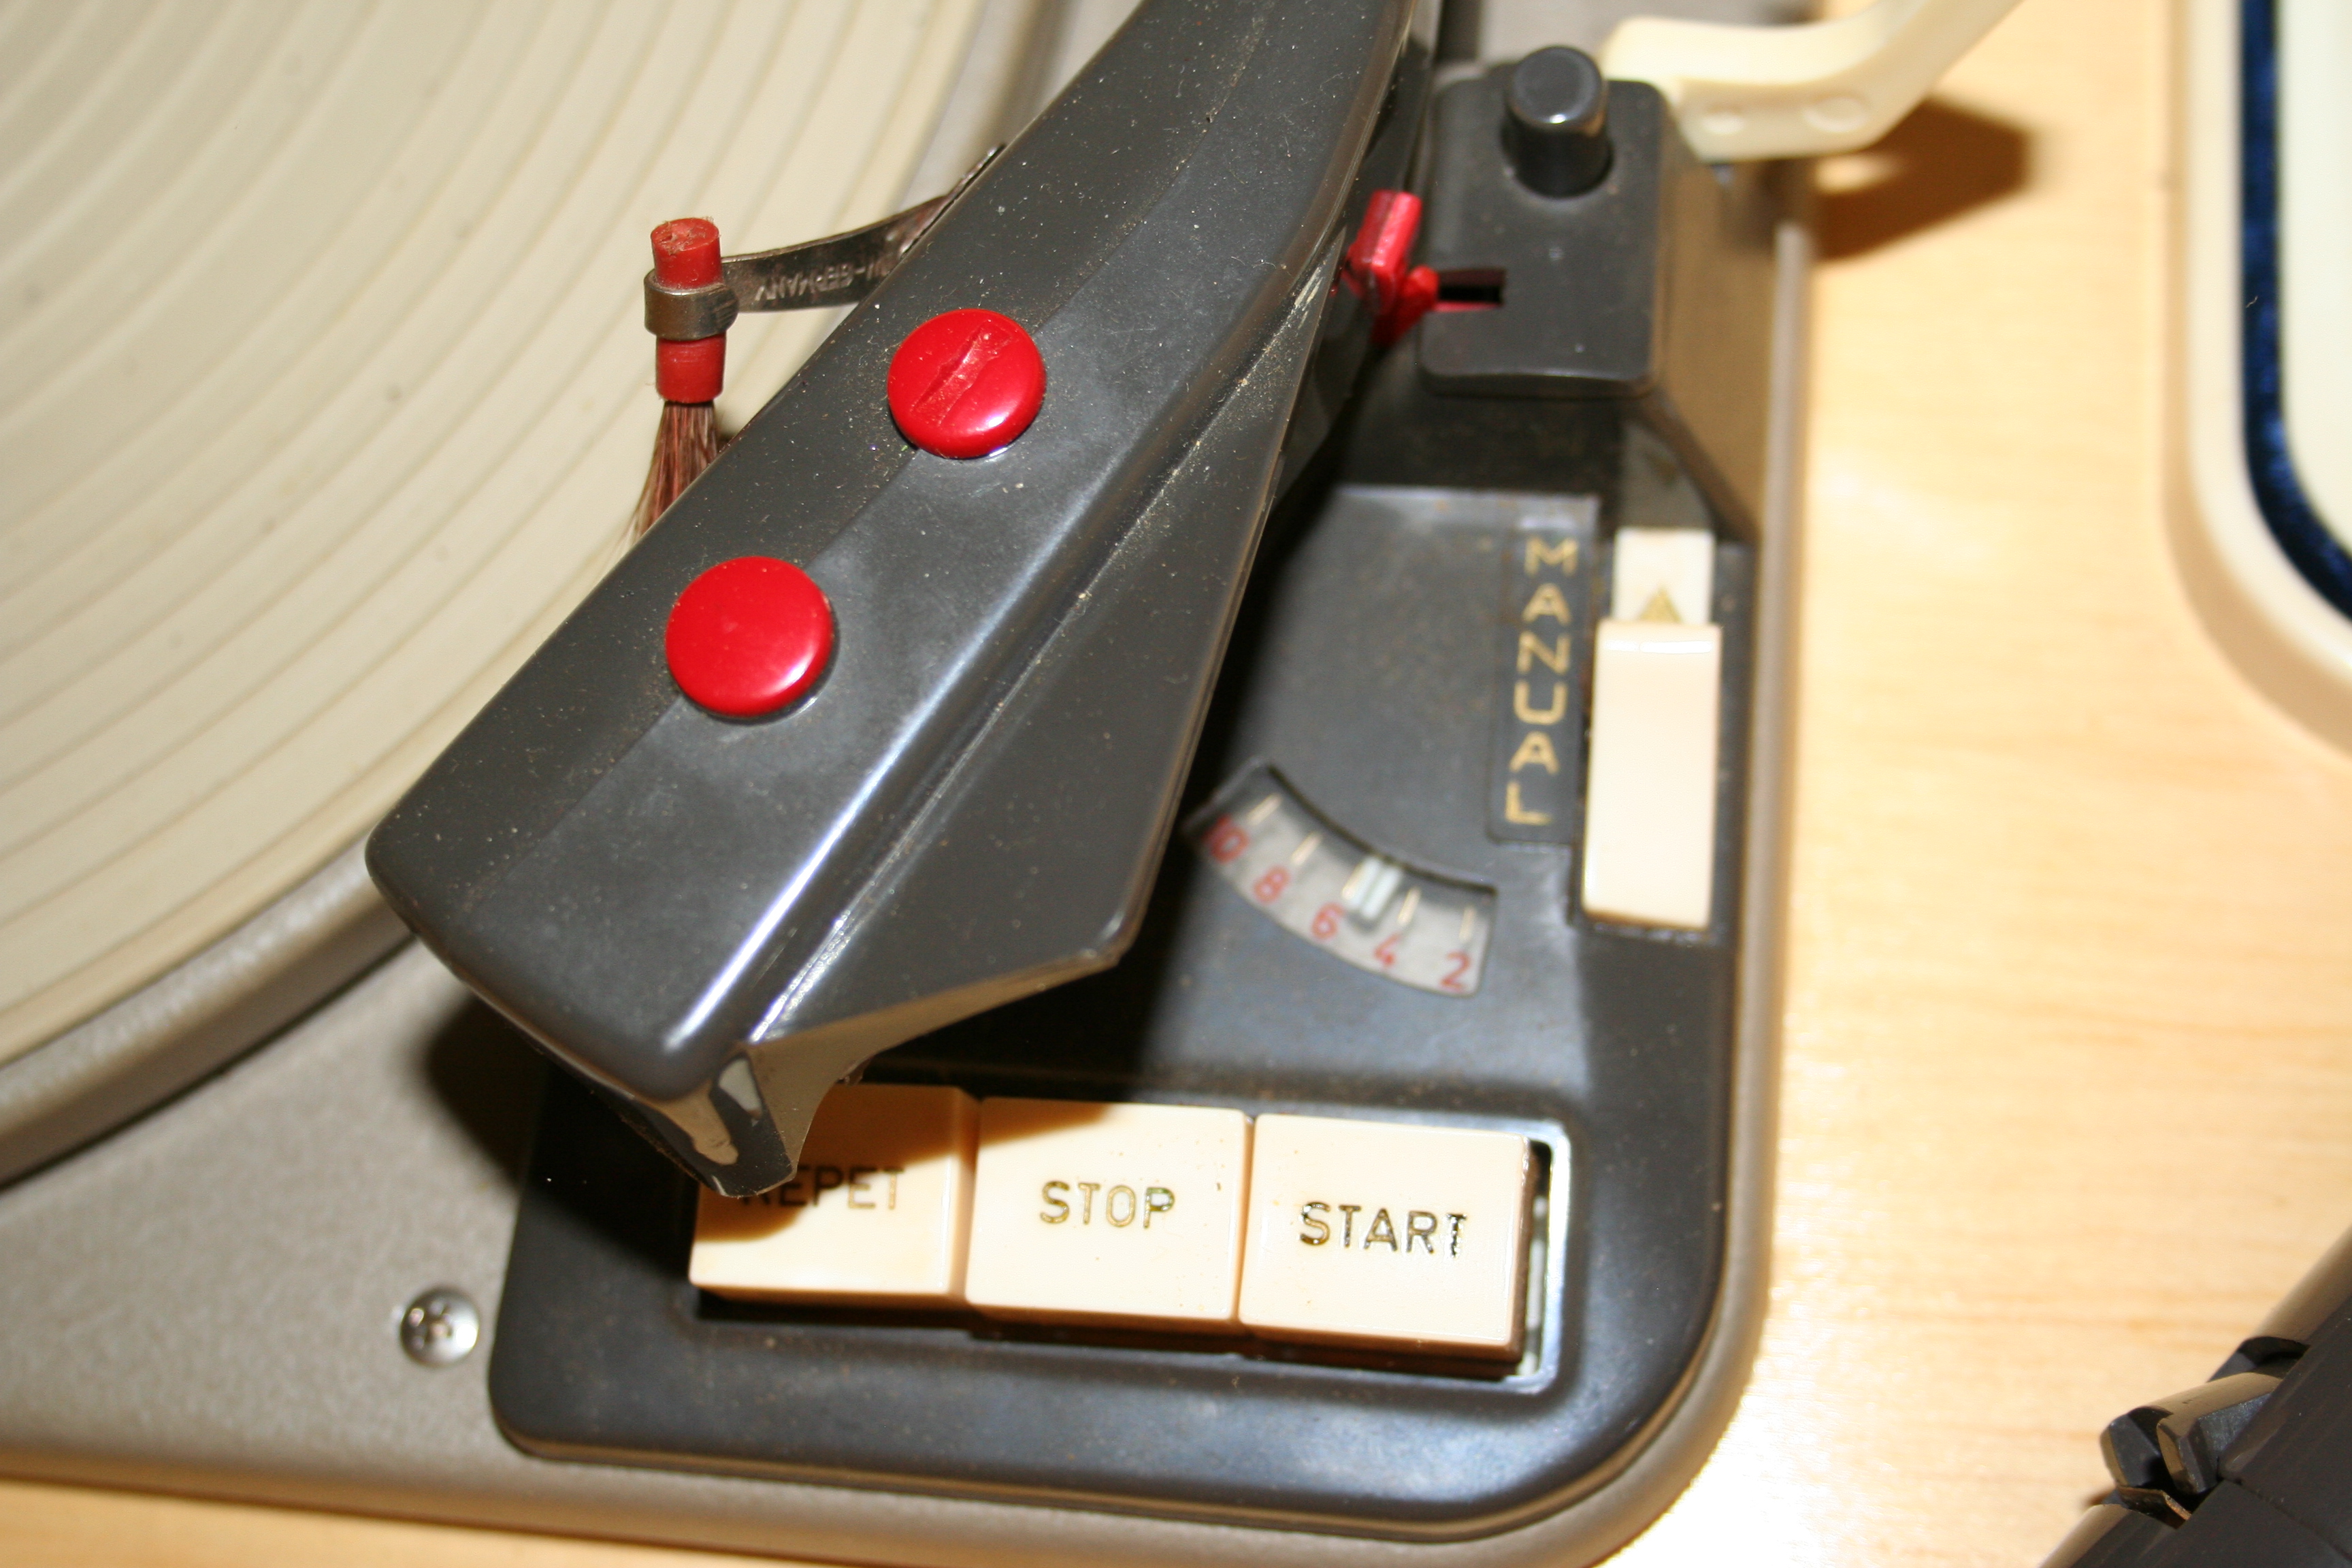
model in the documentation is Sonorama 11. The turntable itself was manufactured by
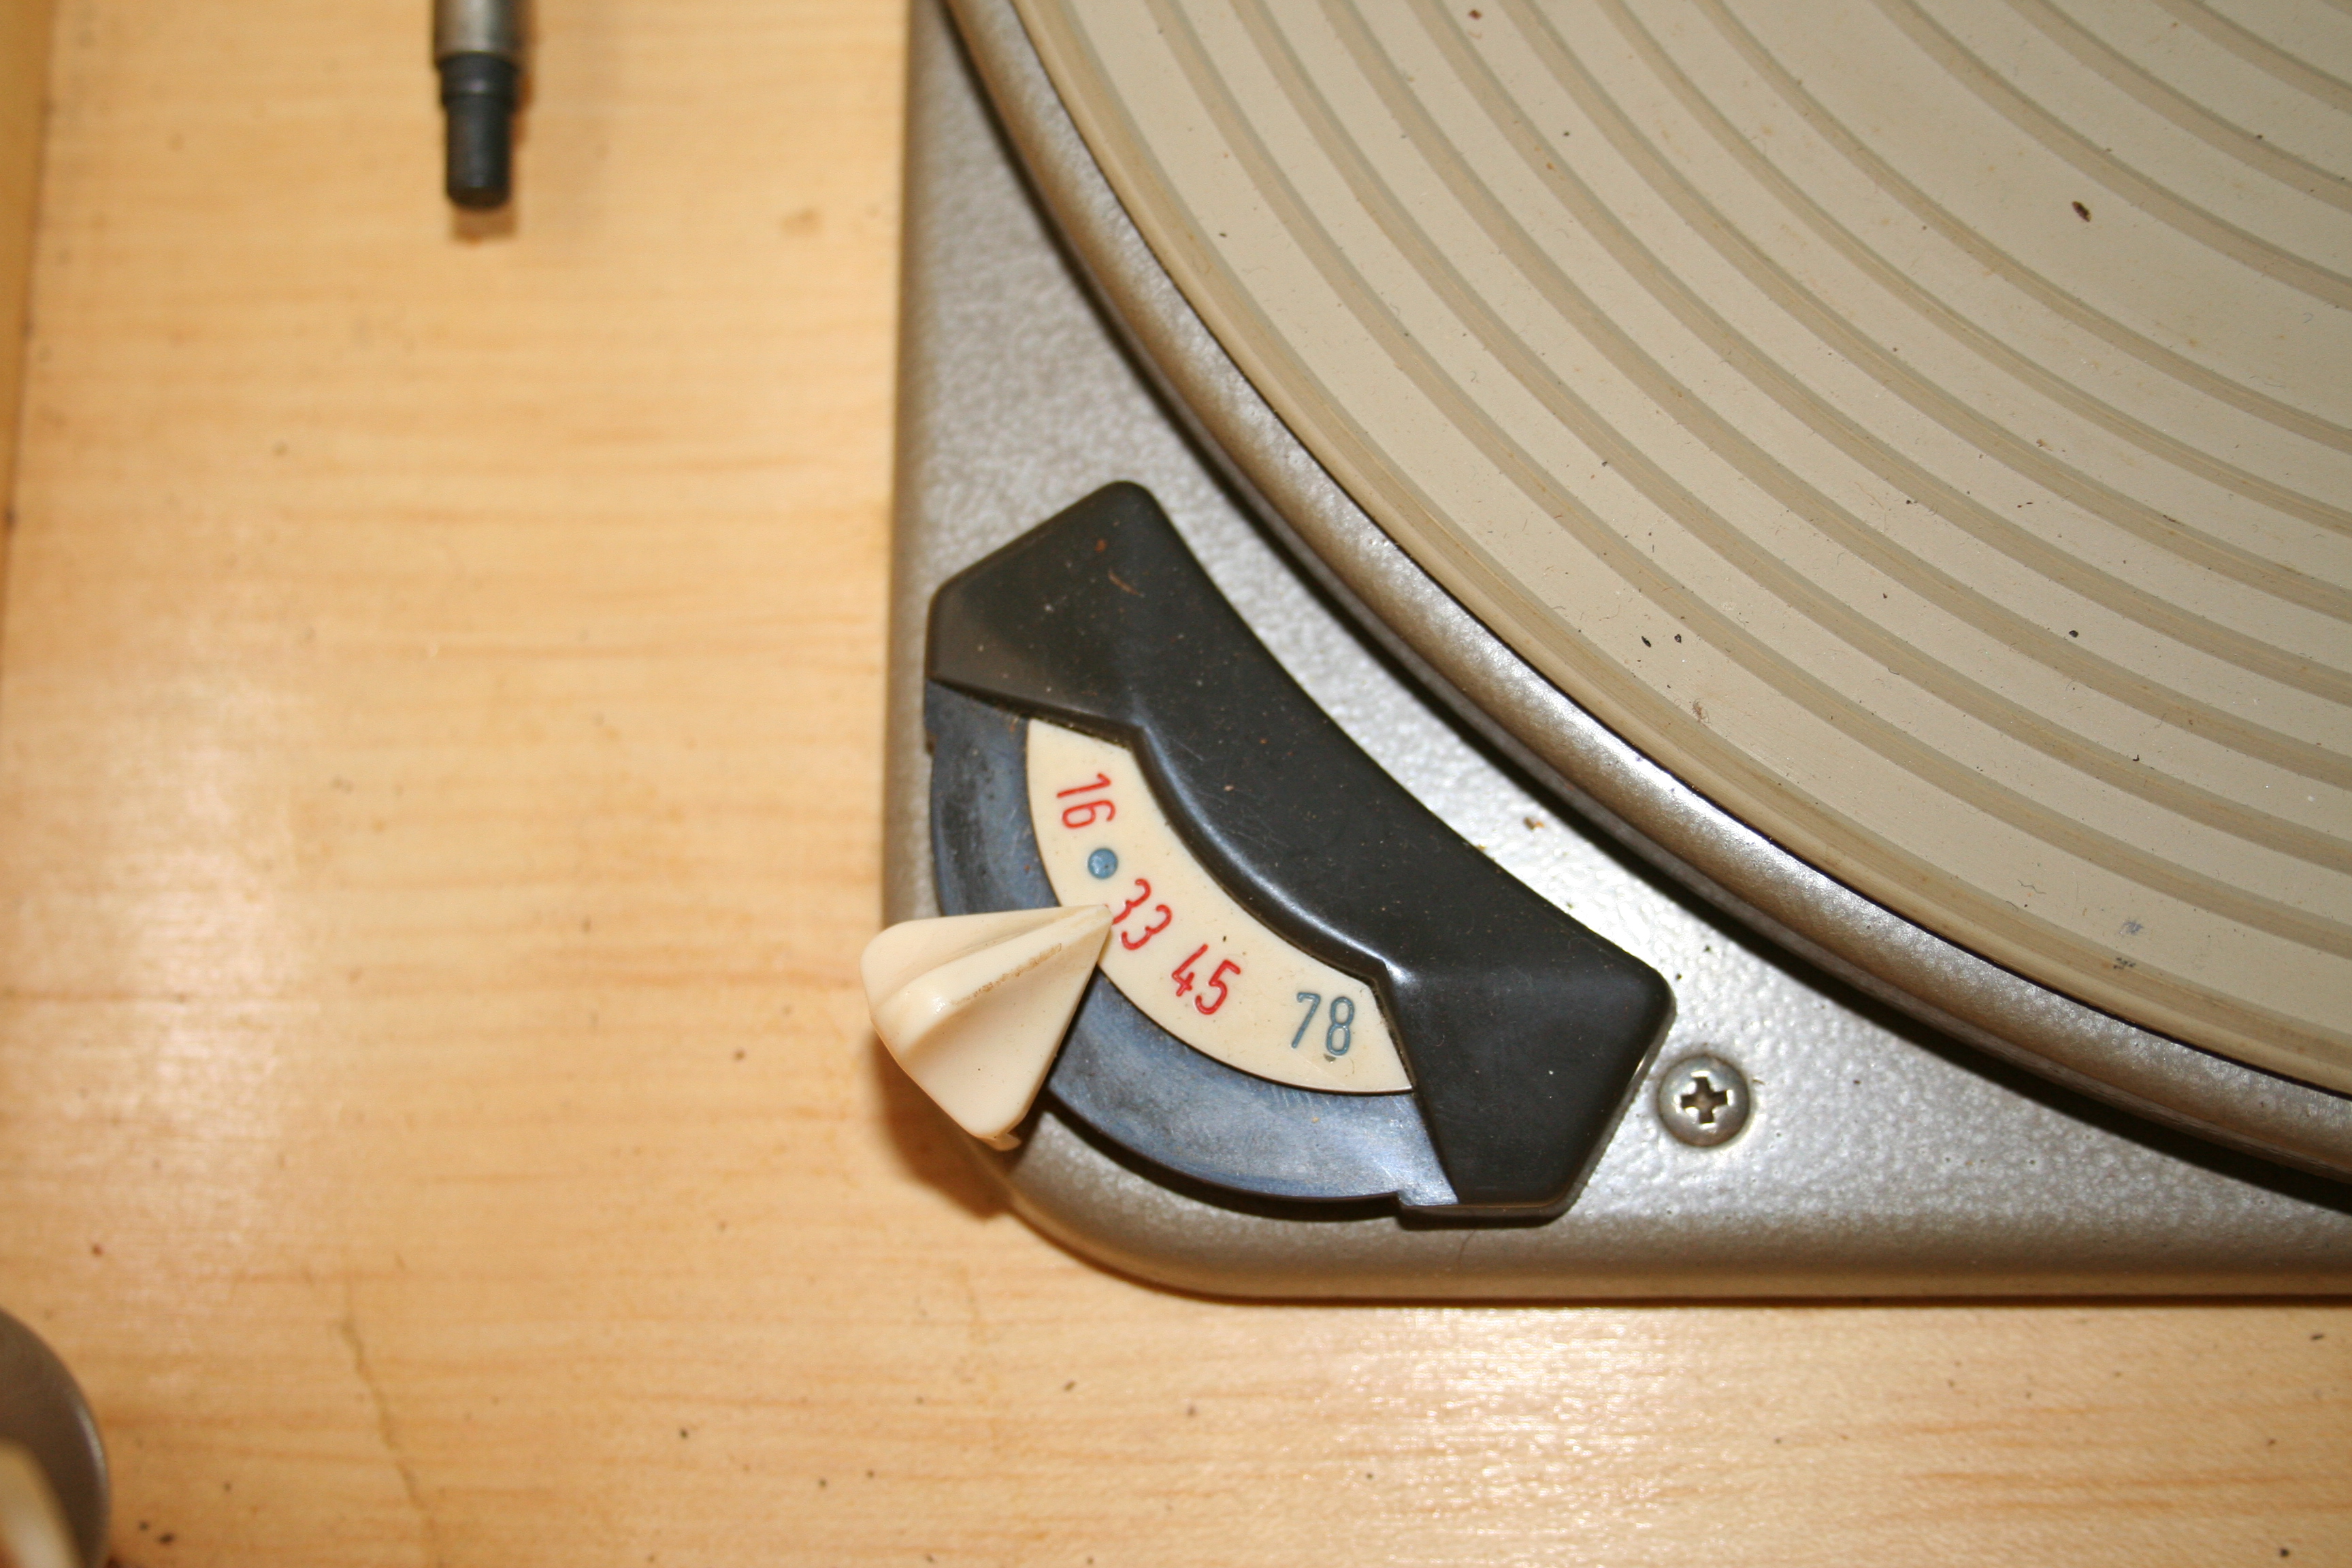
Dual. It will play at 78, 45, 33
1/3, and 16 2/3 RPM. If I remember
correctly, the red dot is an automatic setting and the tone arm determines the
speed for playback based on the diameter of the record.


The
white item on the right with the
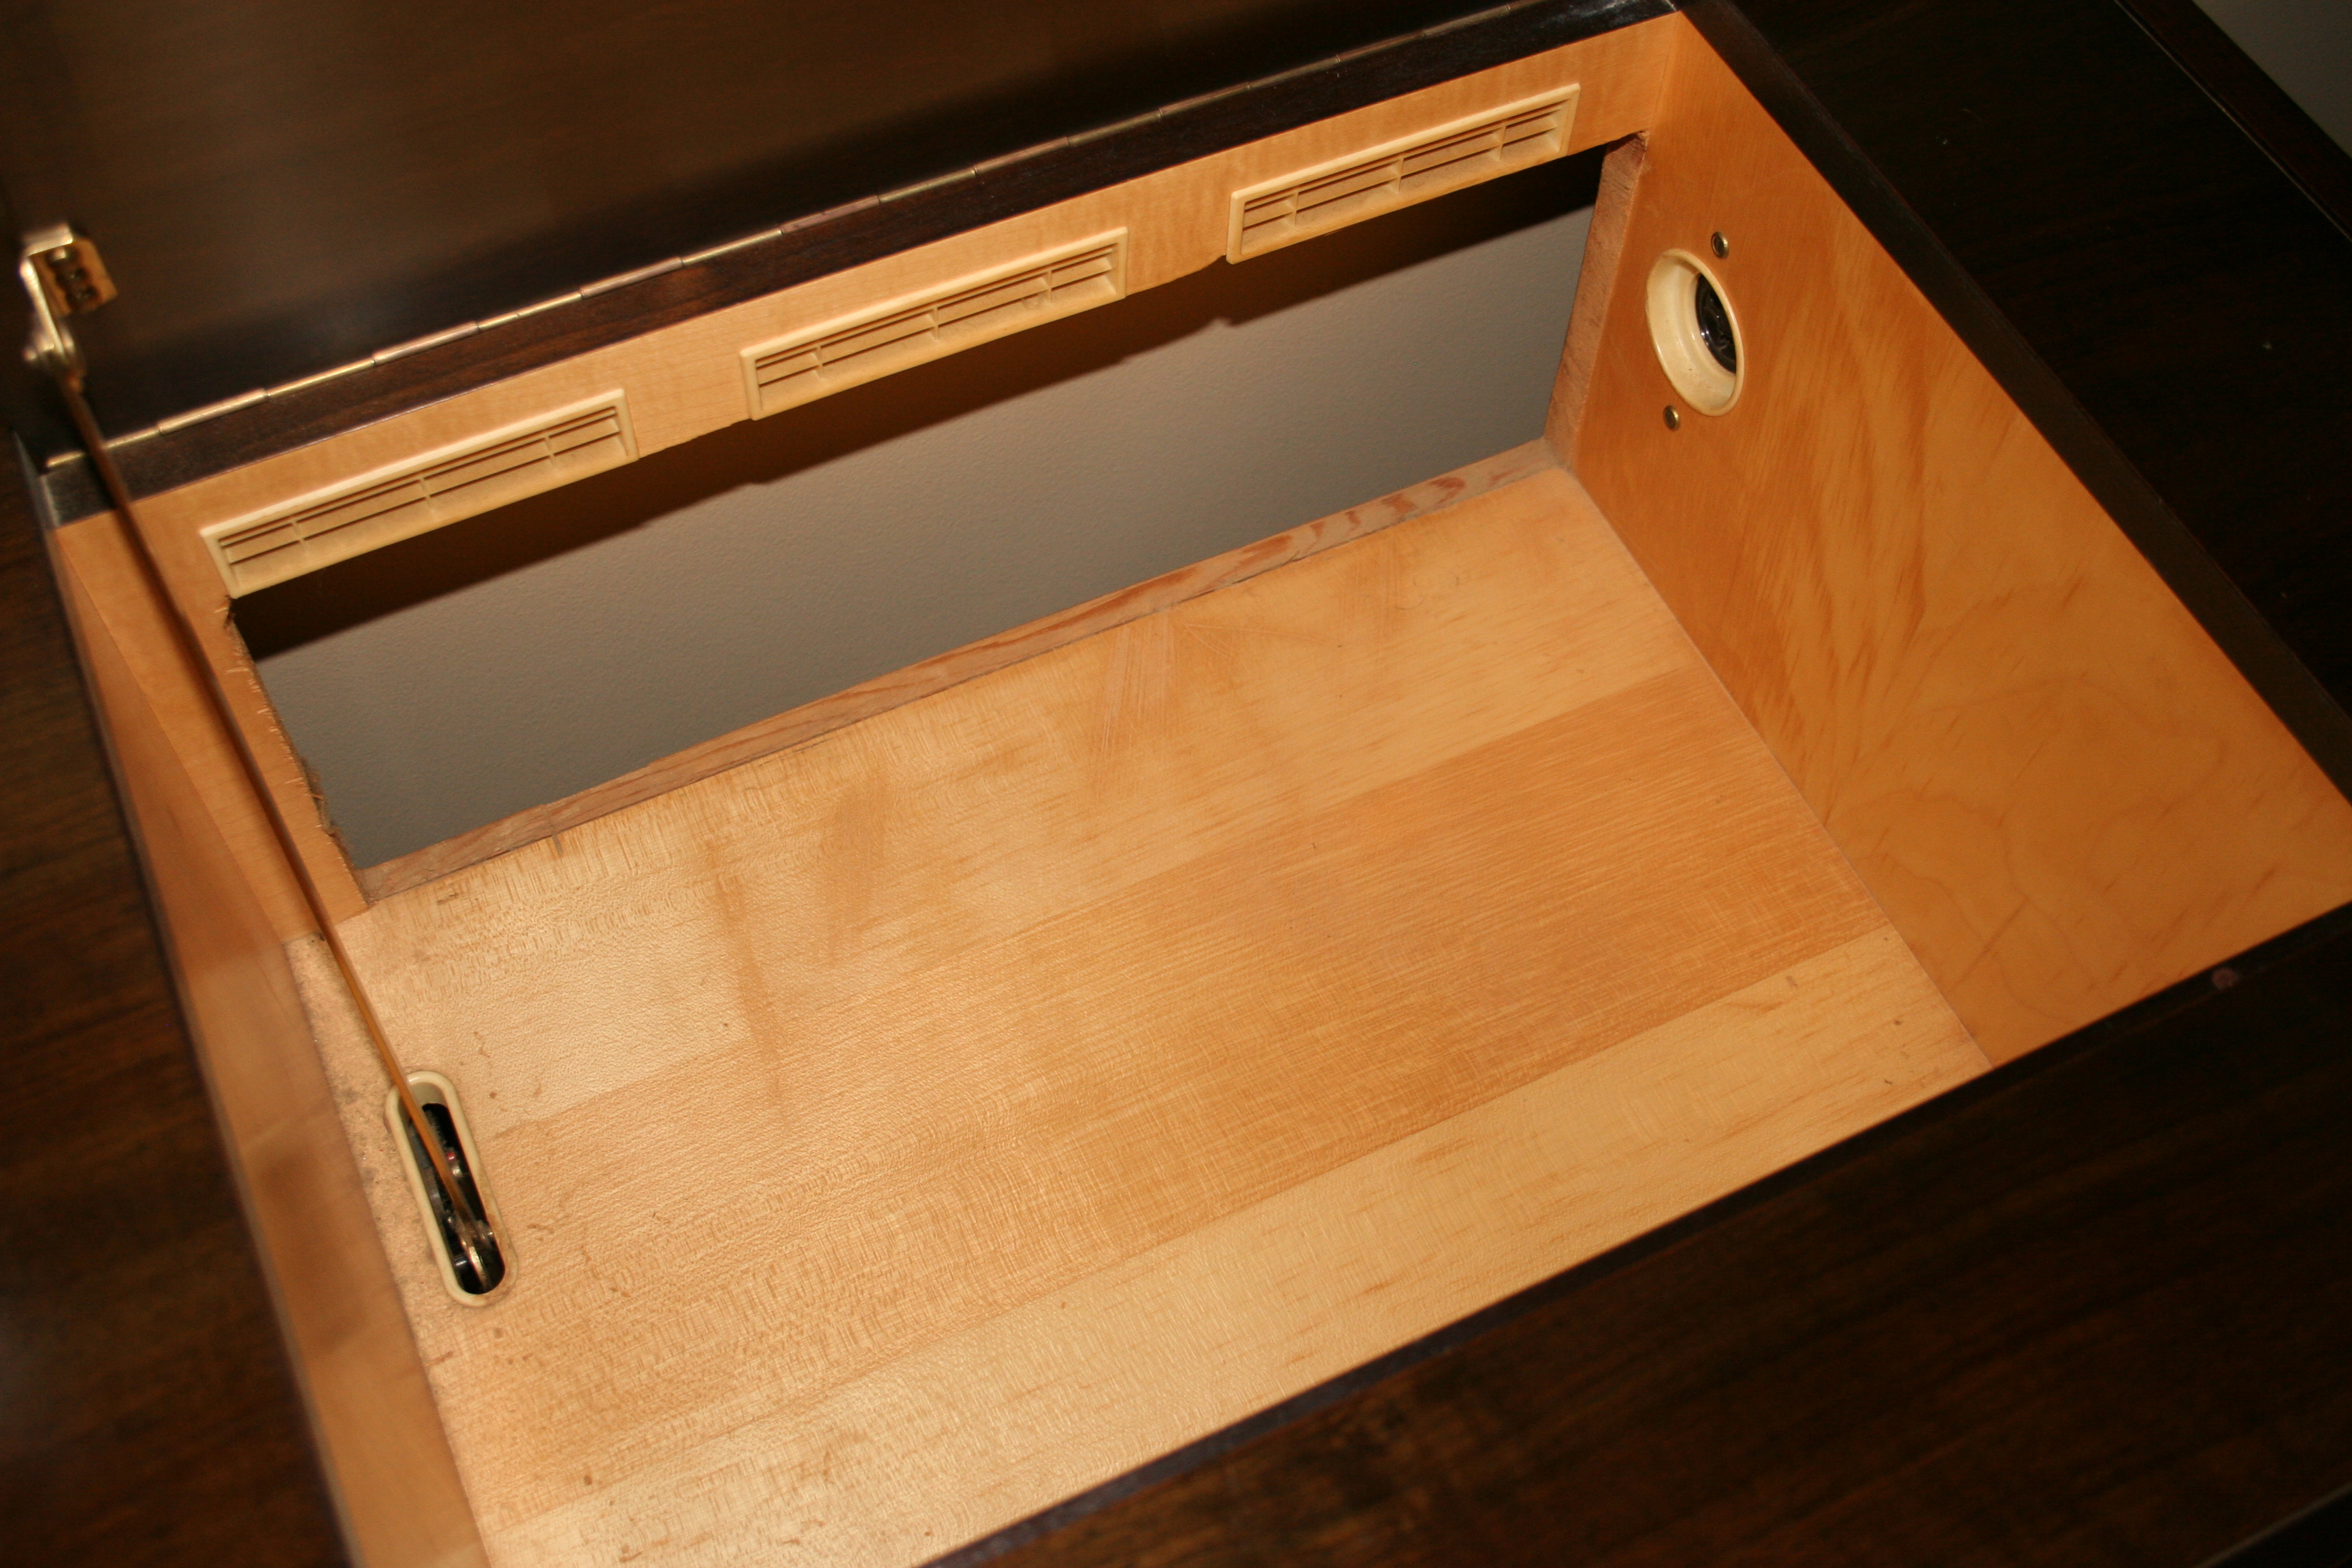
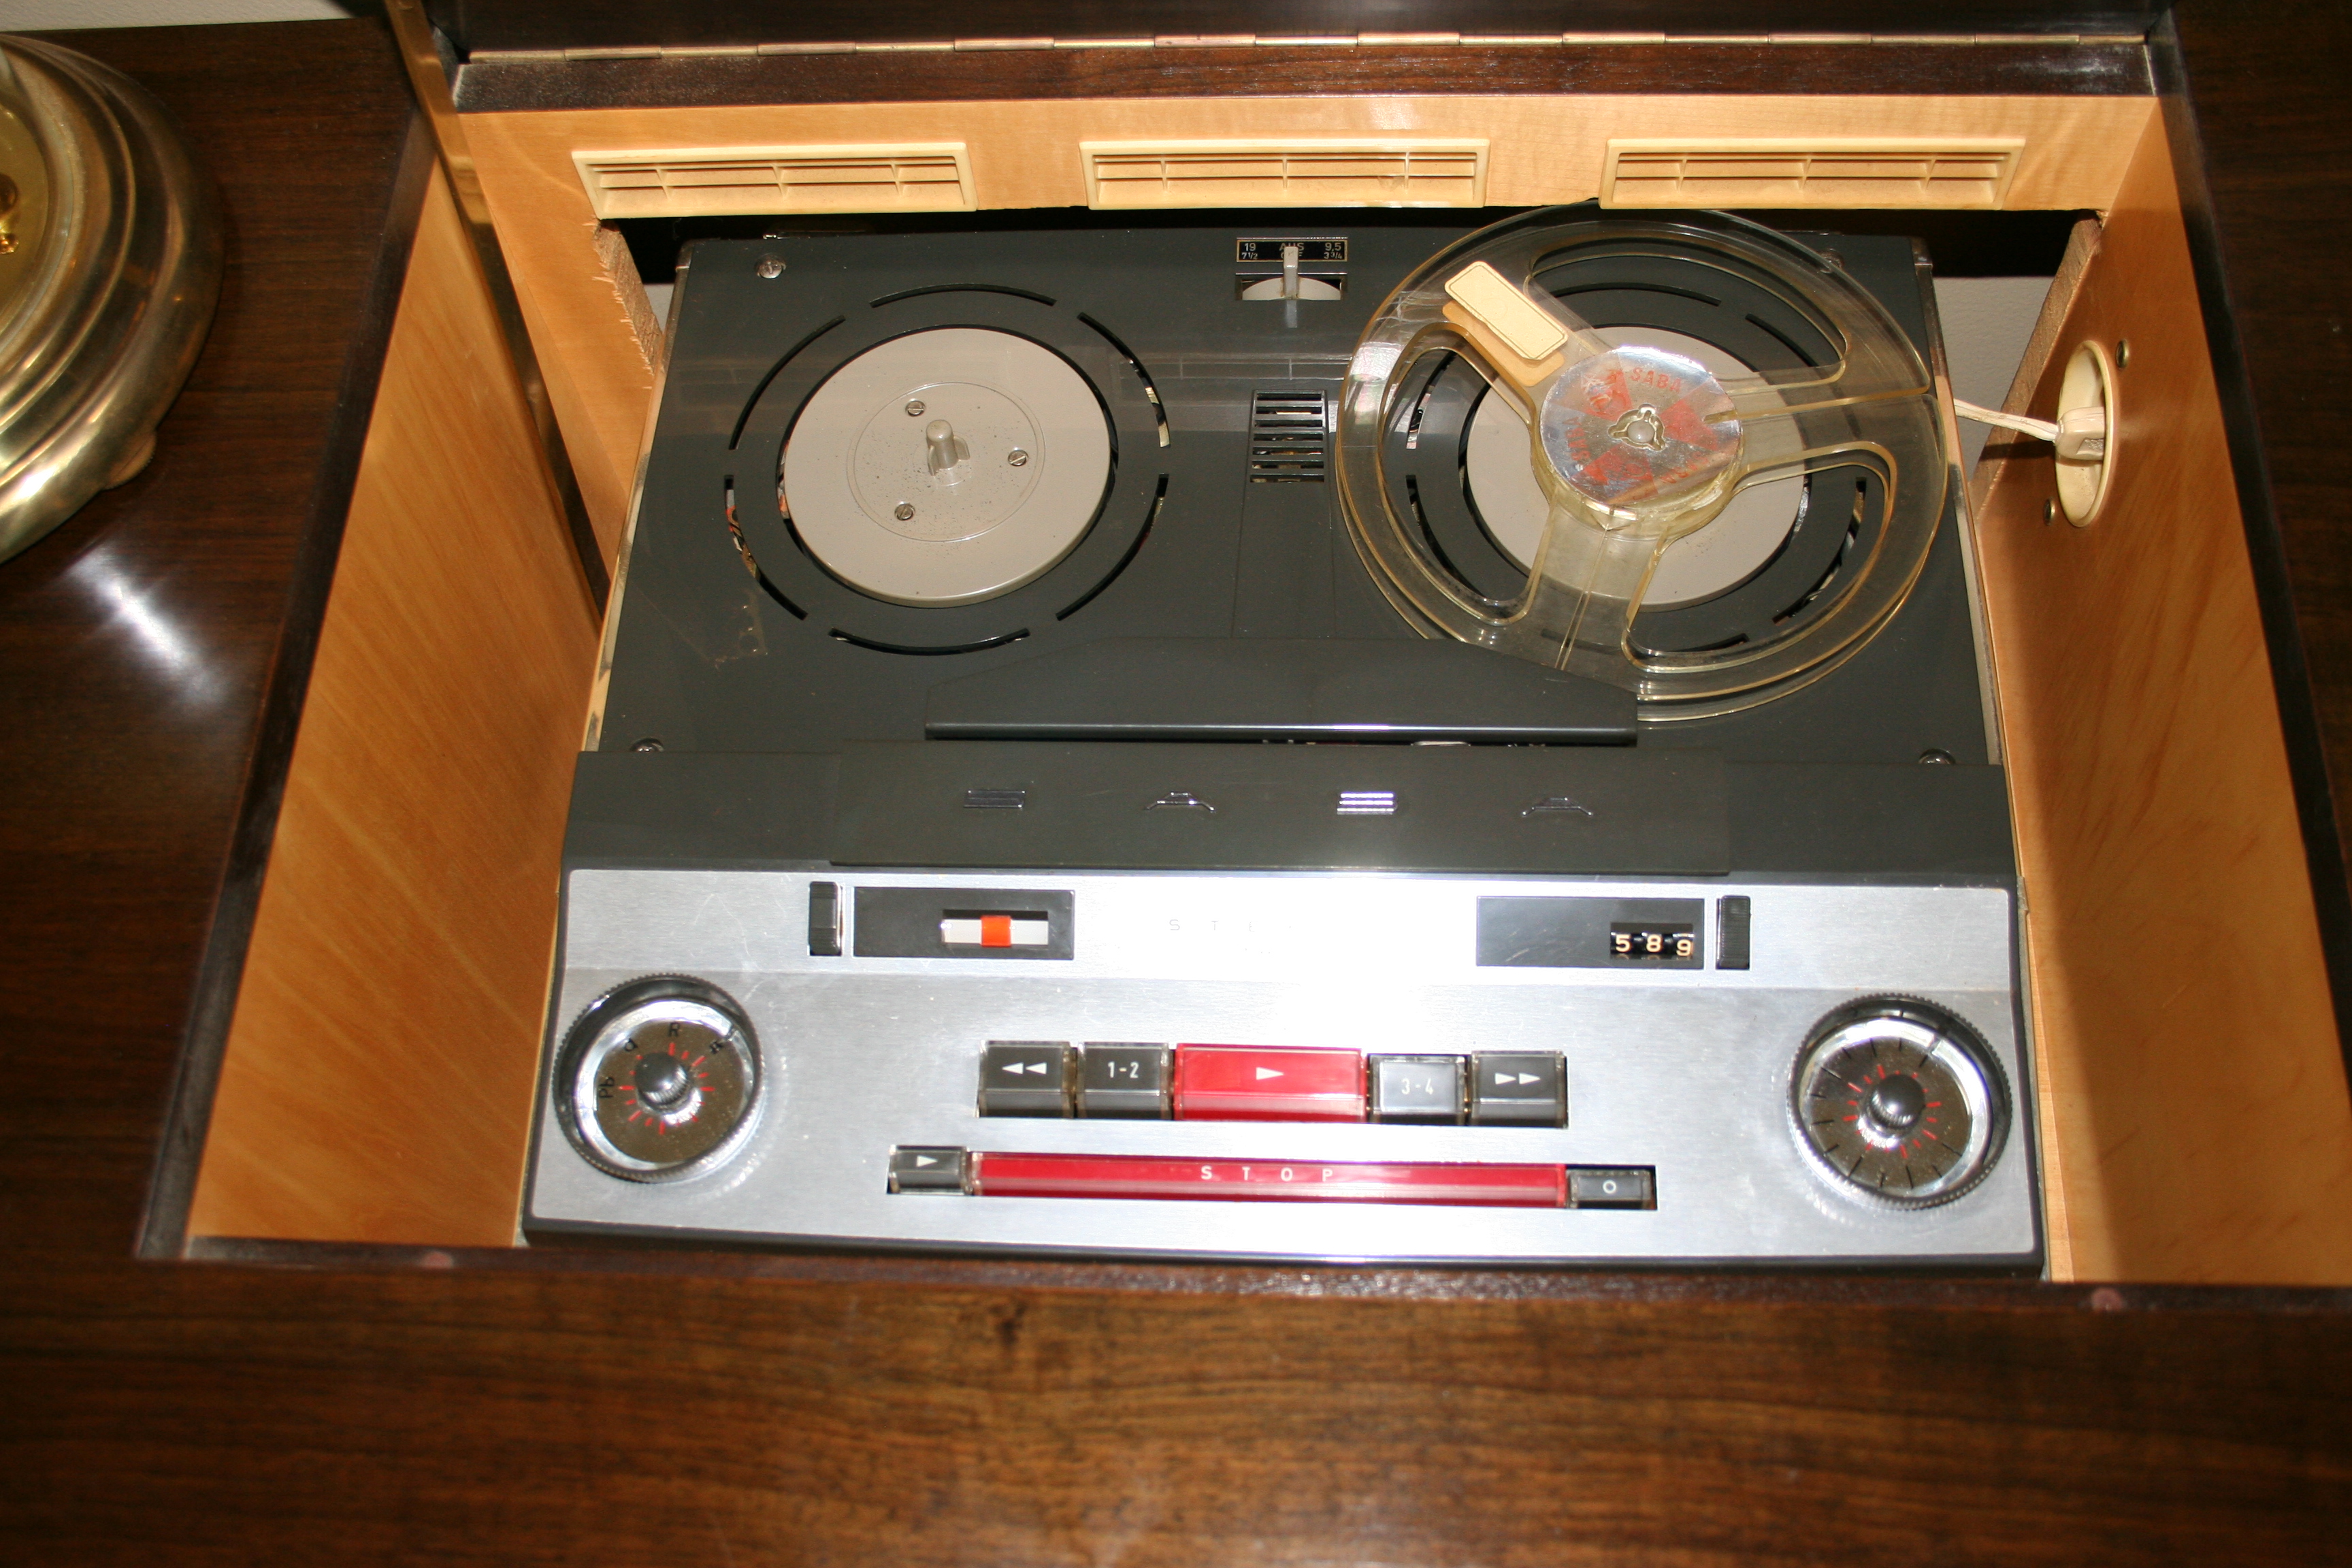
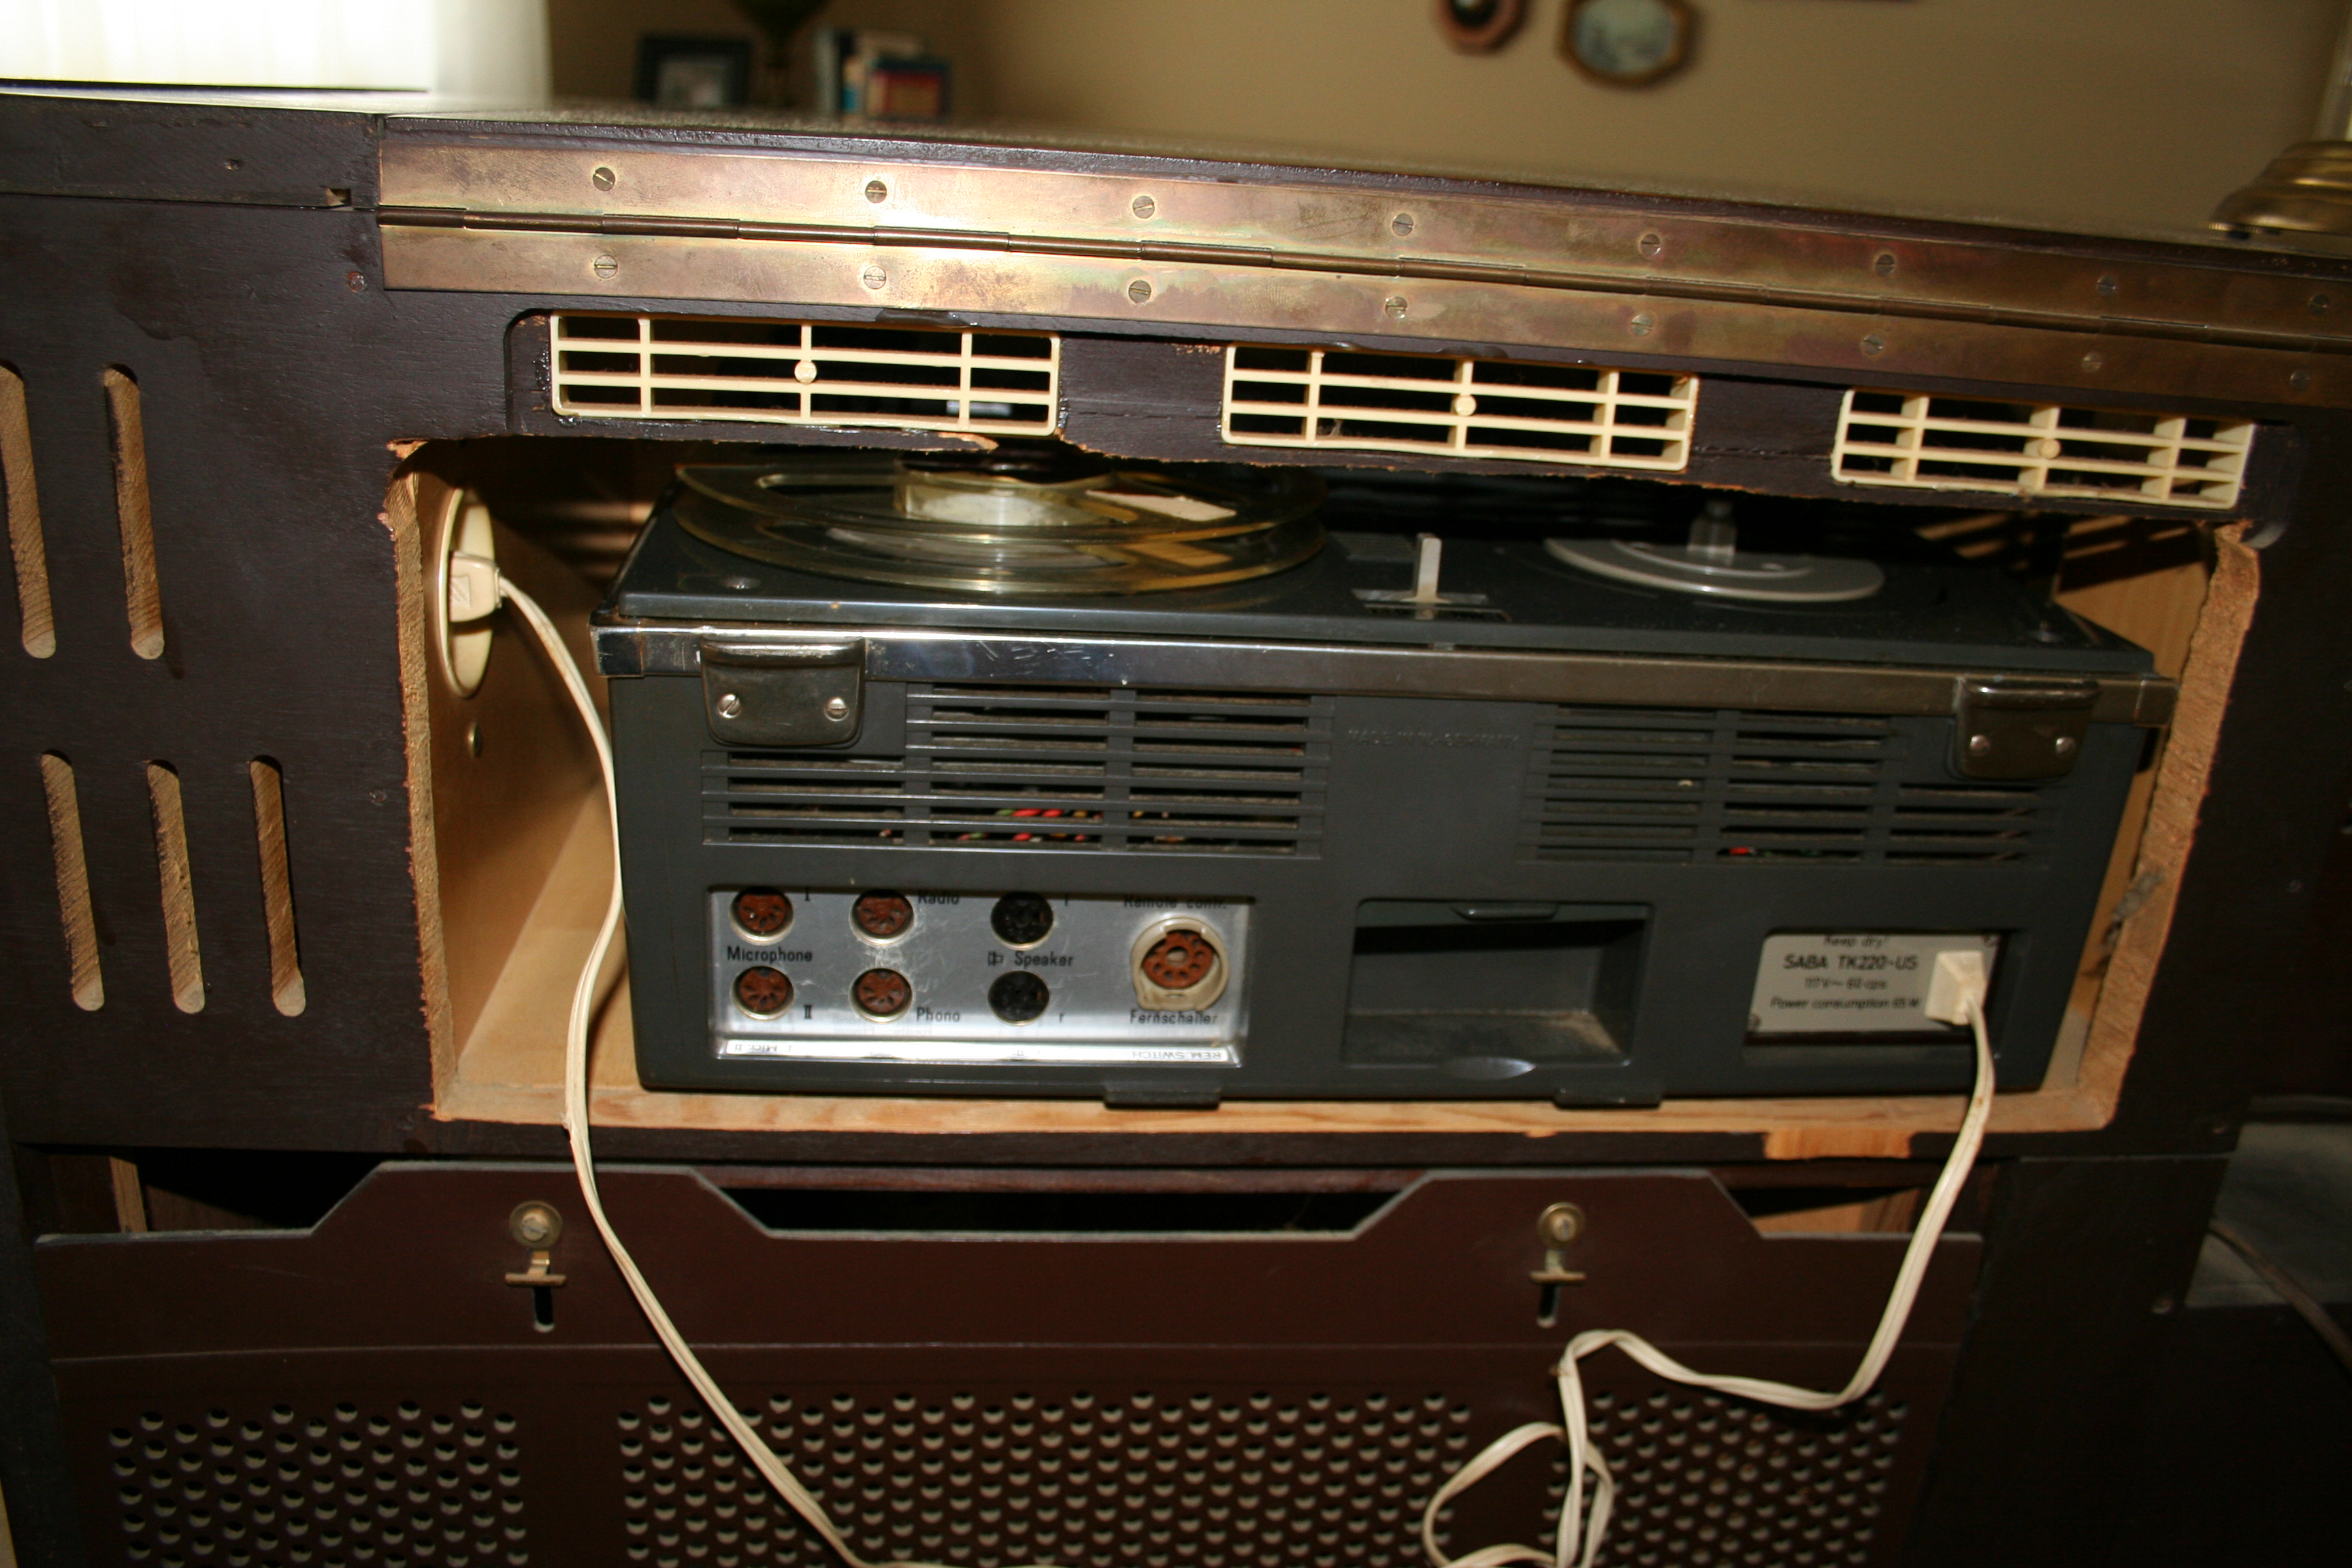
This picture shows the compartment for the tape
deck. Hmmm. That seems
to be missing. Well, our dealer did
not have a deck in stock. But he
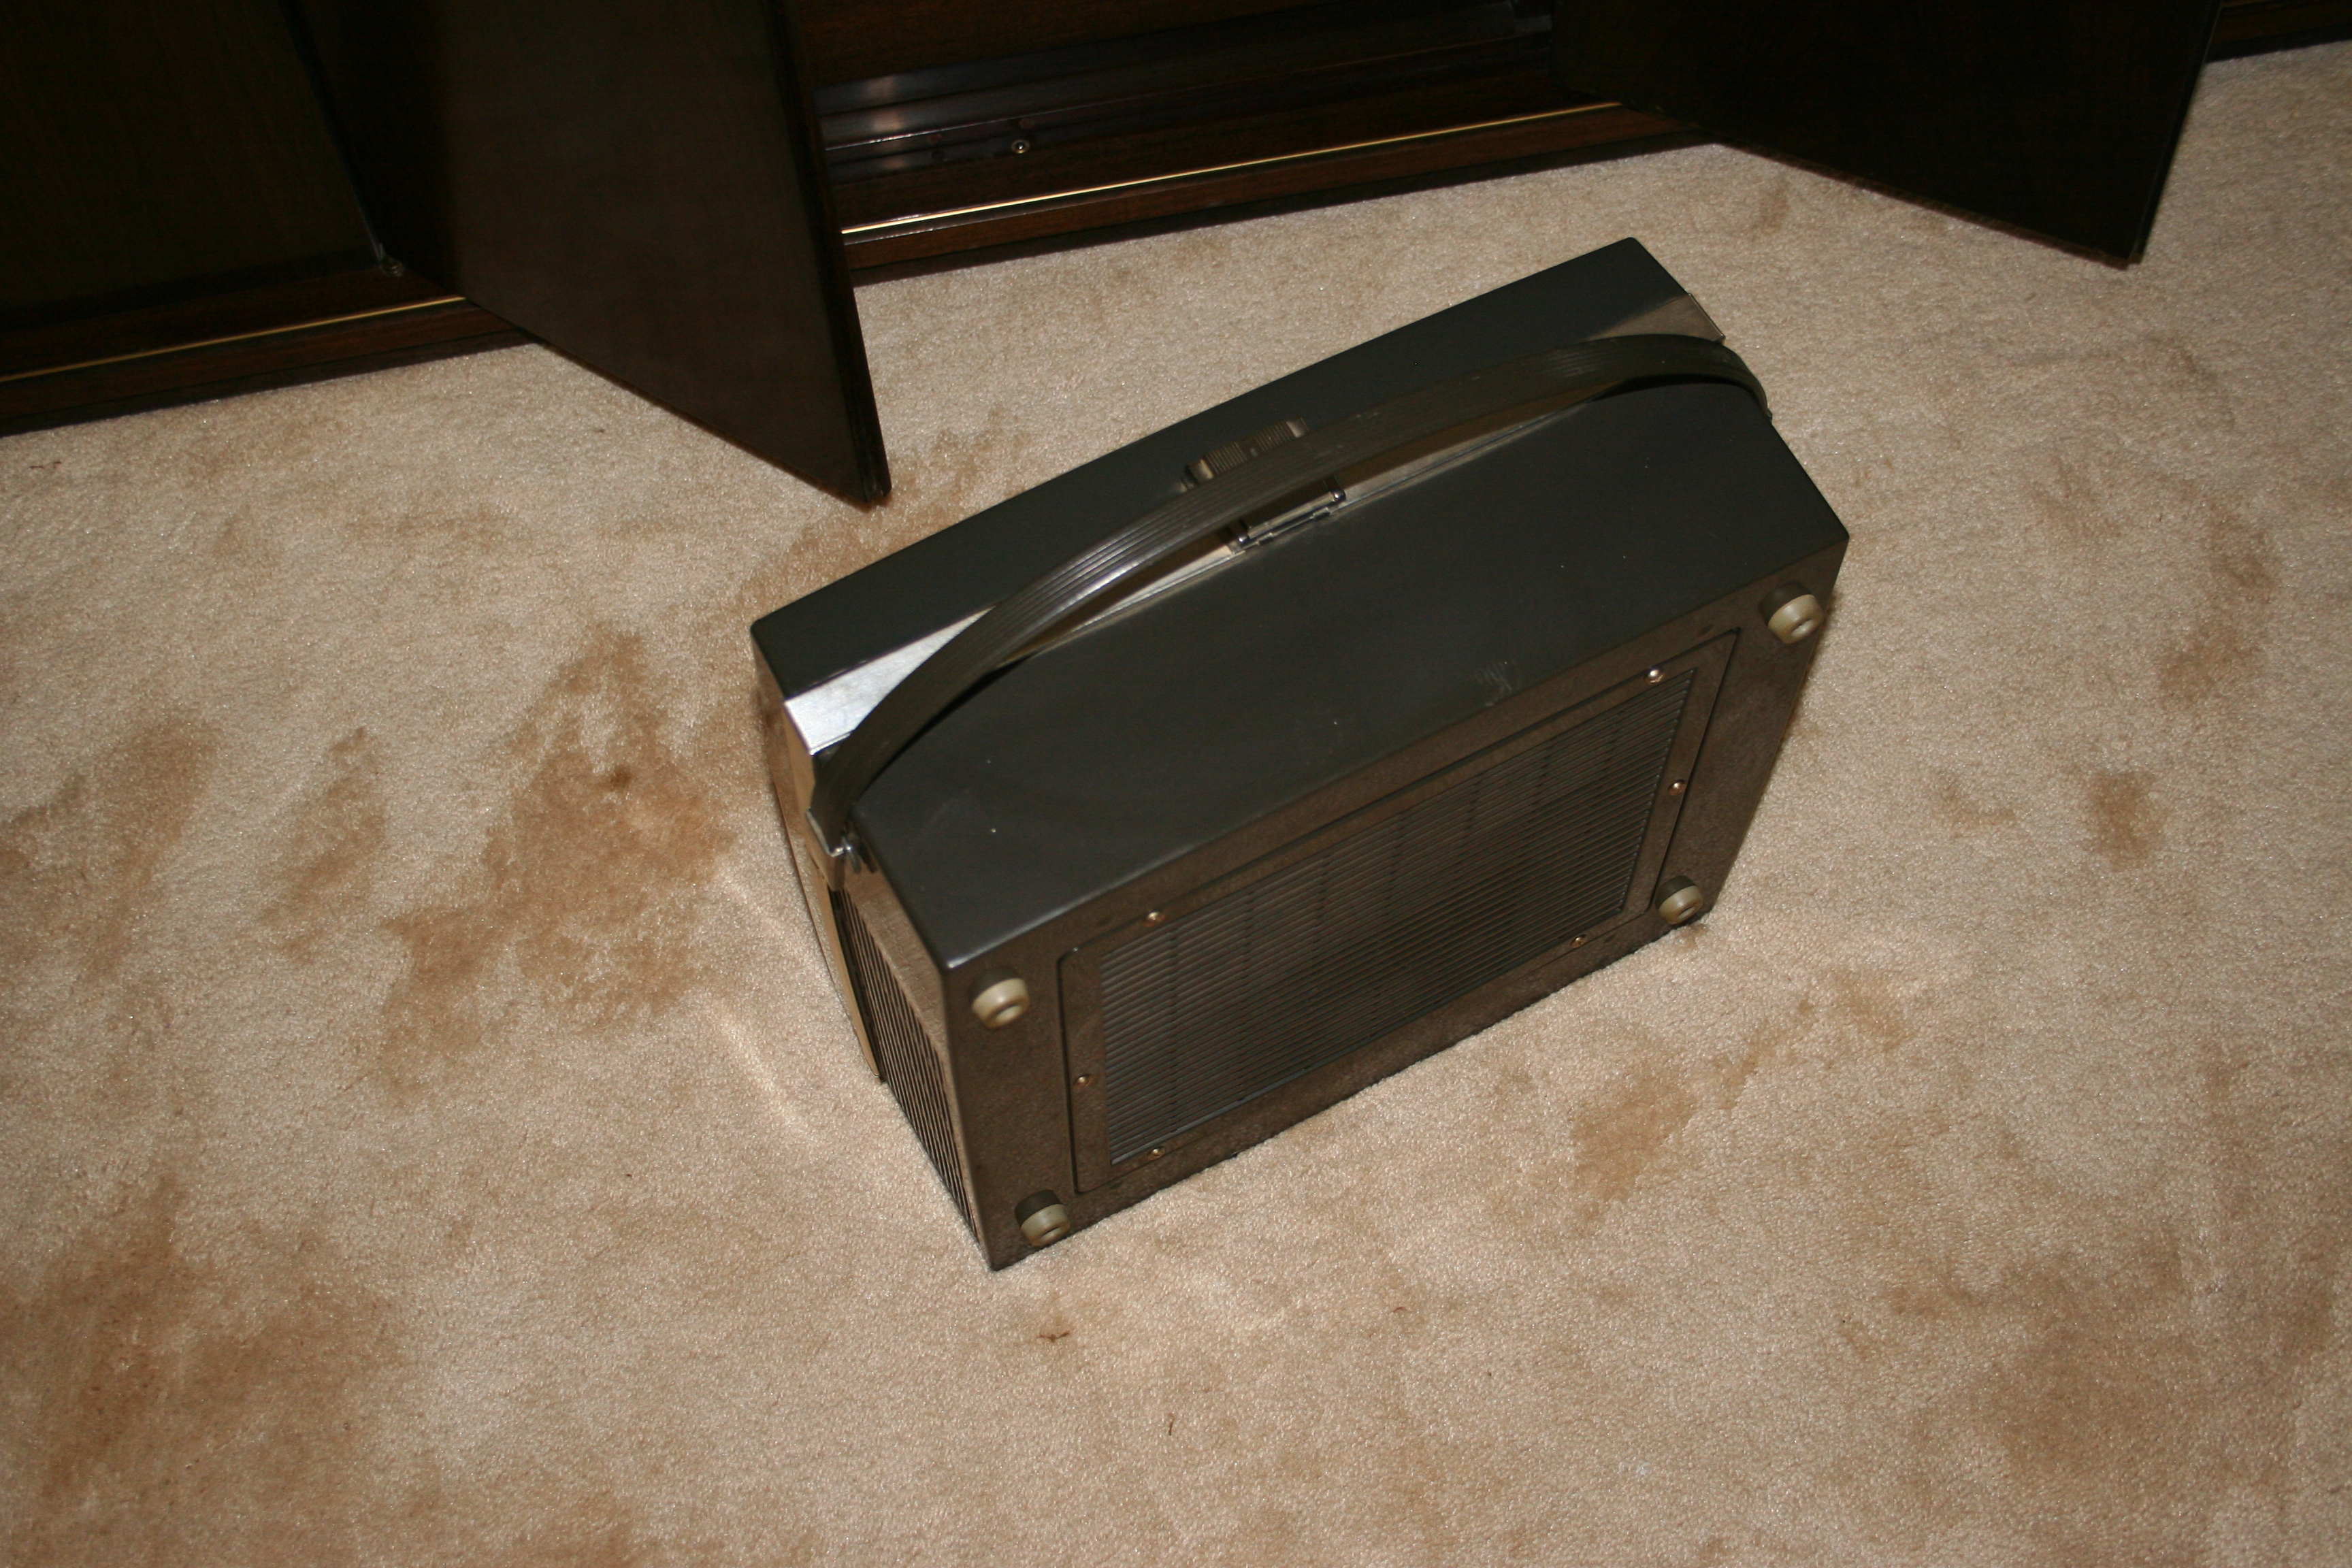
did have something better a portable
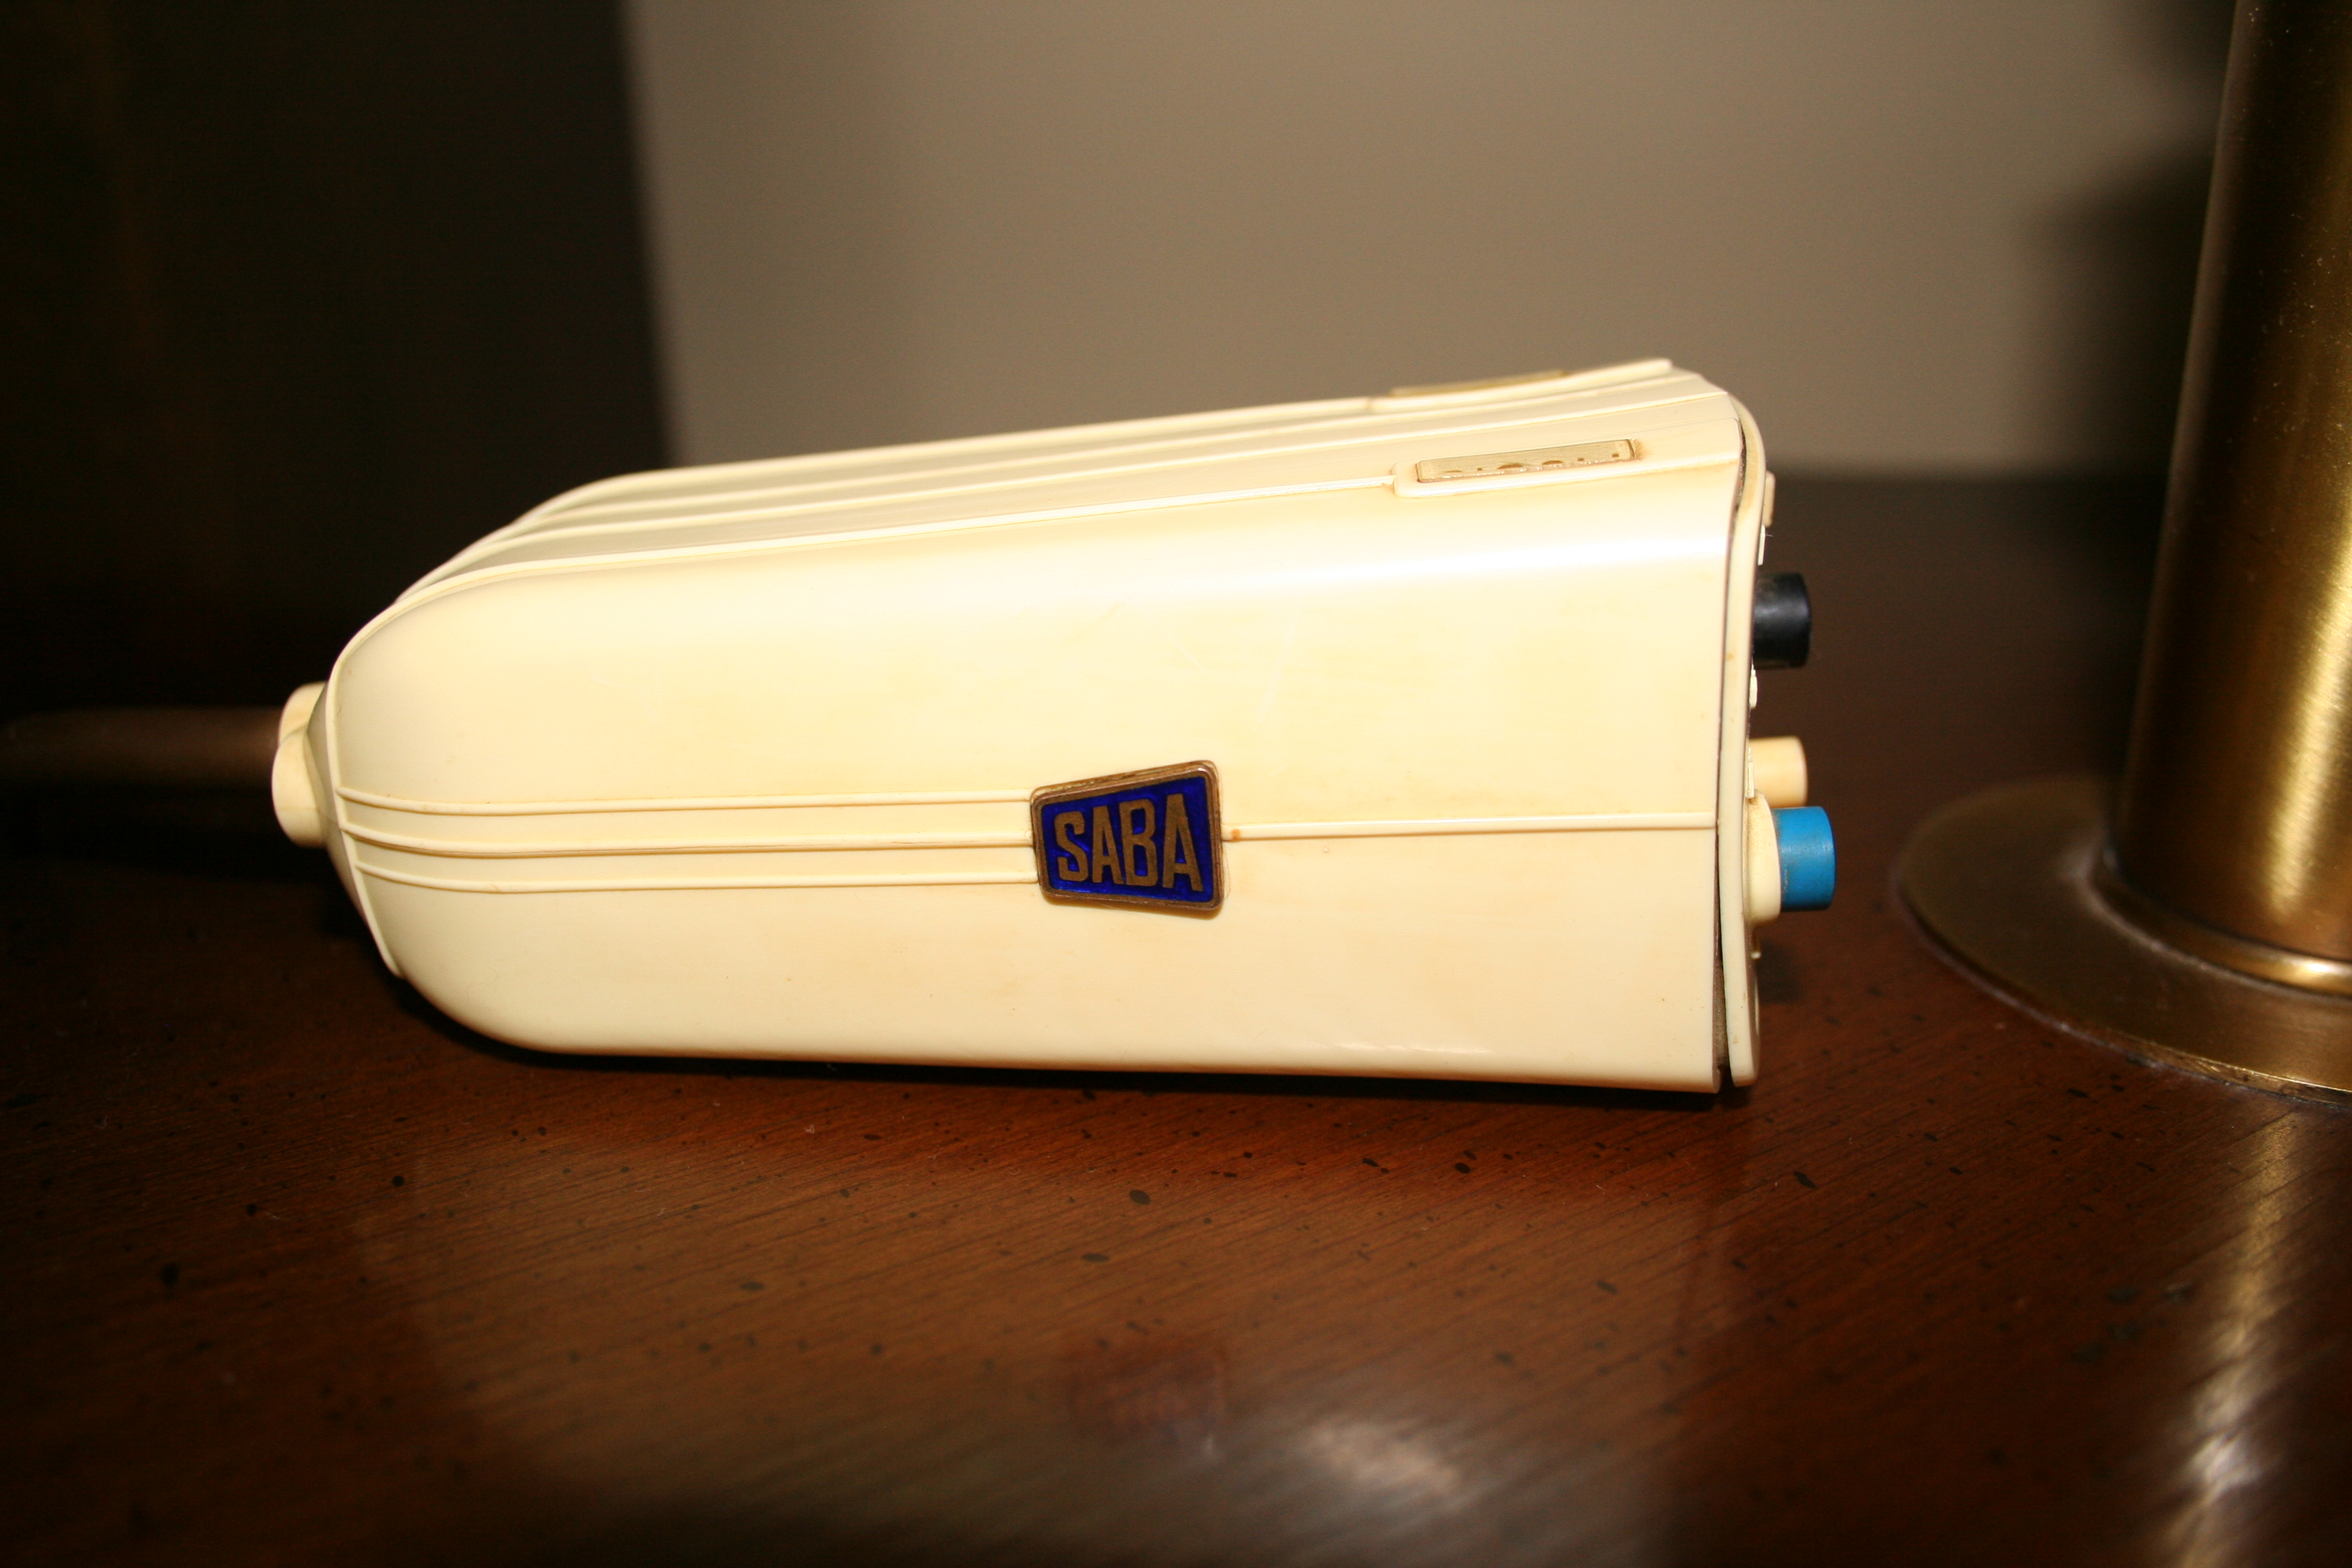
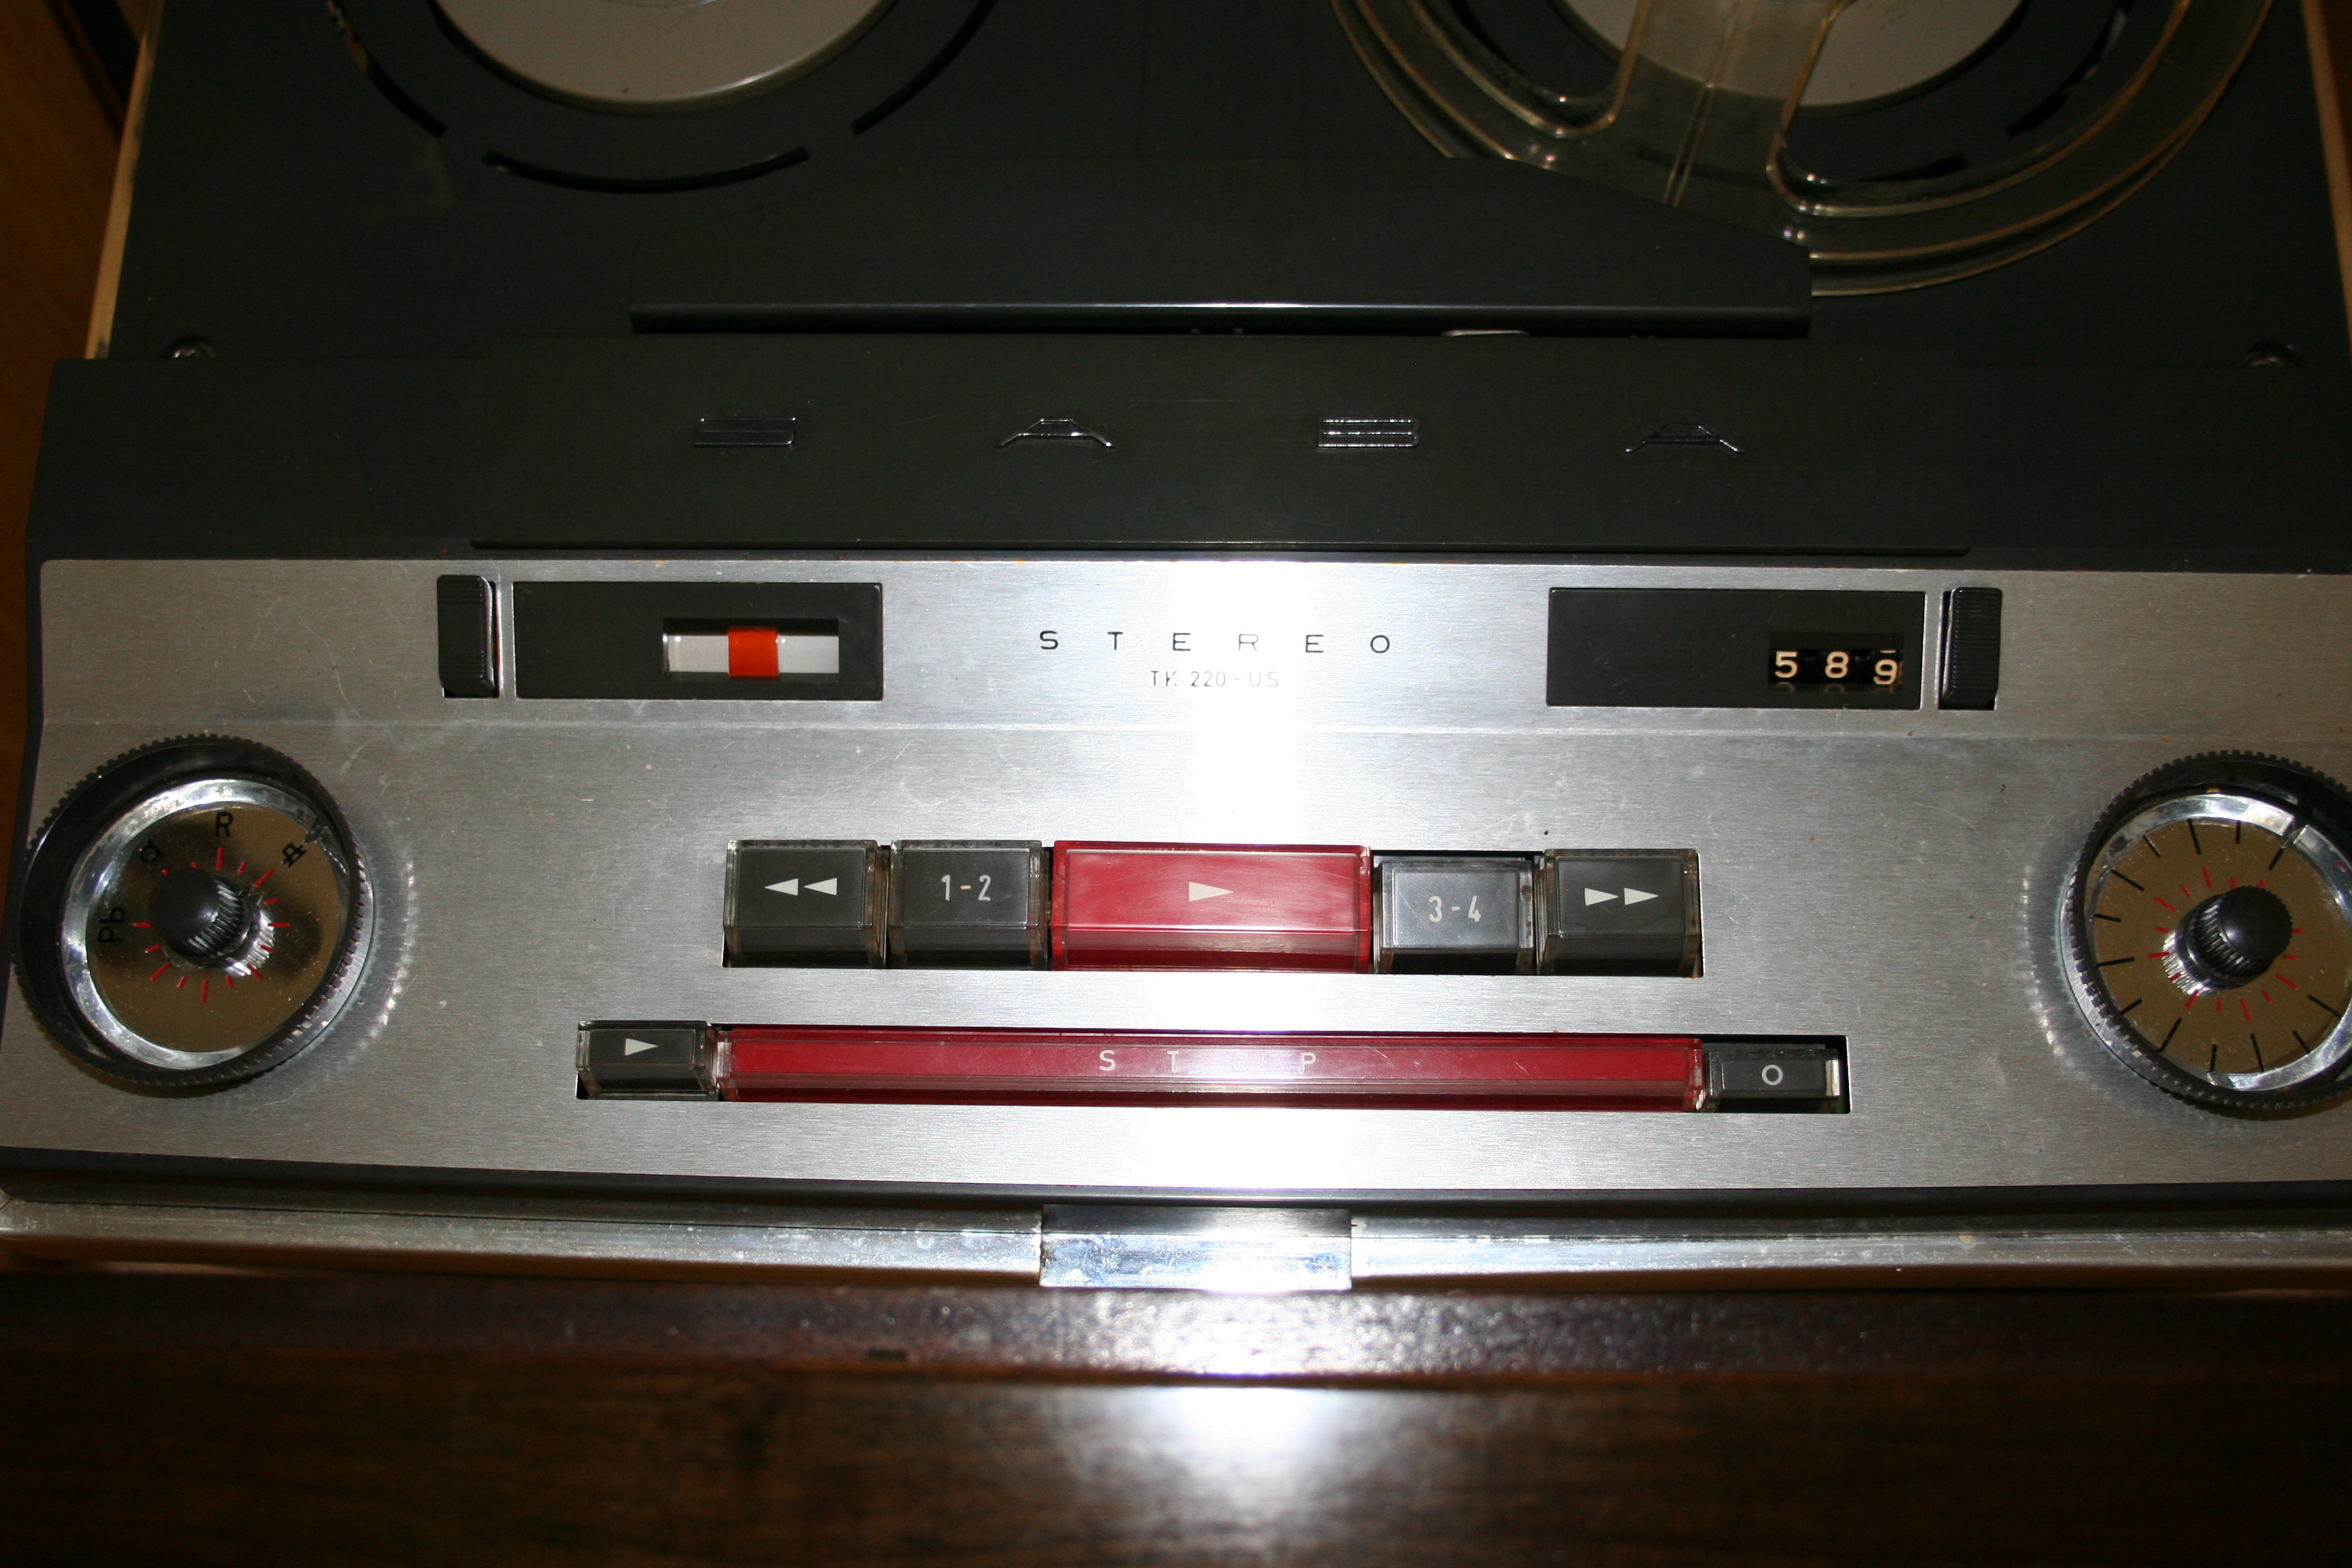
Here is the tape recorder all dressed up for the
road. Technically, it is not a tape
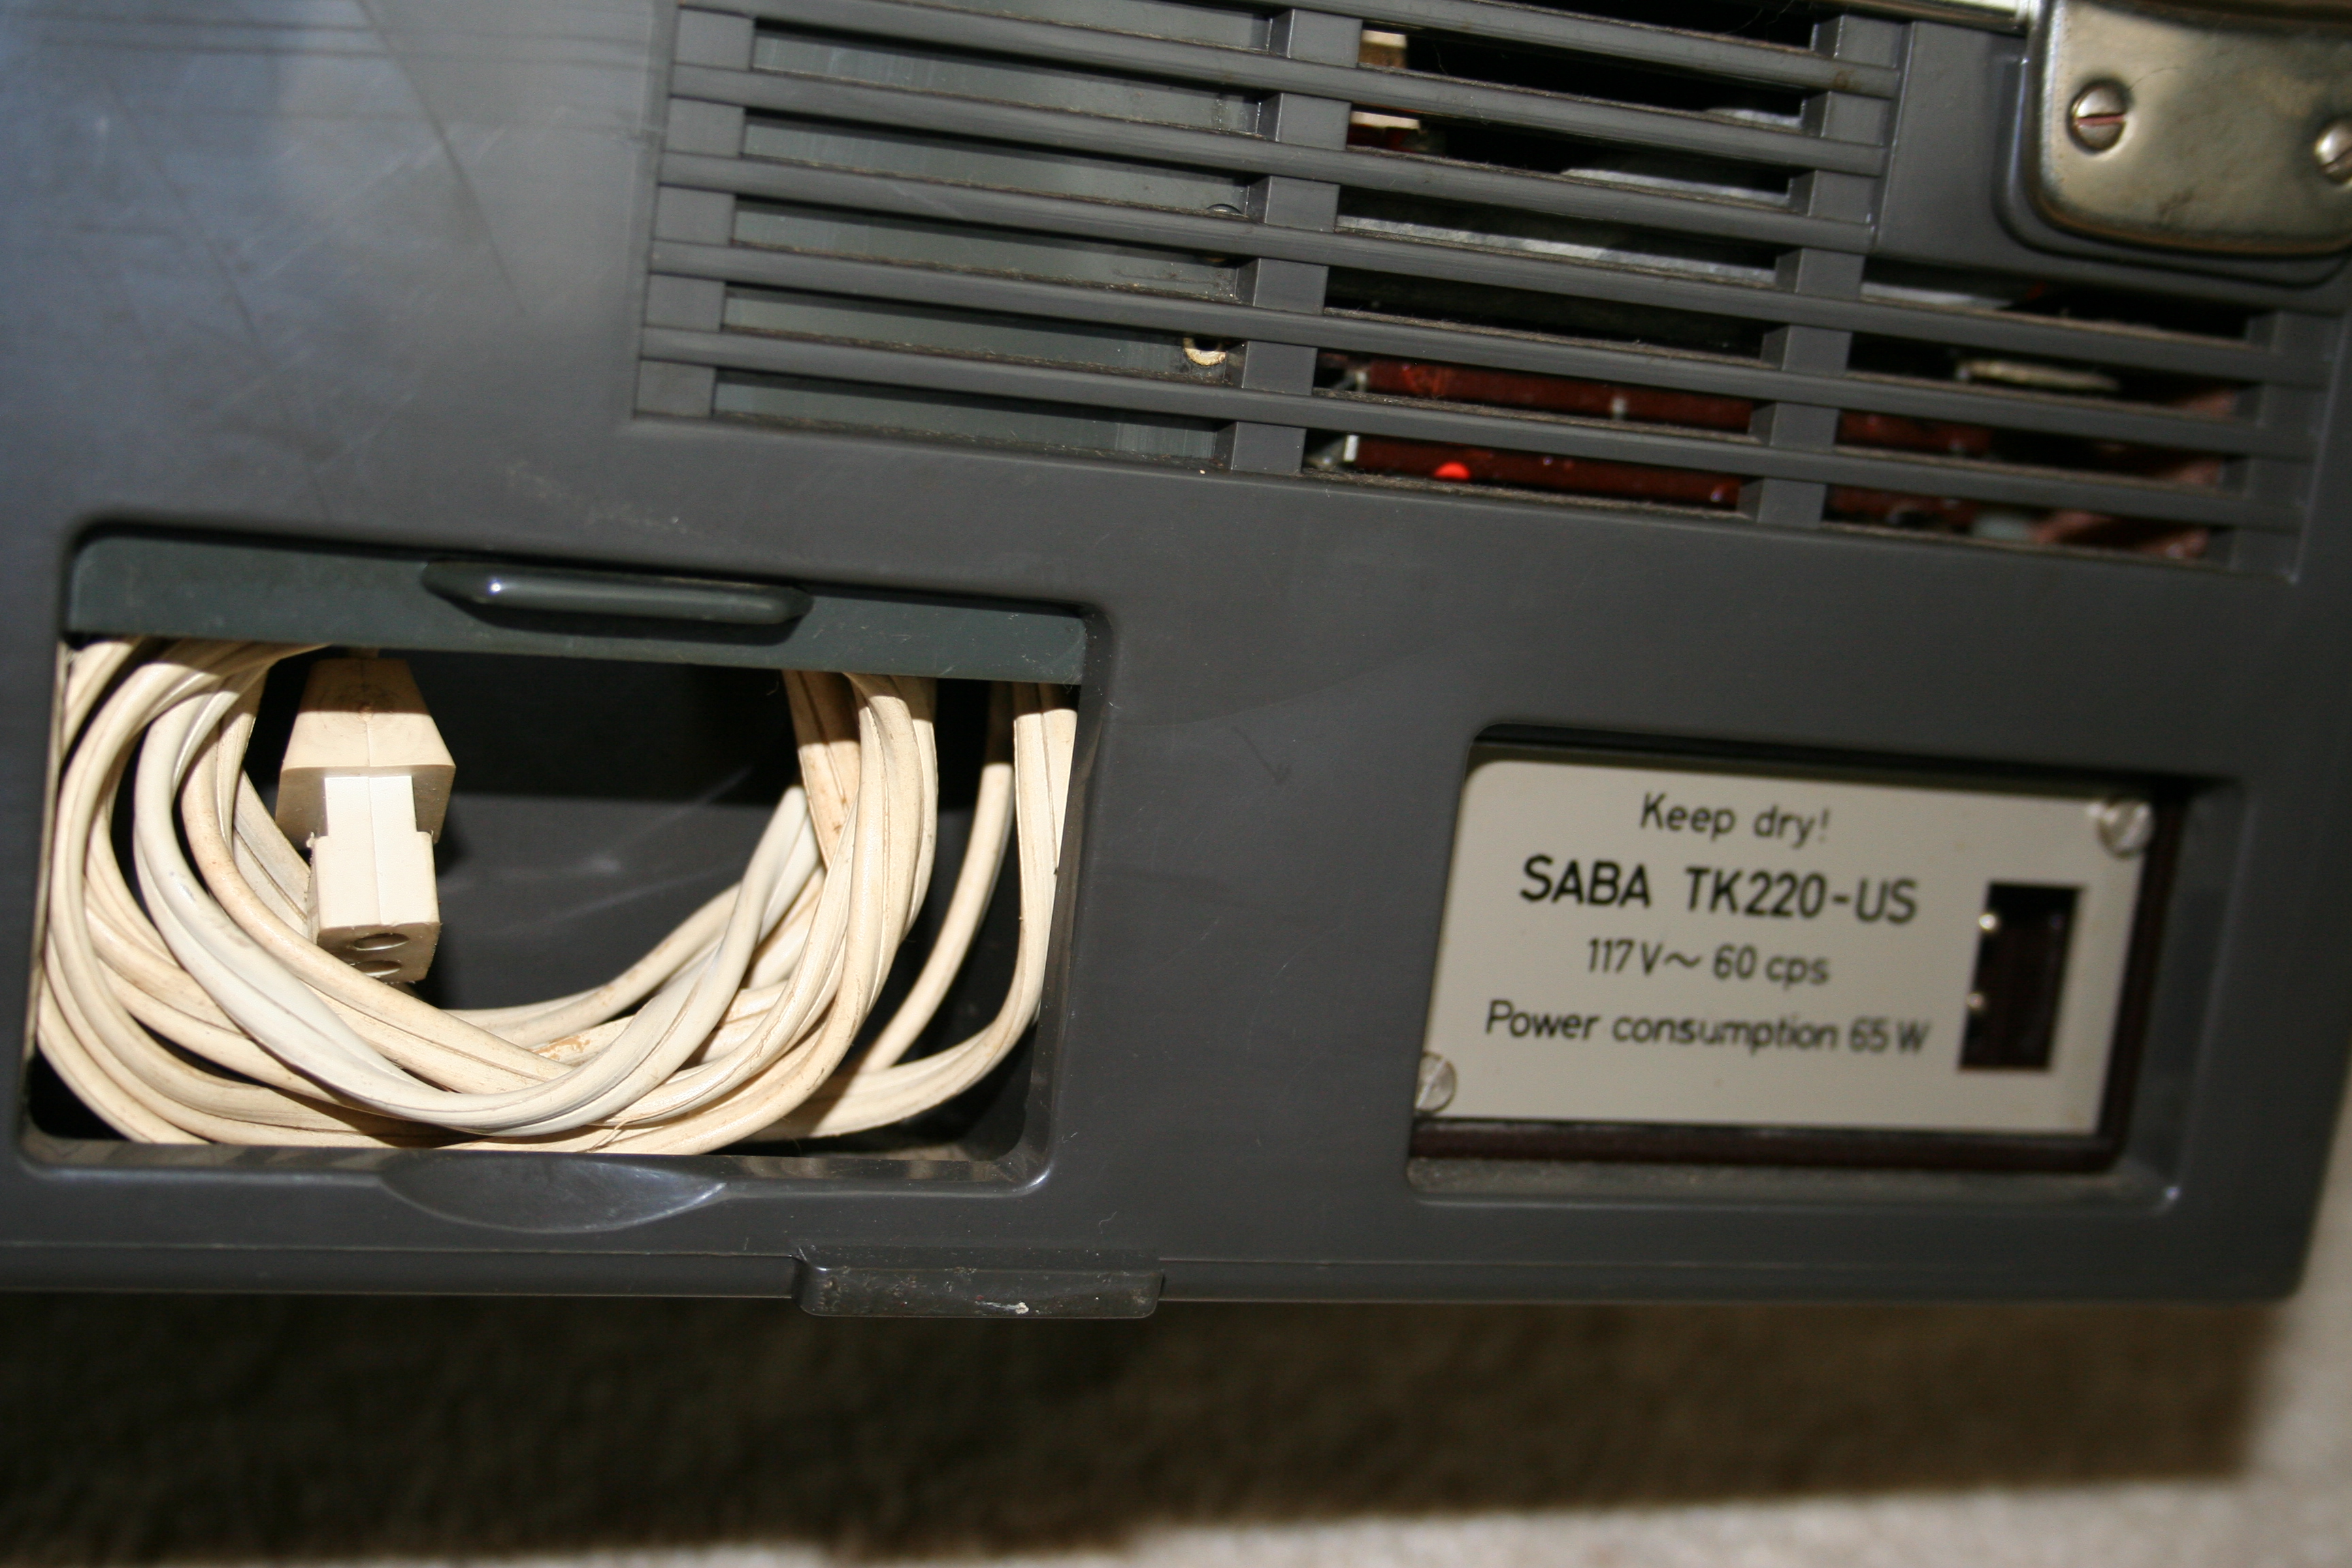
recorder. It is a SABAFON TK 220-US
Stereo. The back cover of the
manual includes the name and address of Lone Pine Electronic Products
Corporation,
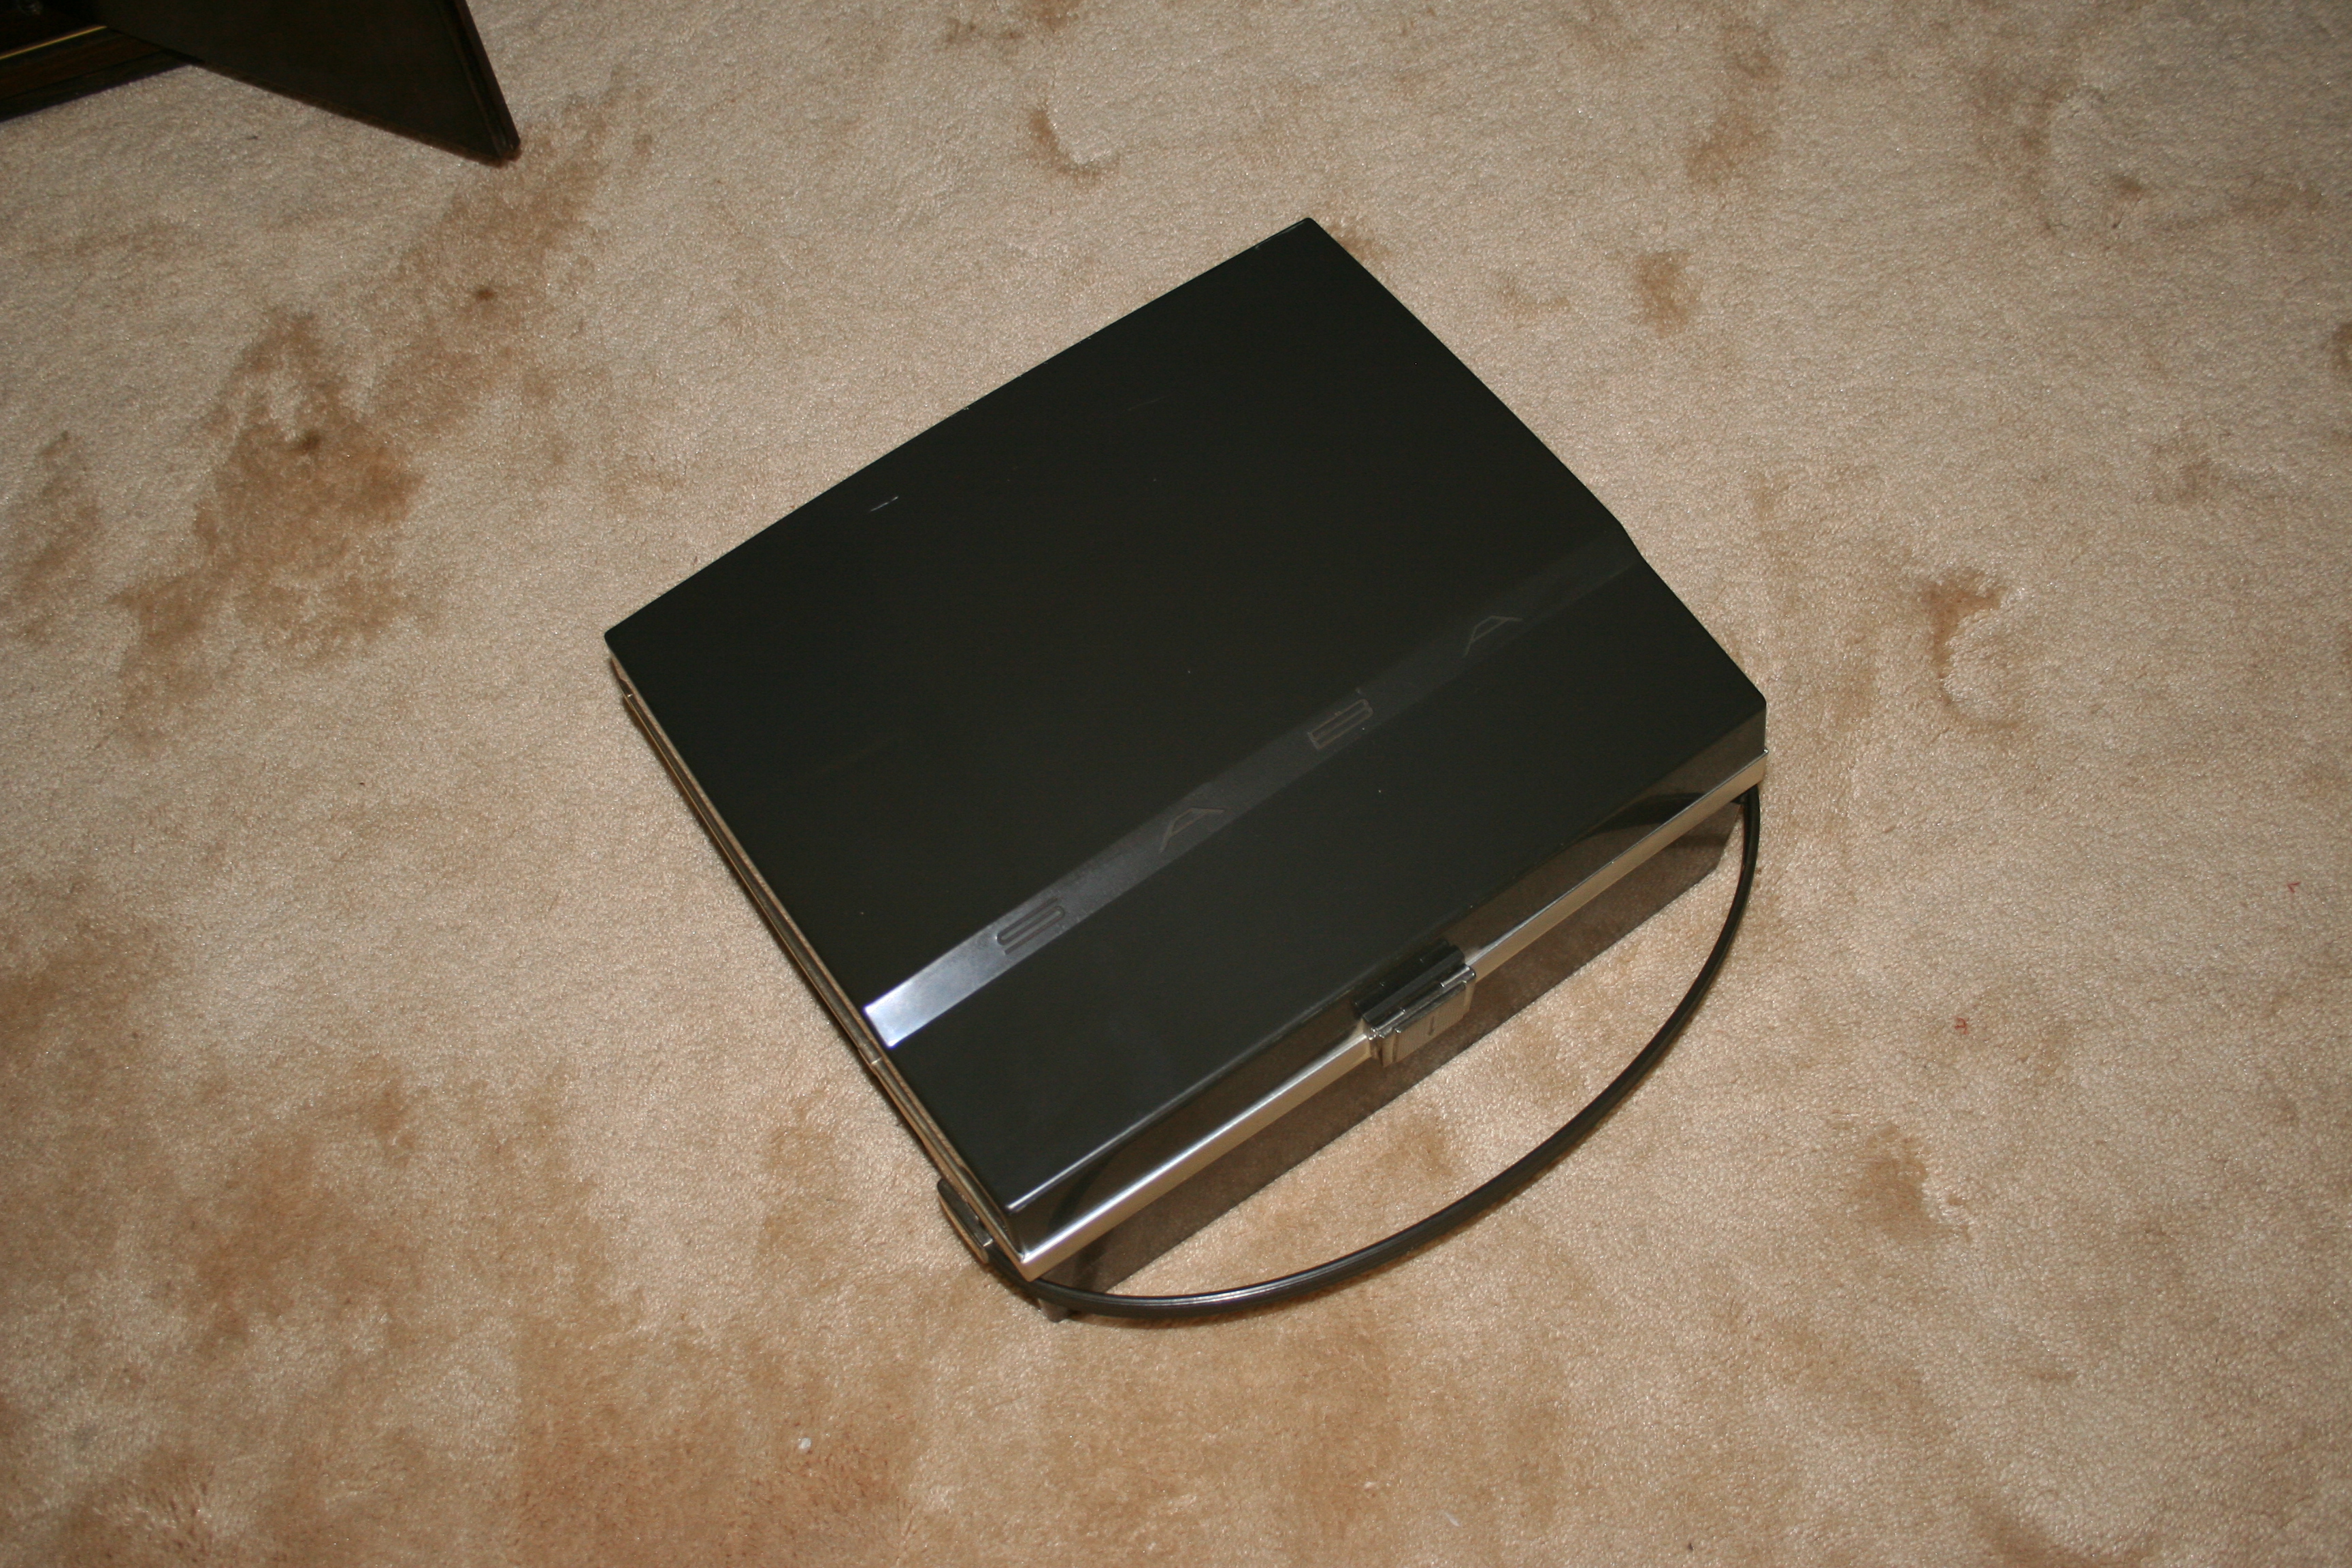
Remove the lid and the handle, and in she goes.

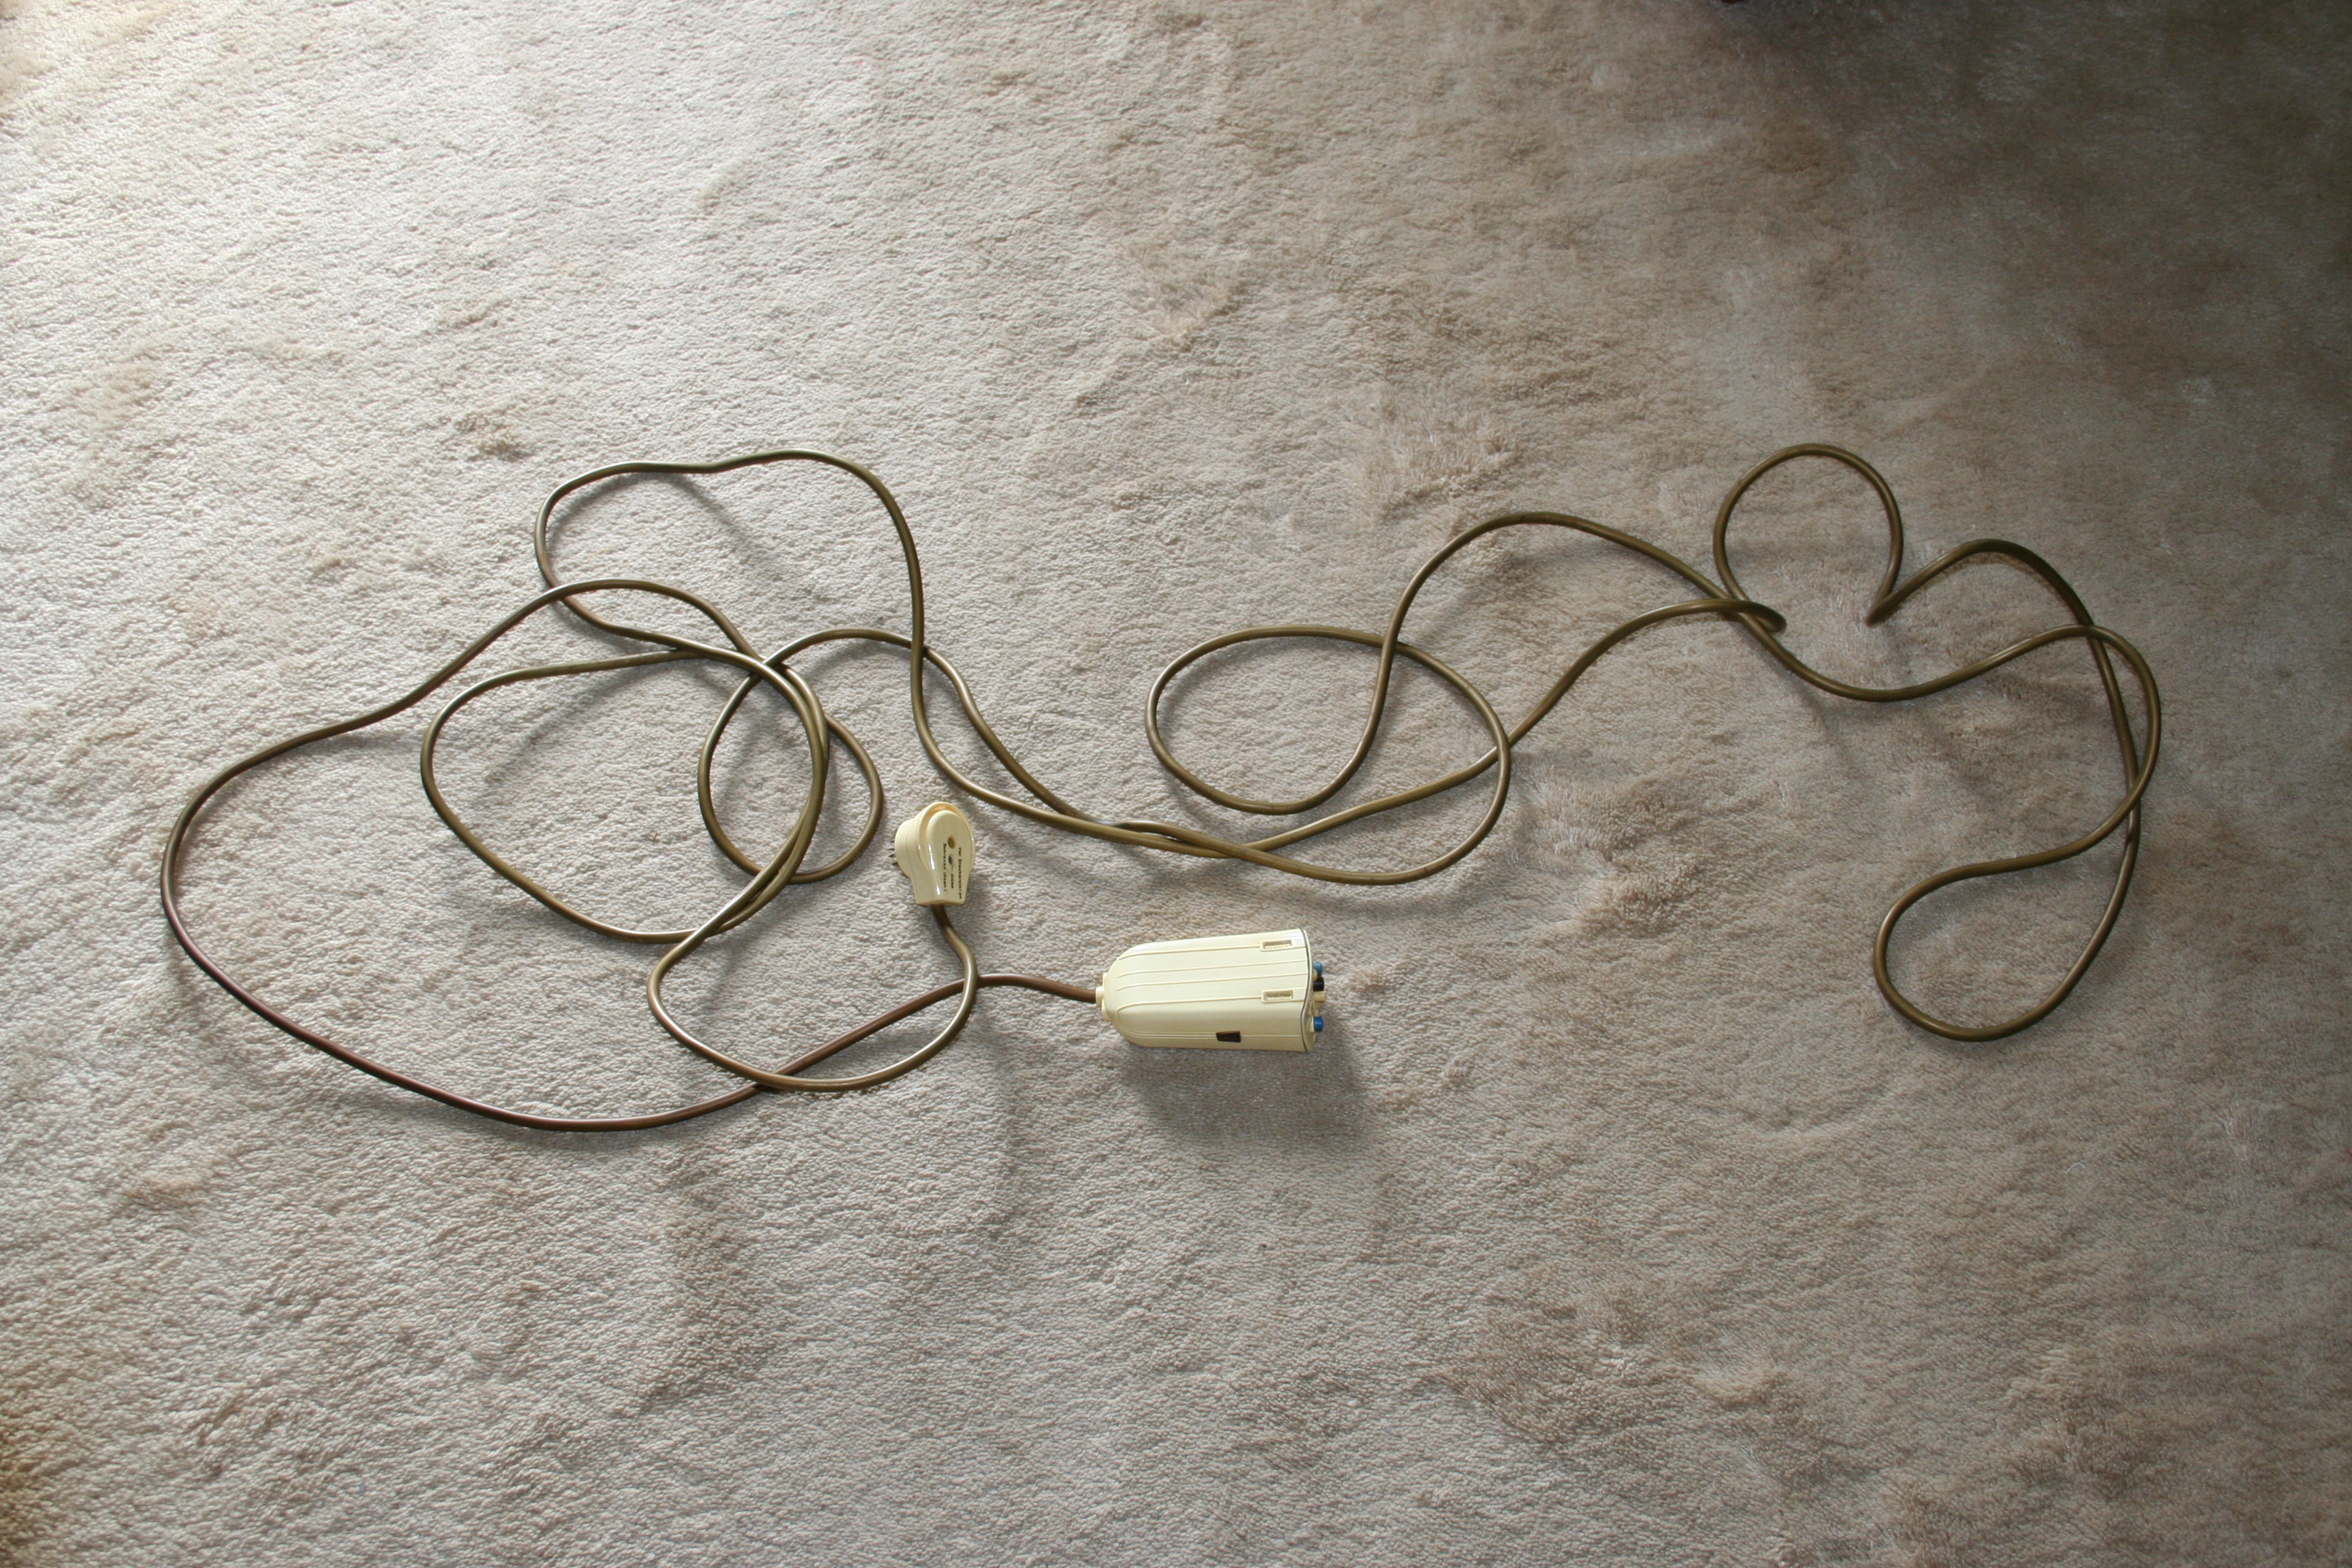
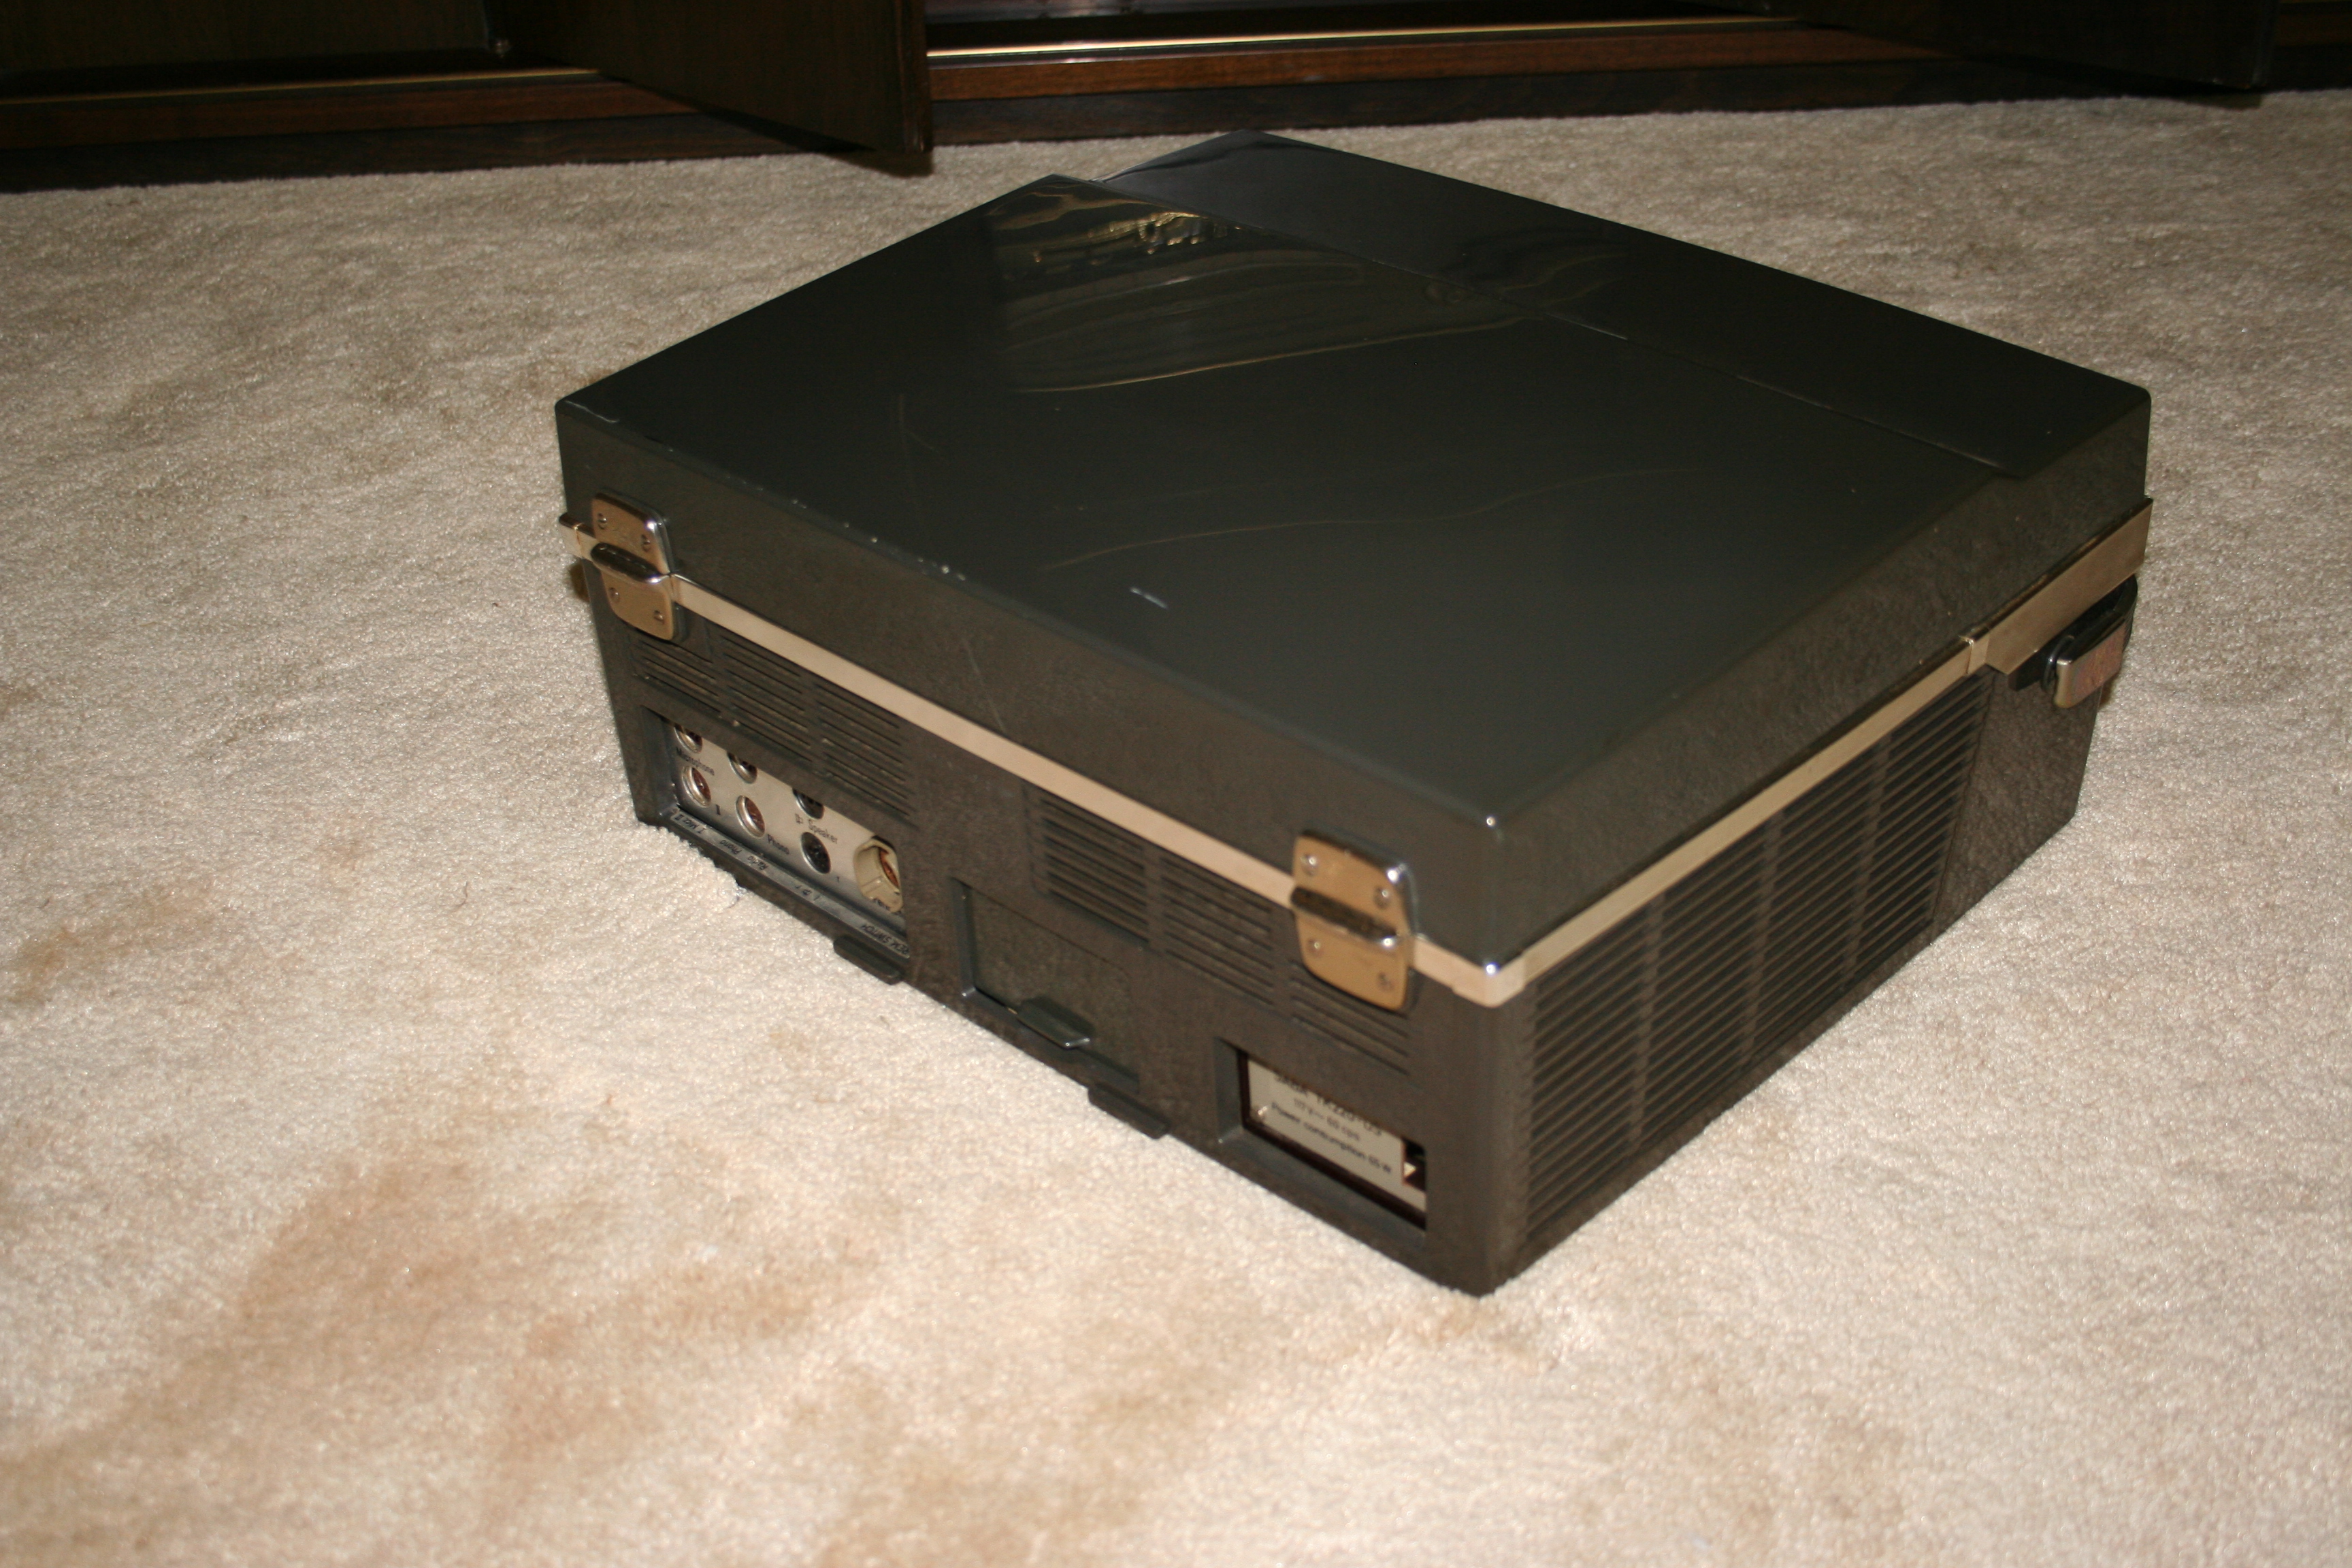
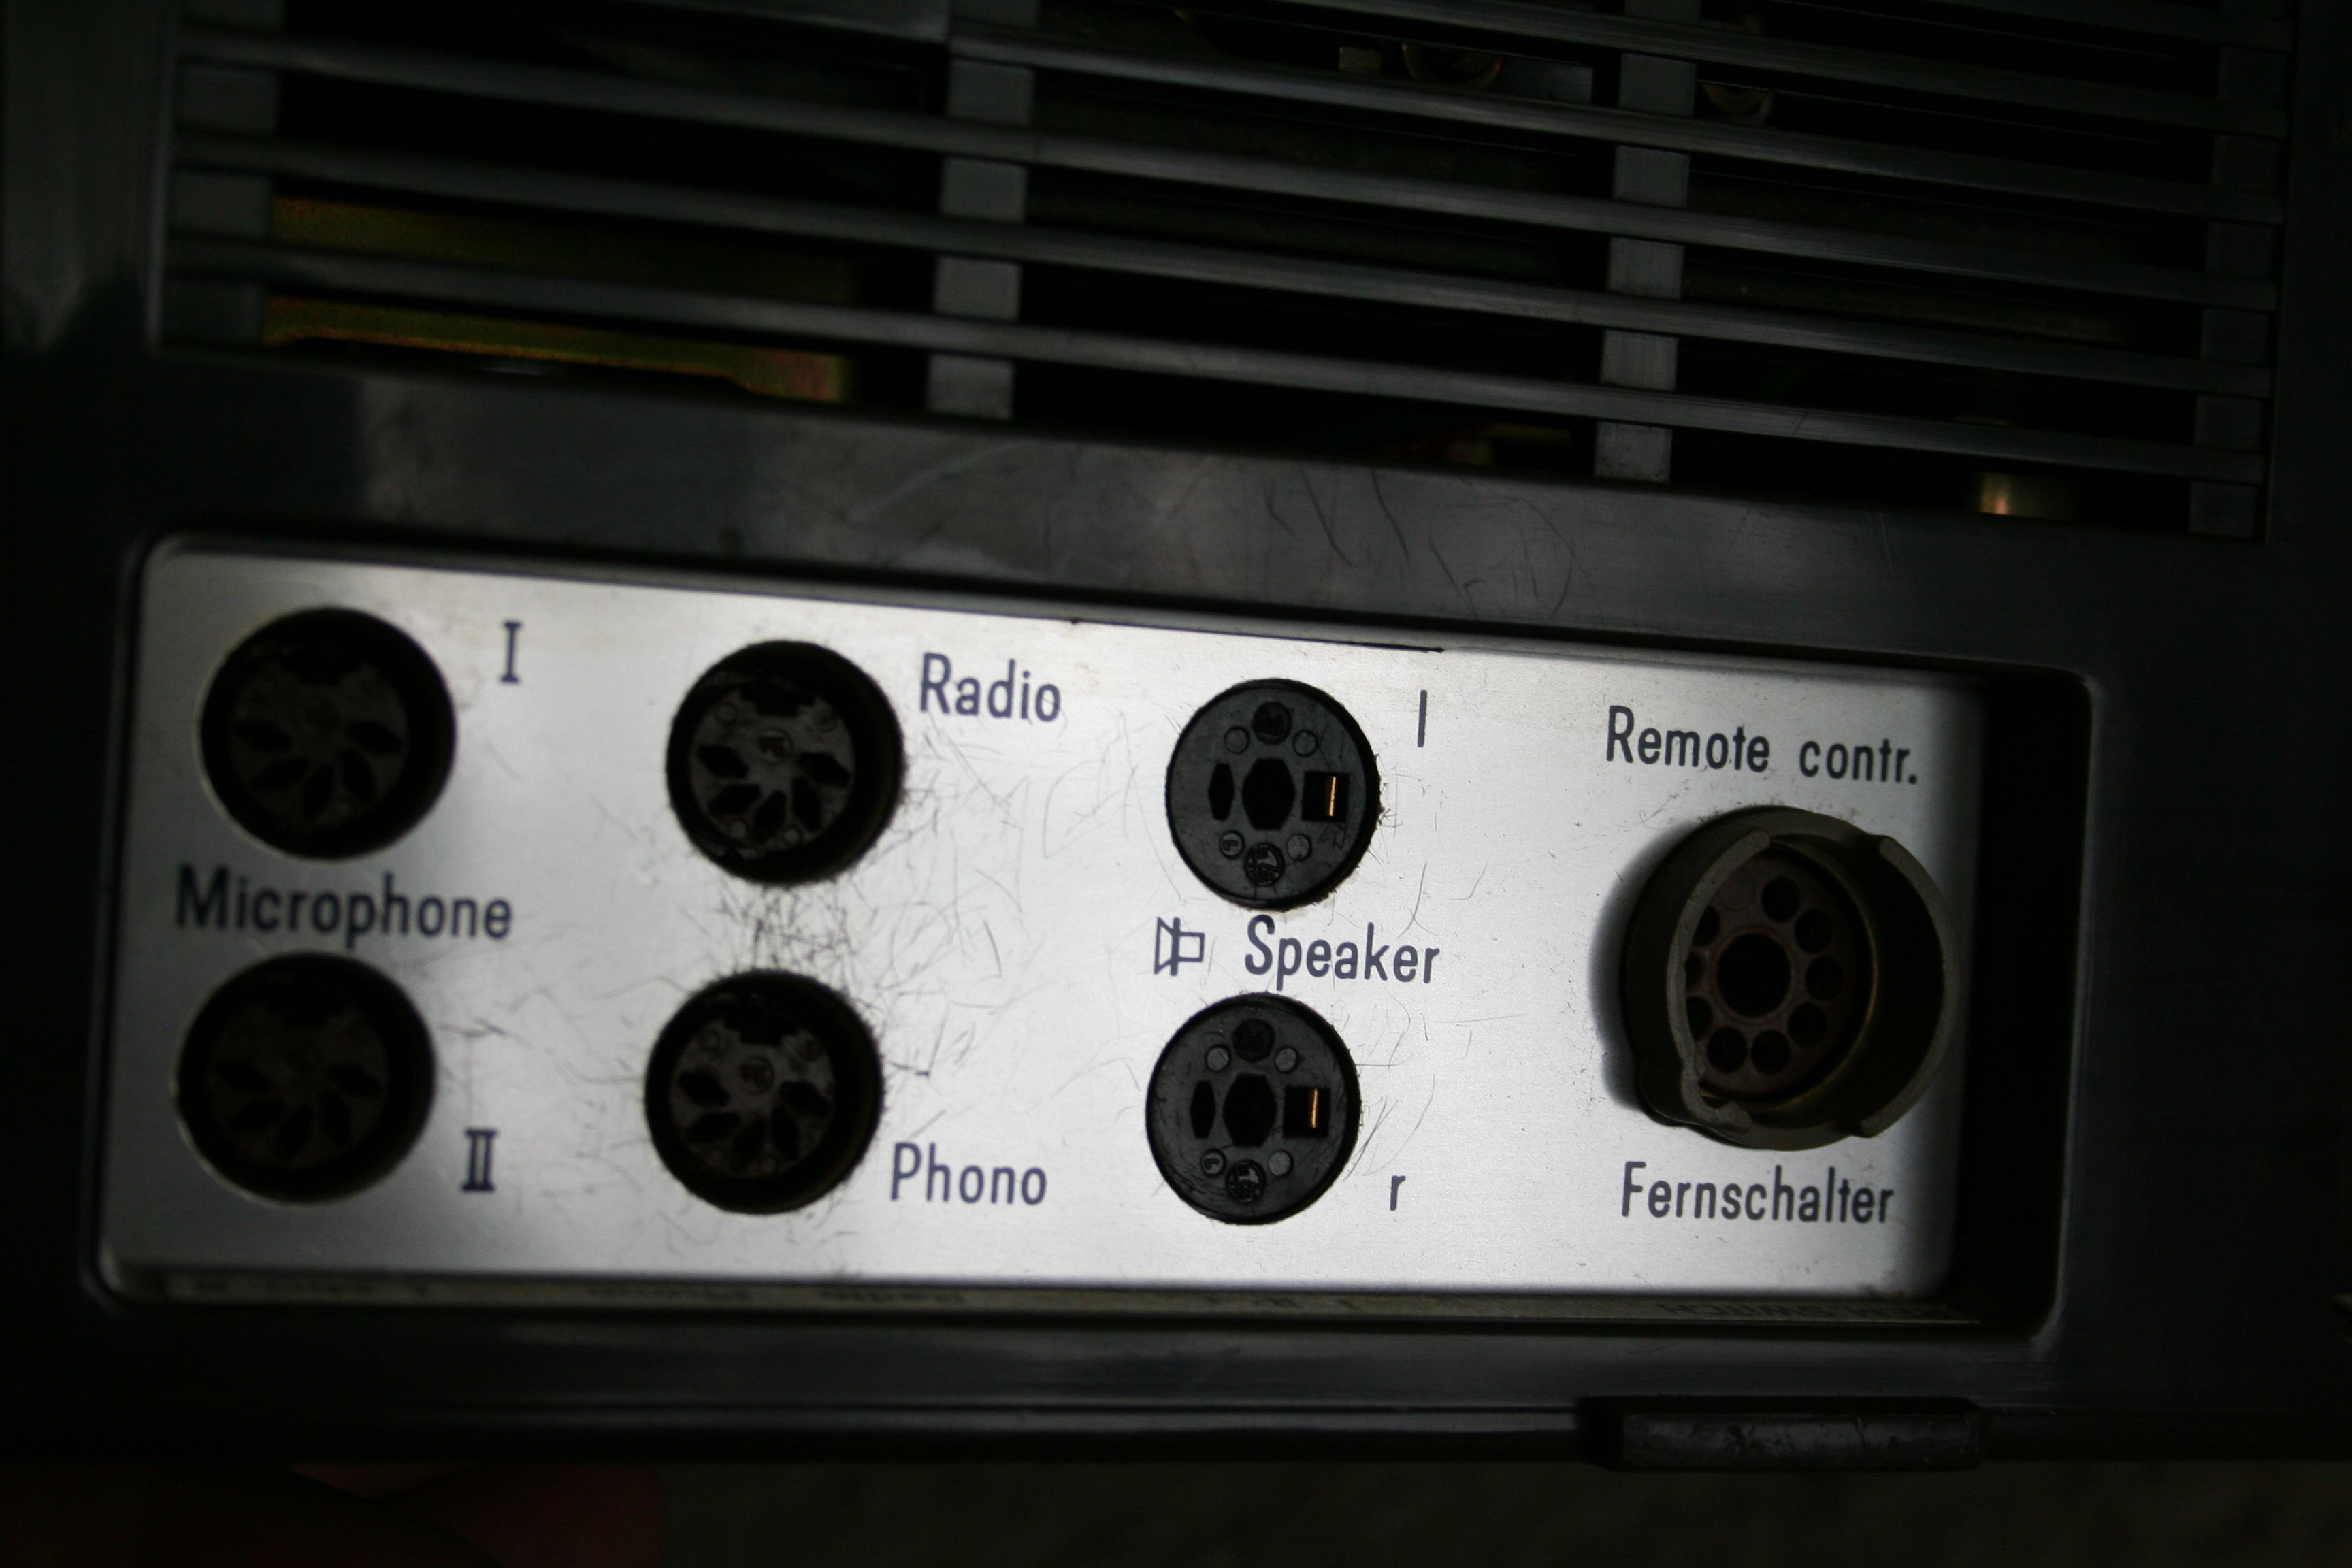
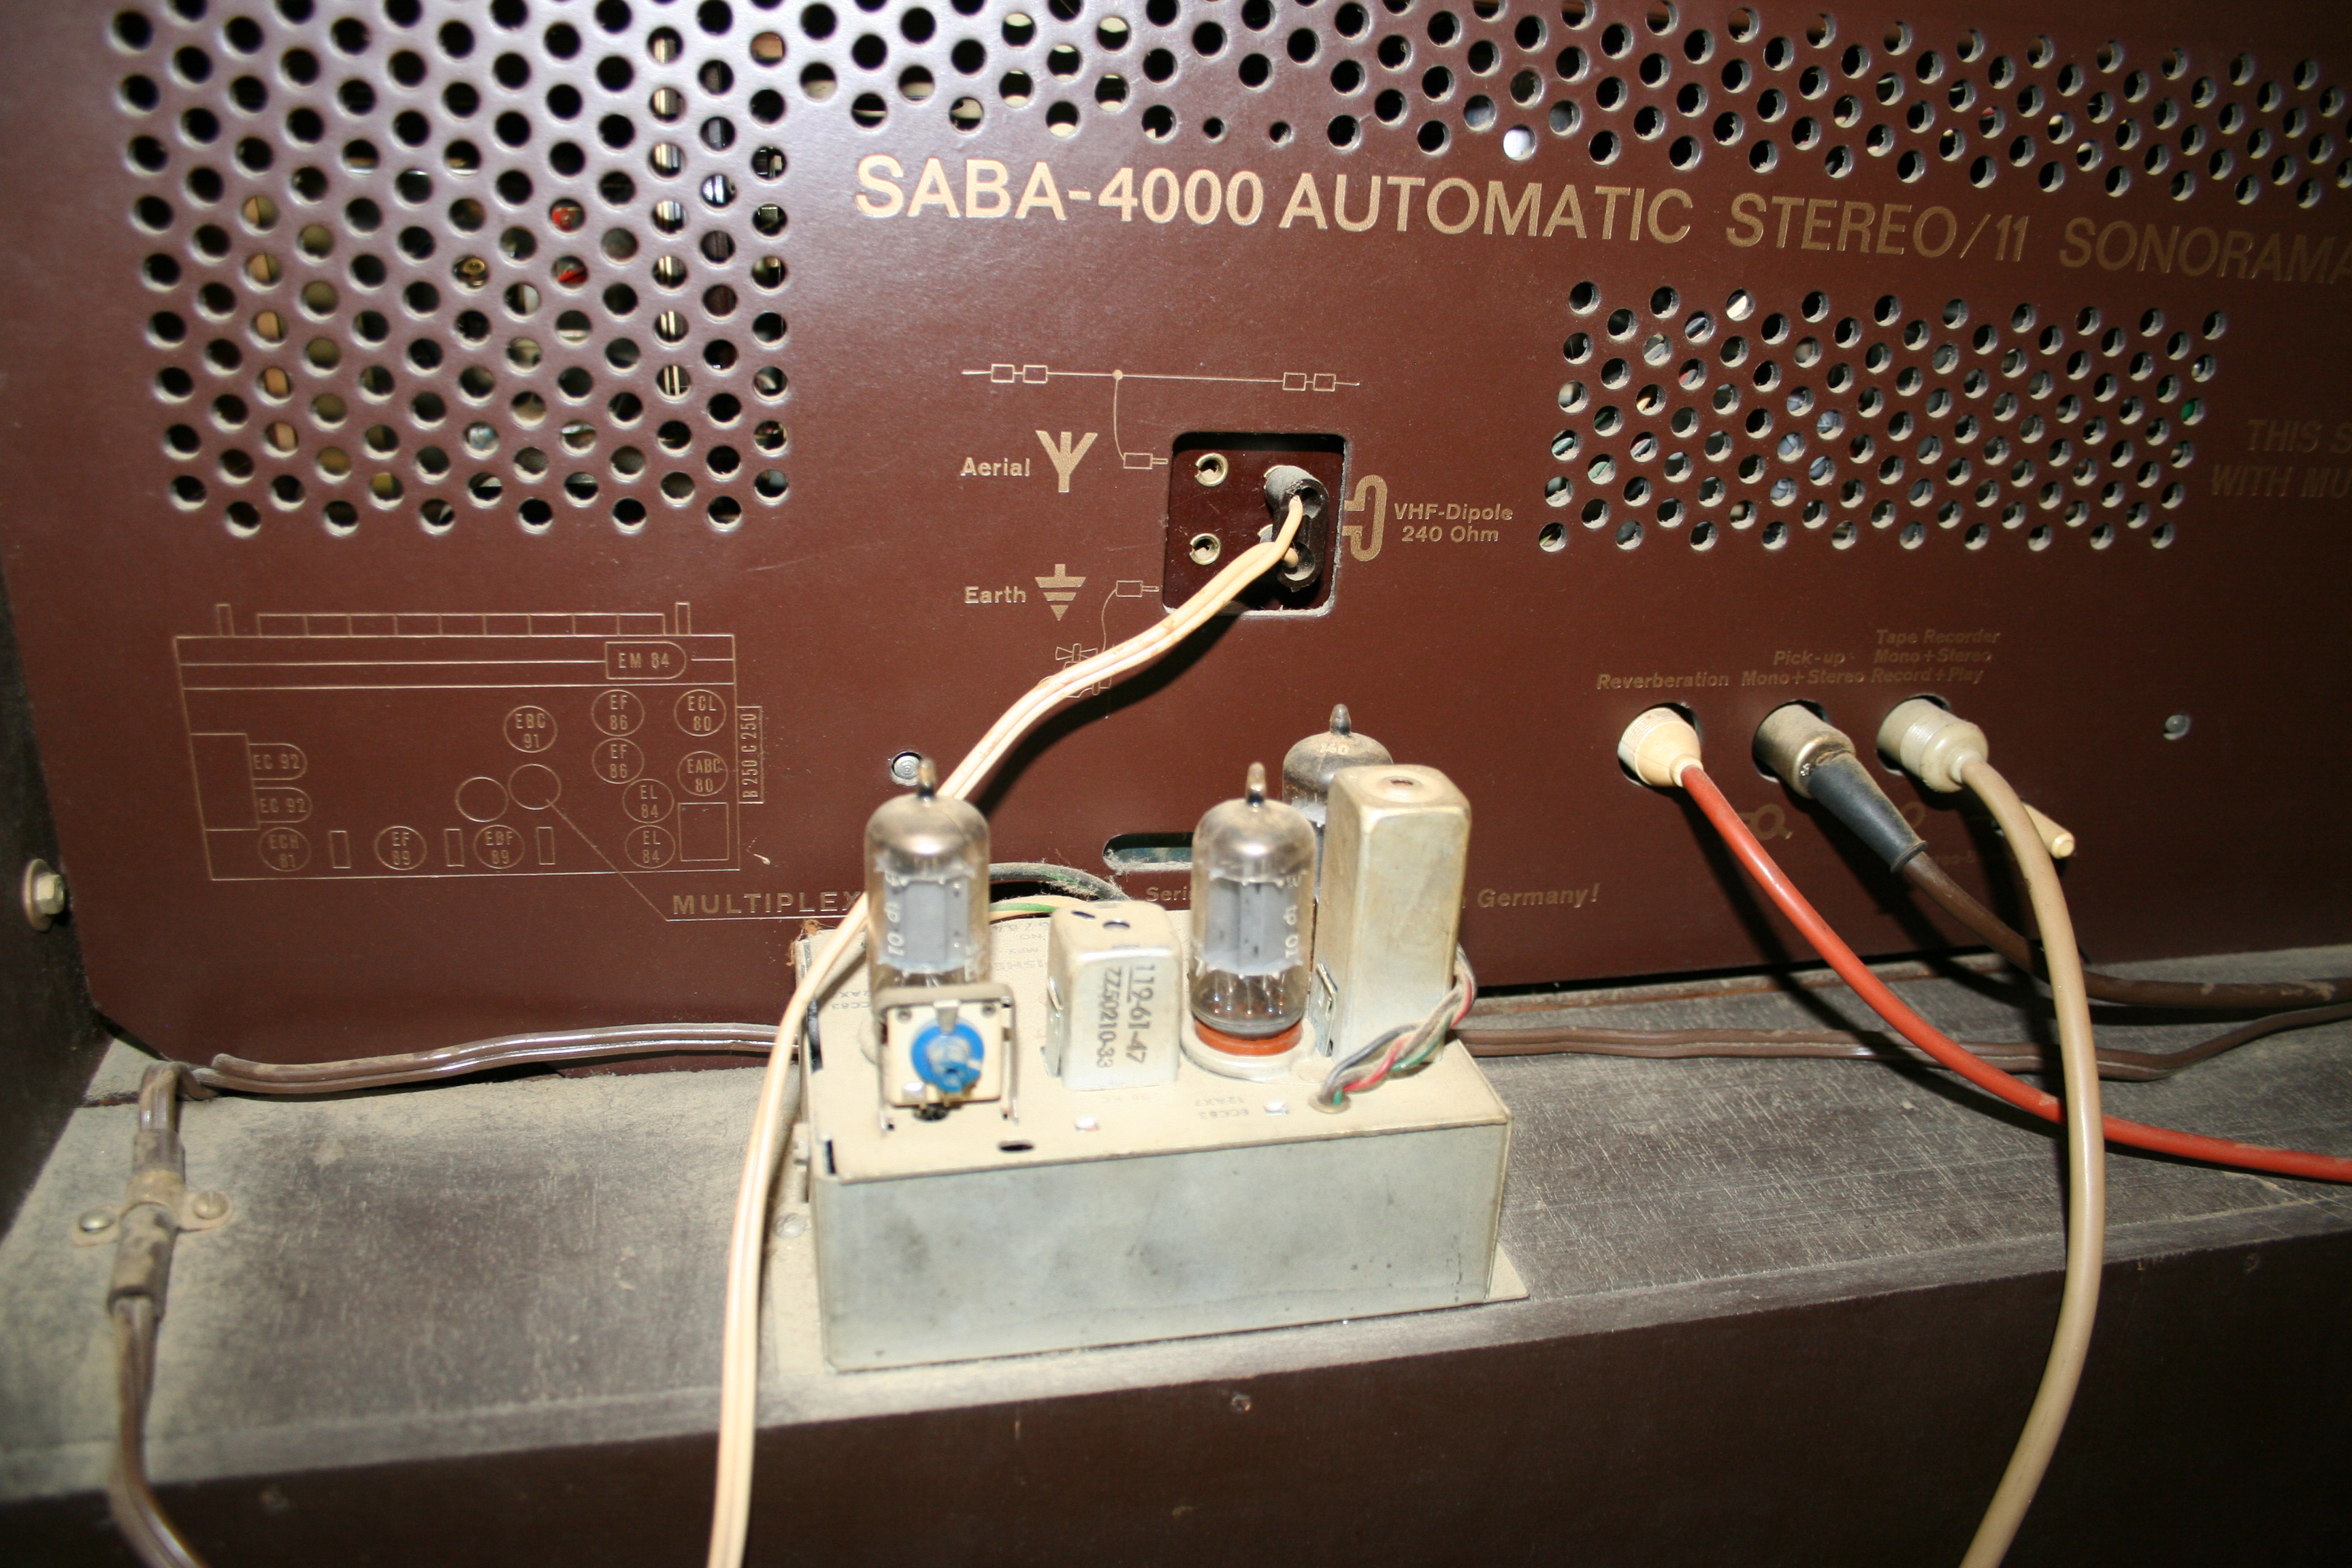
The left picture below shows the main connections. I never did order the remote
control. Its main function is for
use with a slide projector to synchronize sound with the slides. I love the little storage compartment
for the power cord shown on the right.
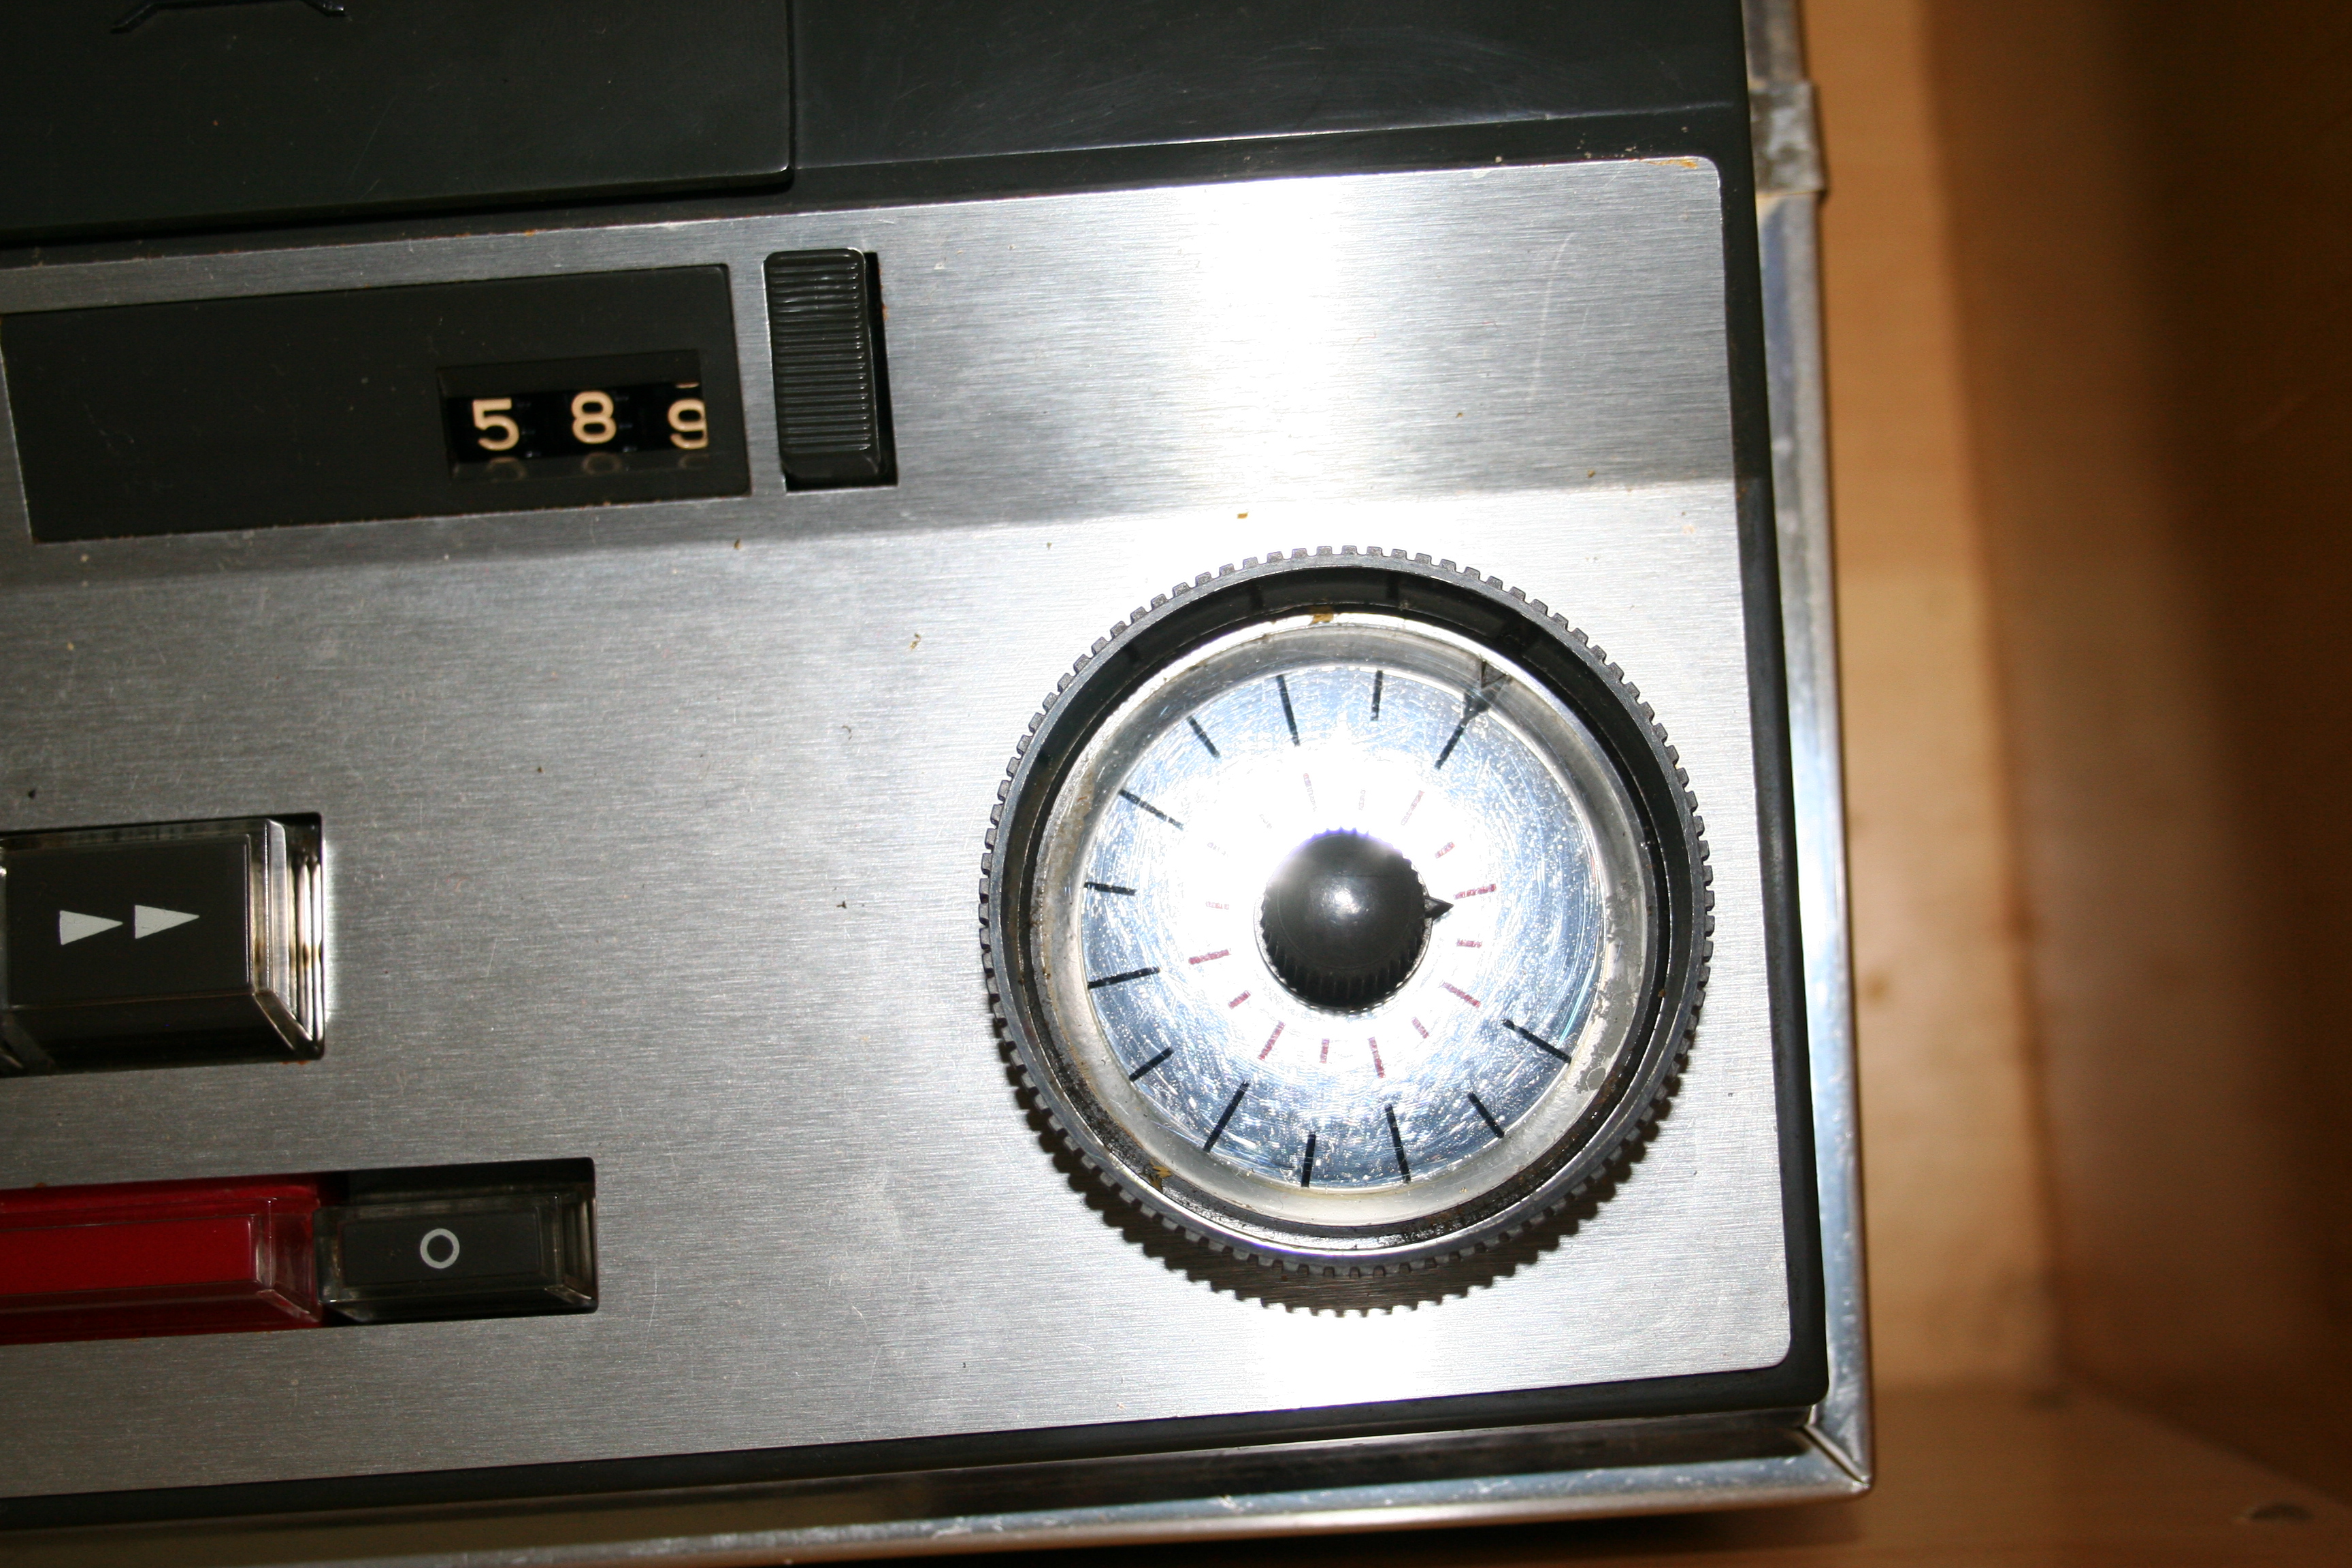
It
took a little time to learn to use the controls. The markings are not all that
clear. The knob on the left
controlled the source and the recording level. The one on the right took care of the
playback volume and a second recording level. Without going into a lot of detail, you
can dub from one track to another, add a new track, or mix the two. The two-speed switch is a little
strange. It is also the power
switch so you turn it on to either 7 ½ or 3 ¾ ips.
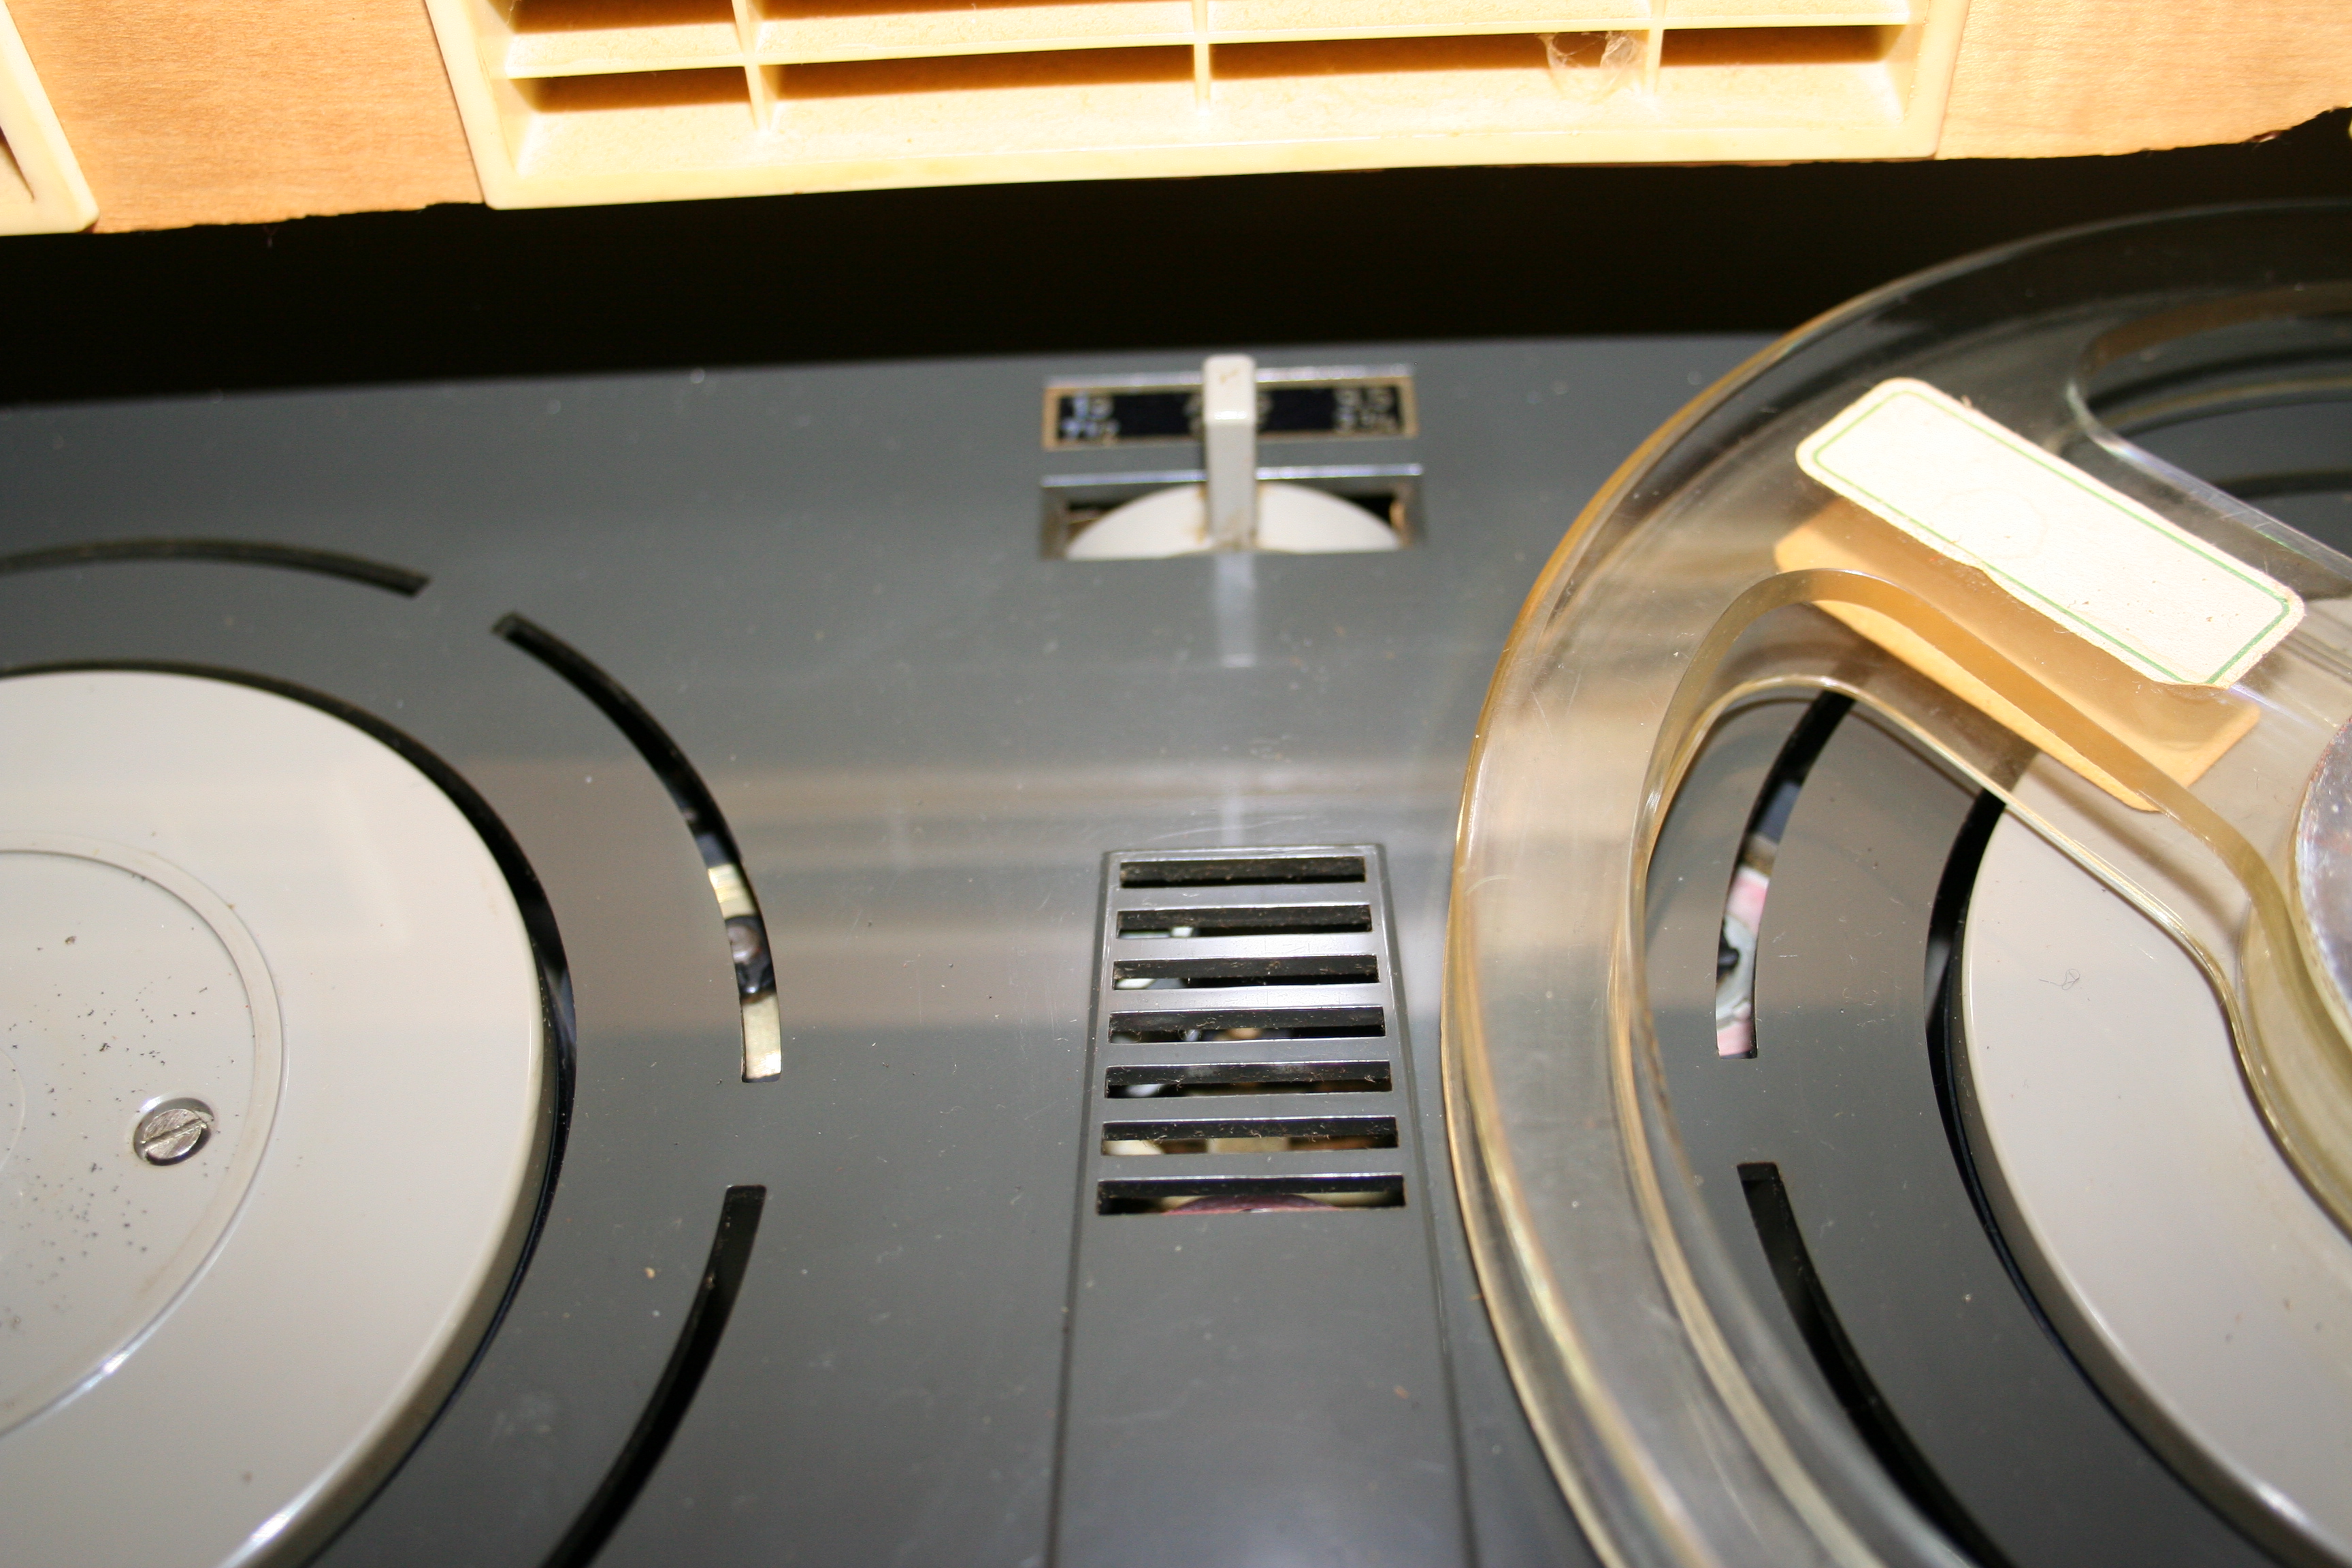
Are you ready to see the ladys backside? Ill start by showing you the cutout for
the SABAFON.
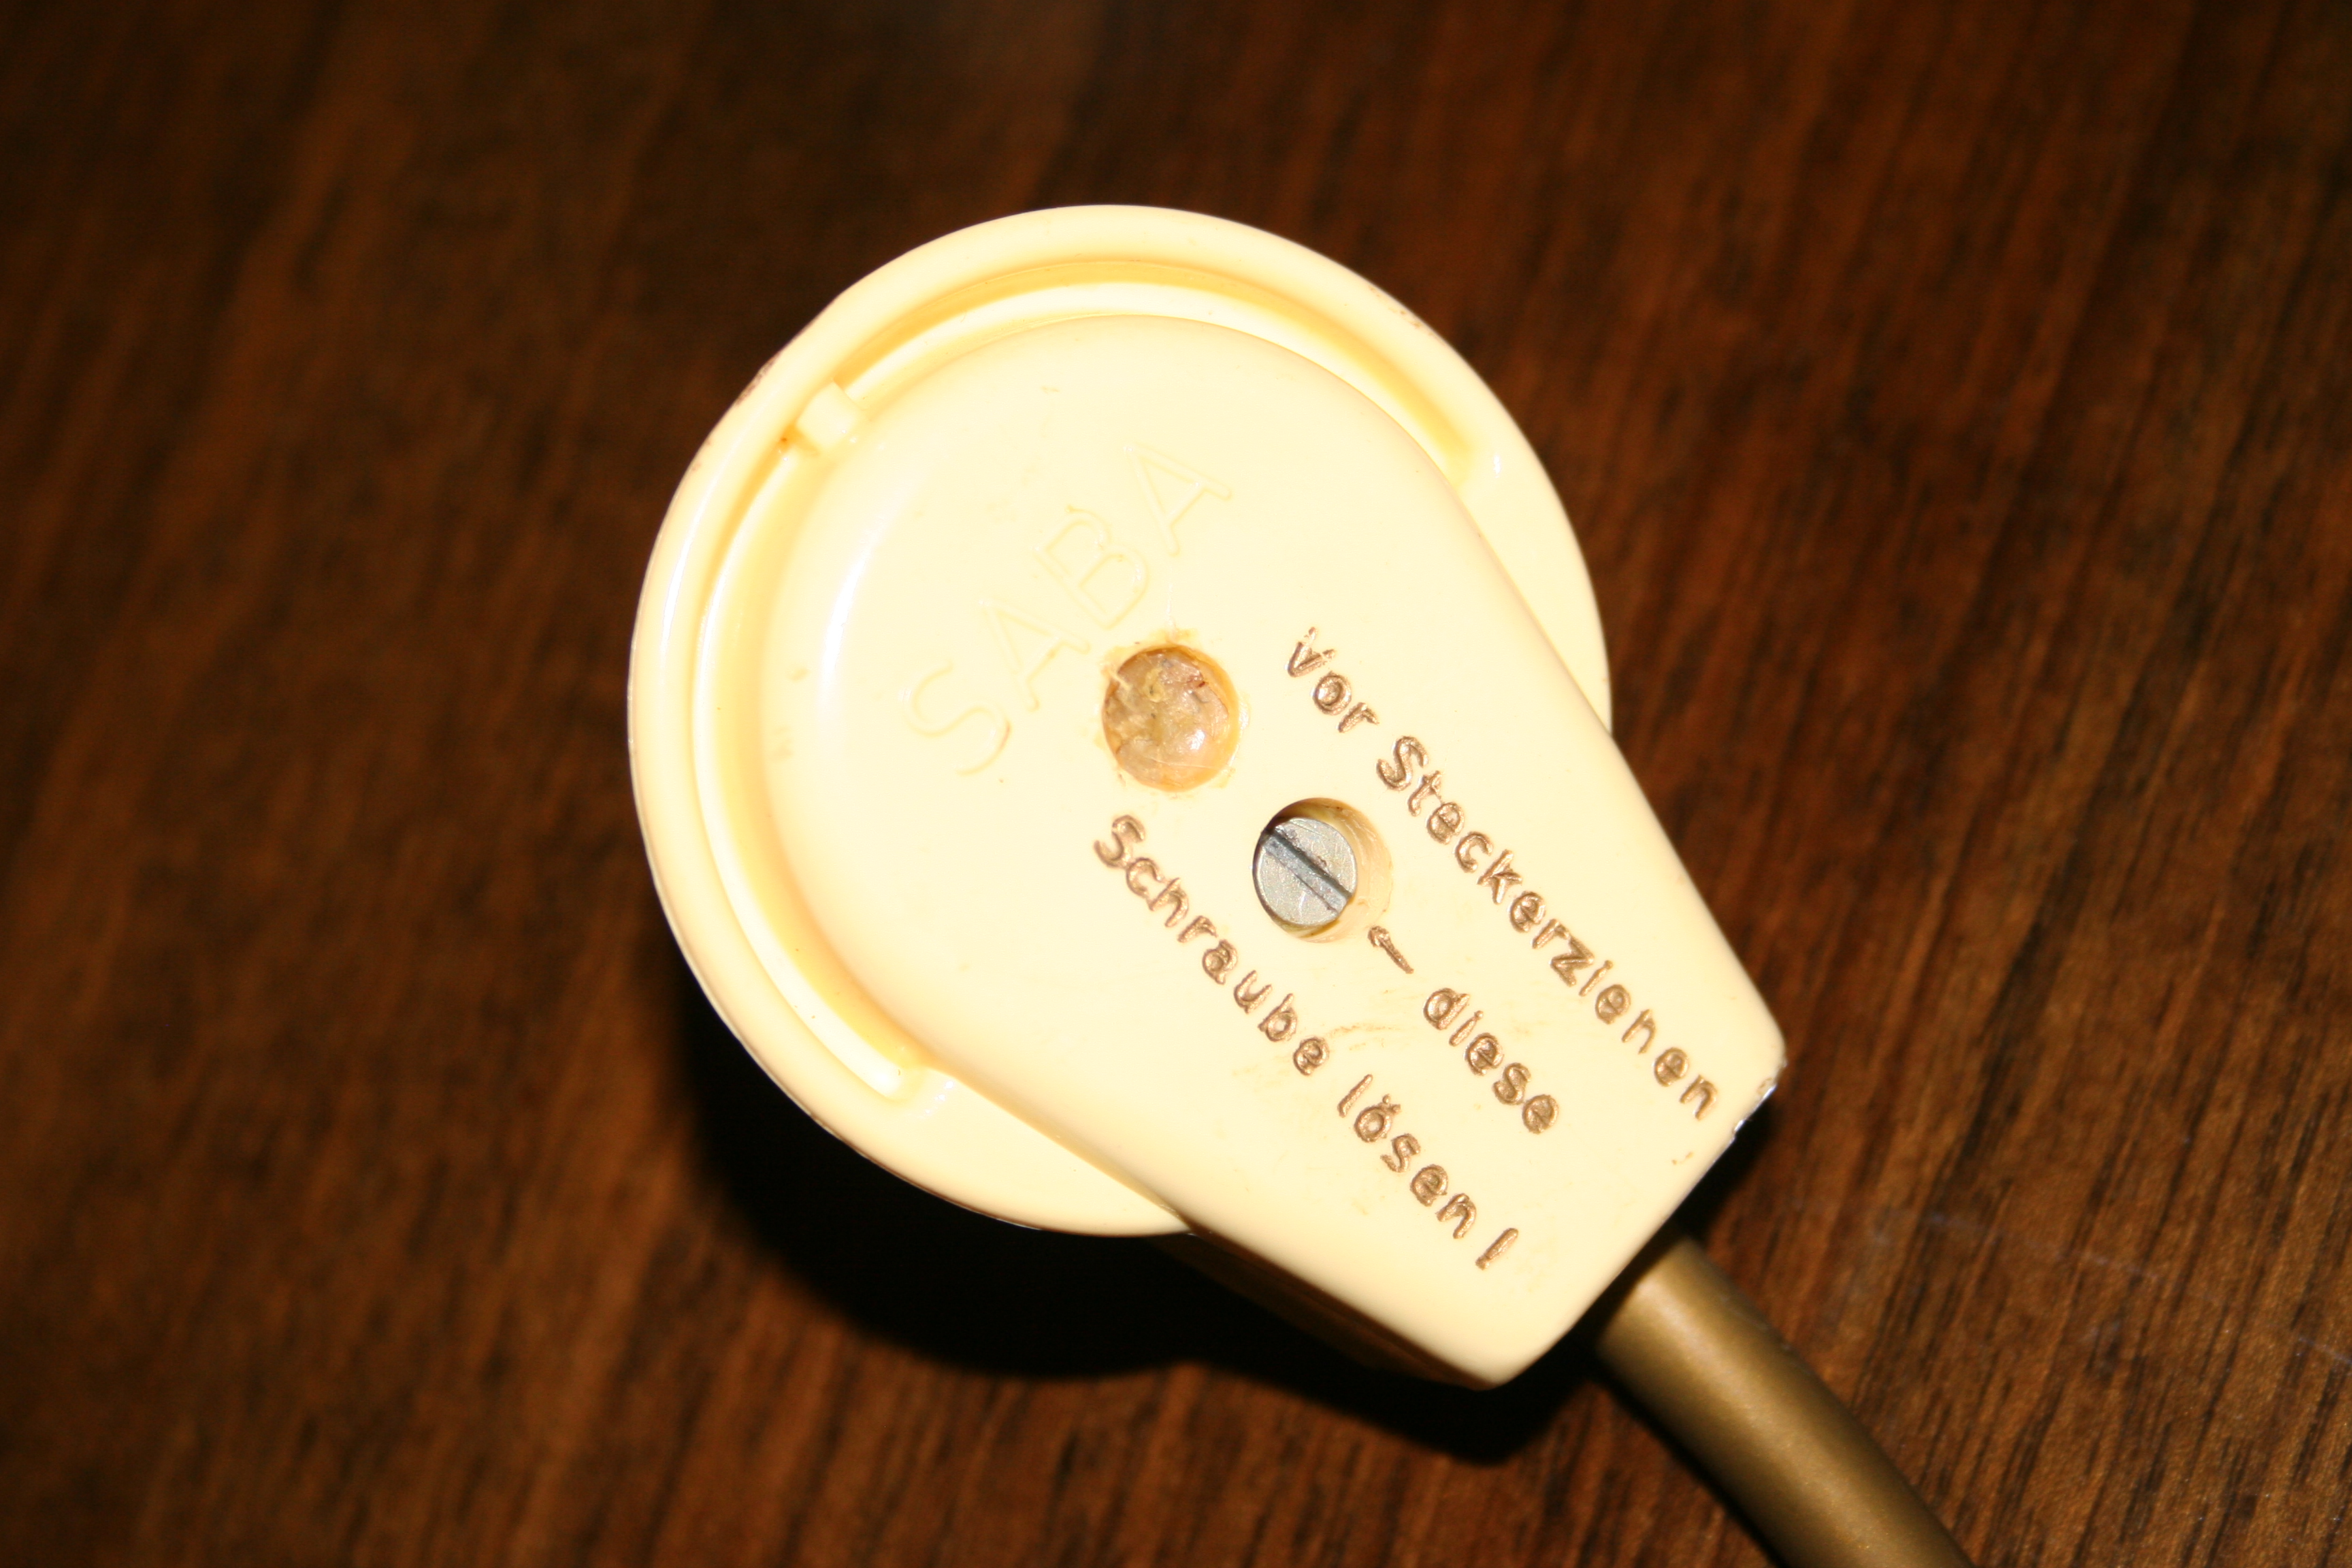
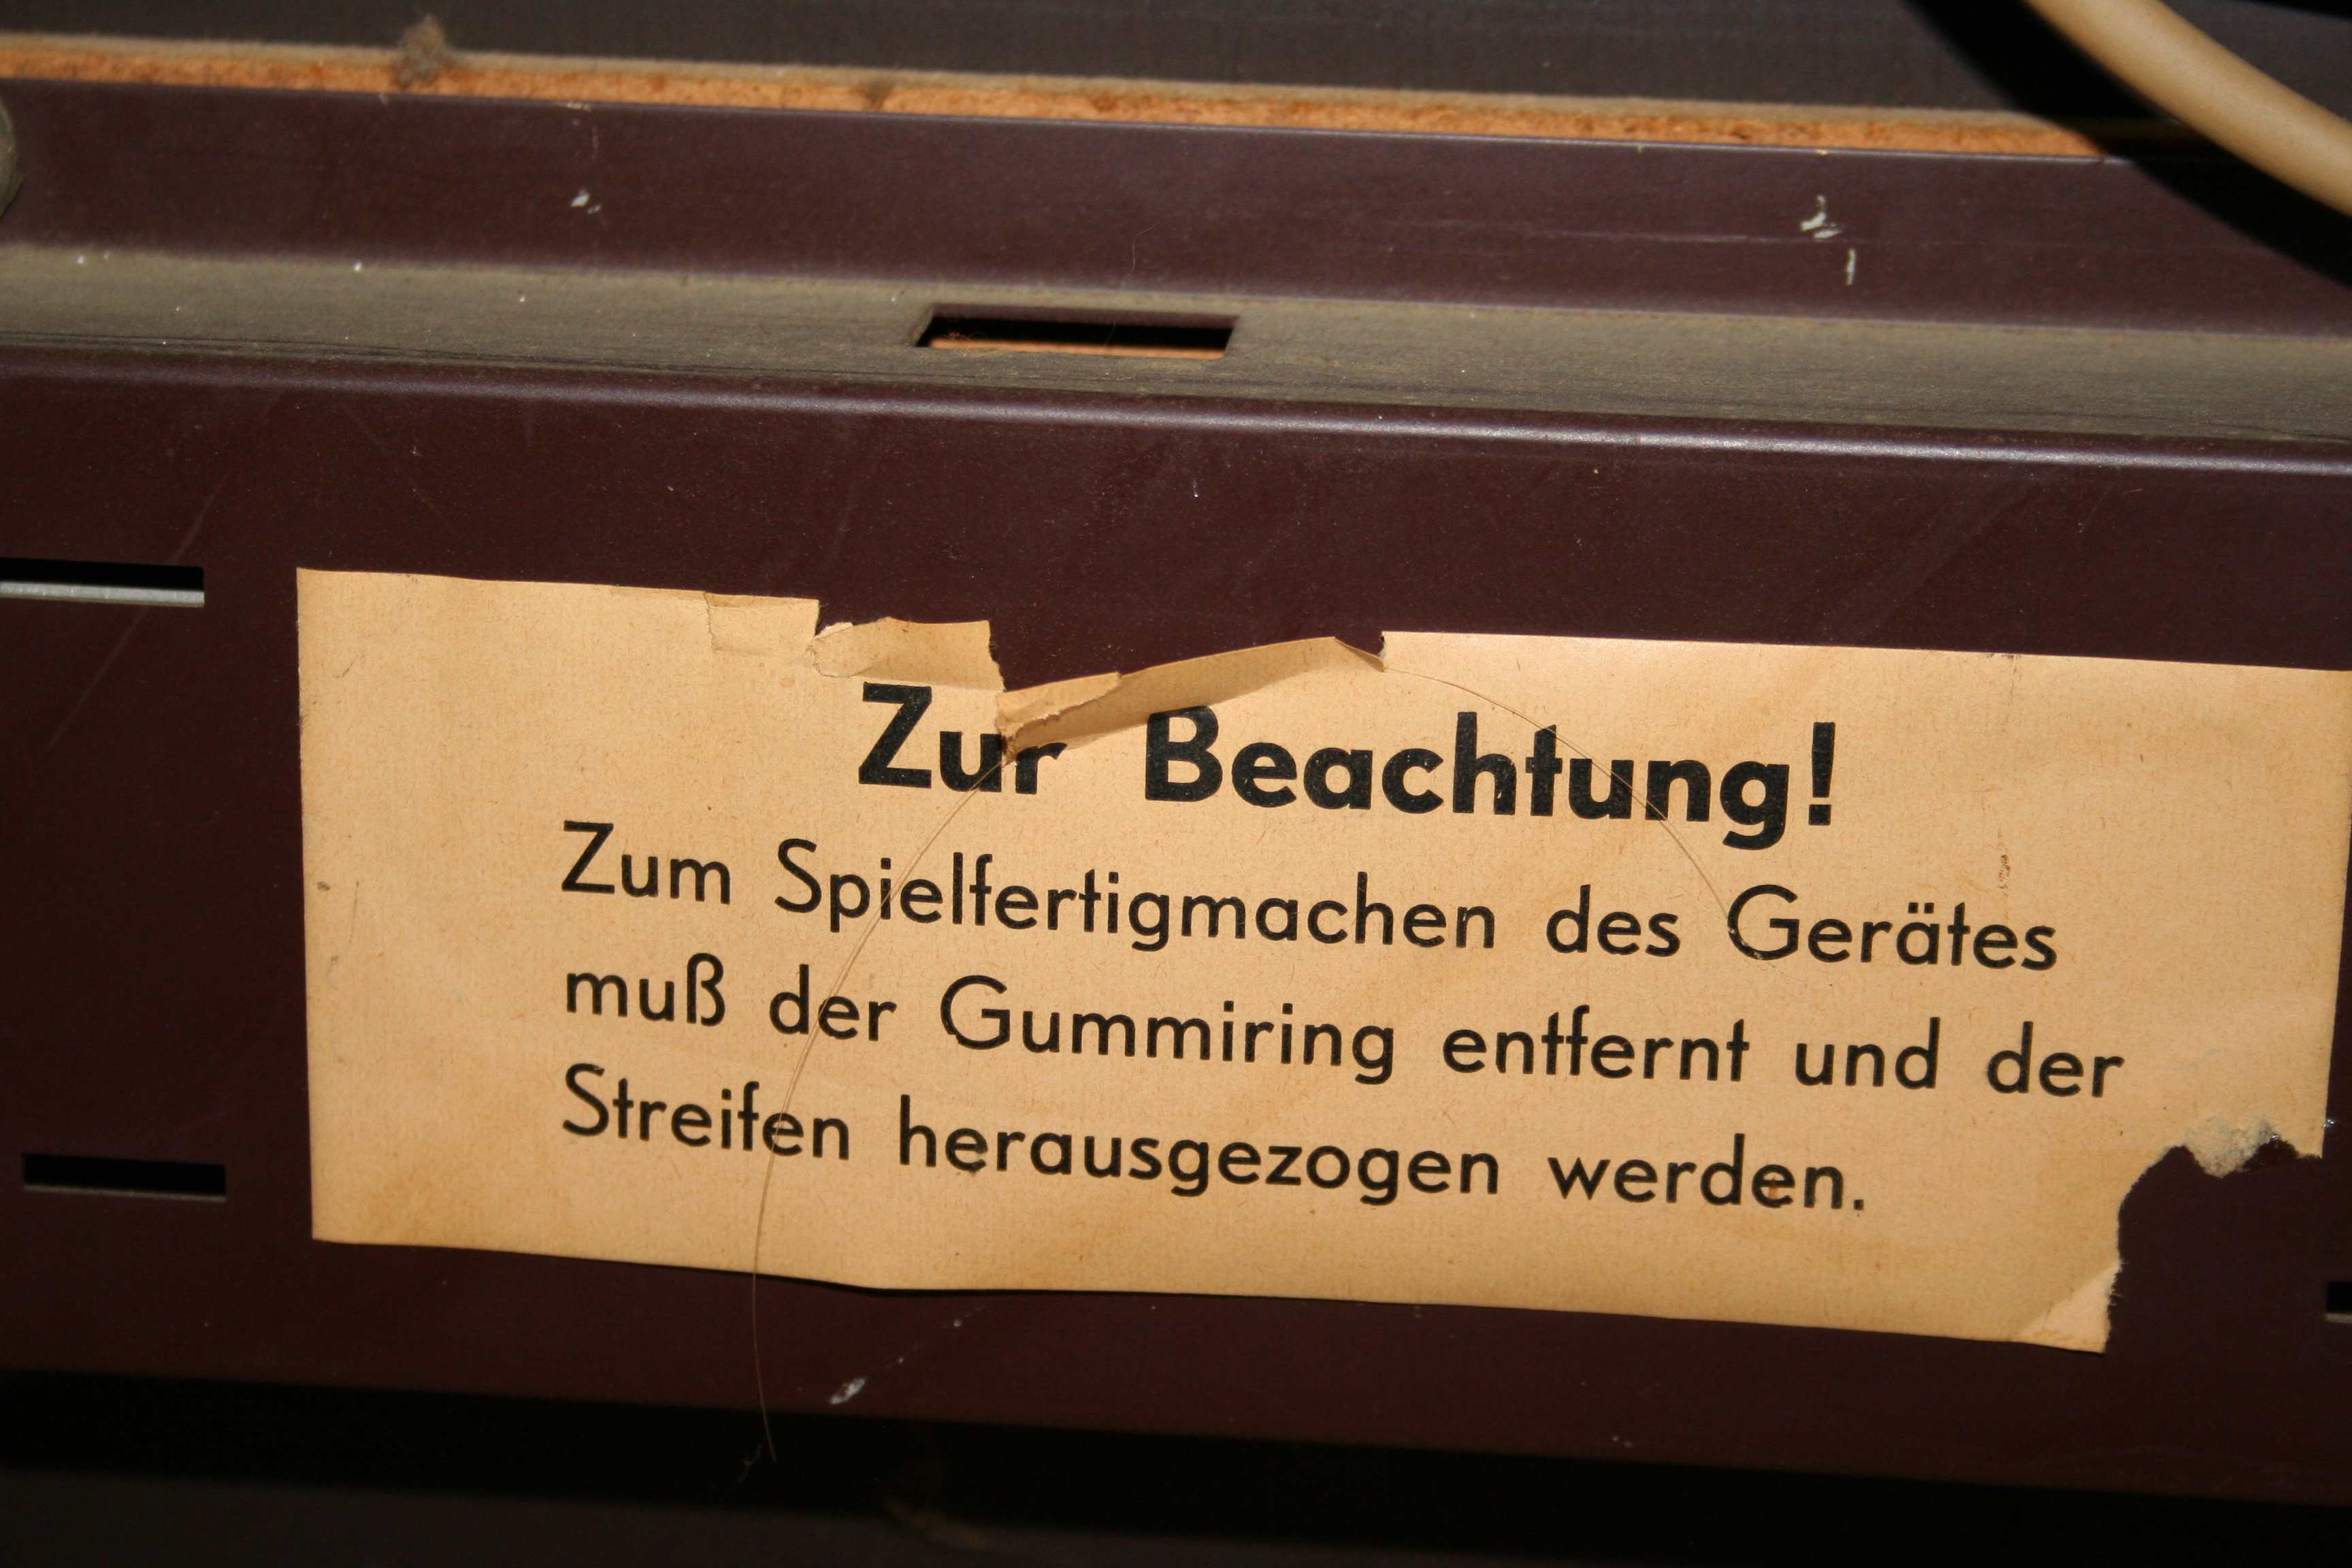
And heres a shot of the reverberator with a blowup of the label just in case you can
read German.

A
funny thing happened on the way to my living room. The
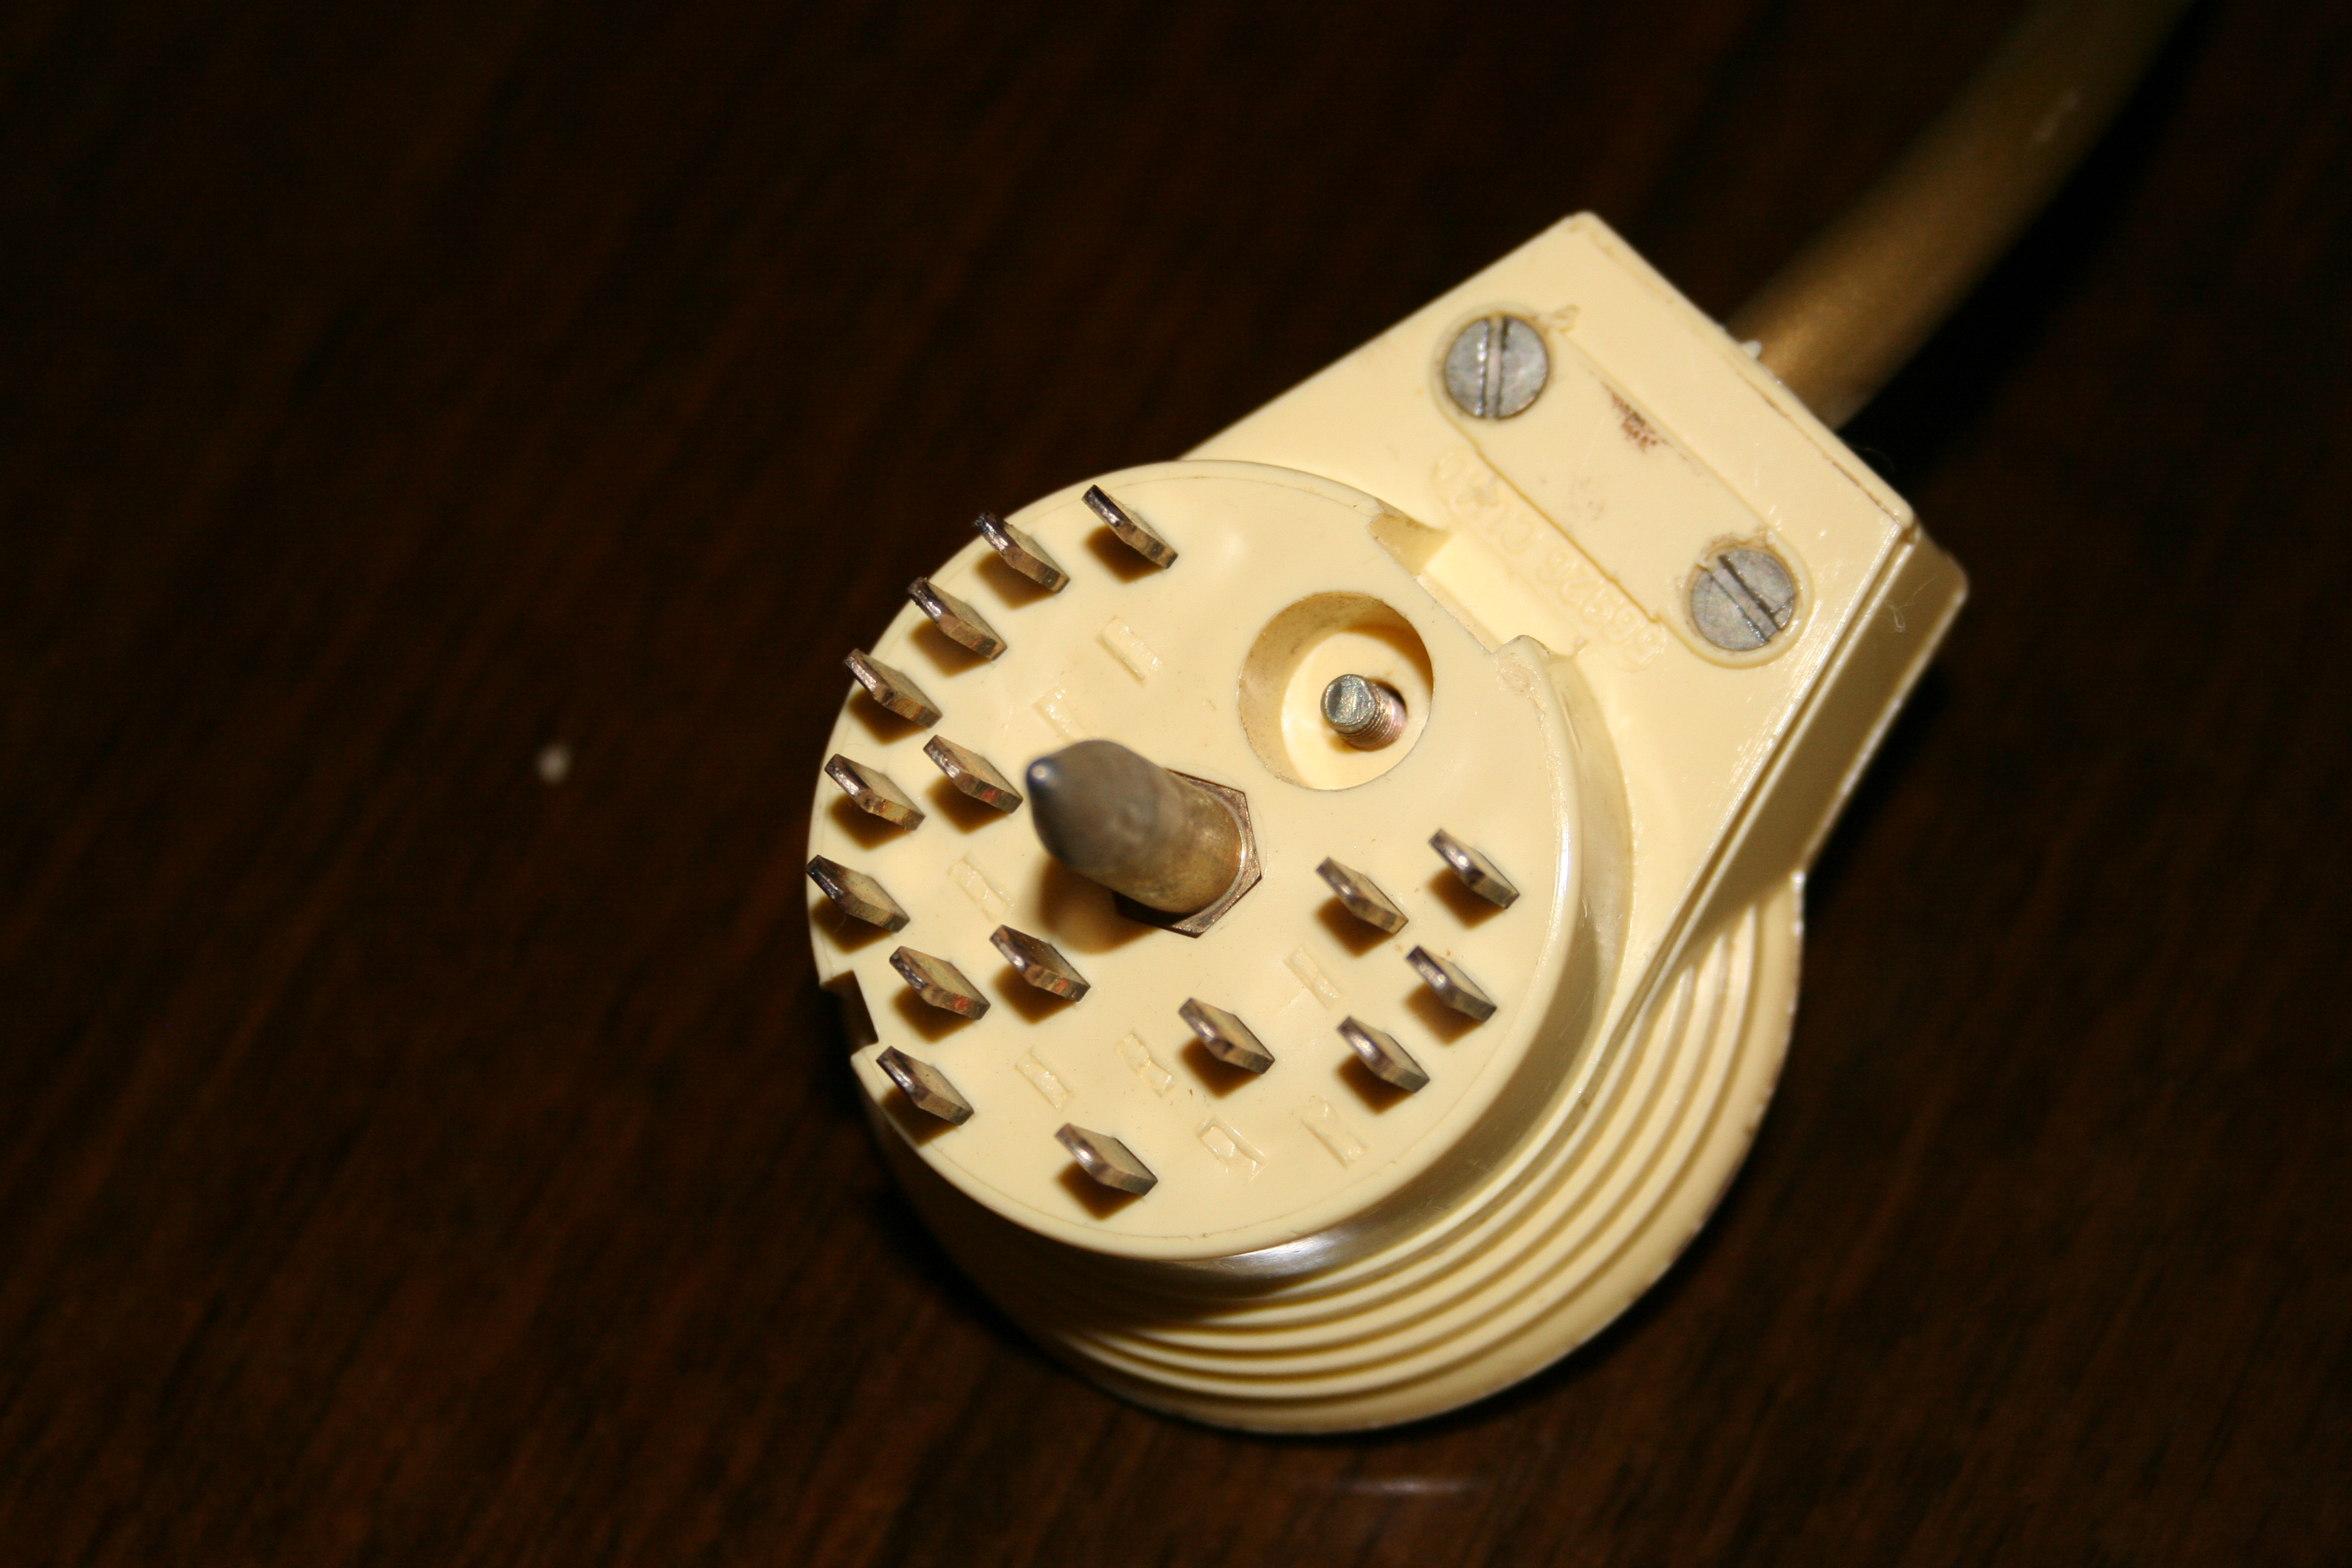
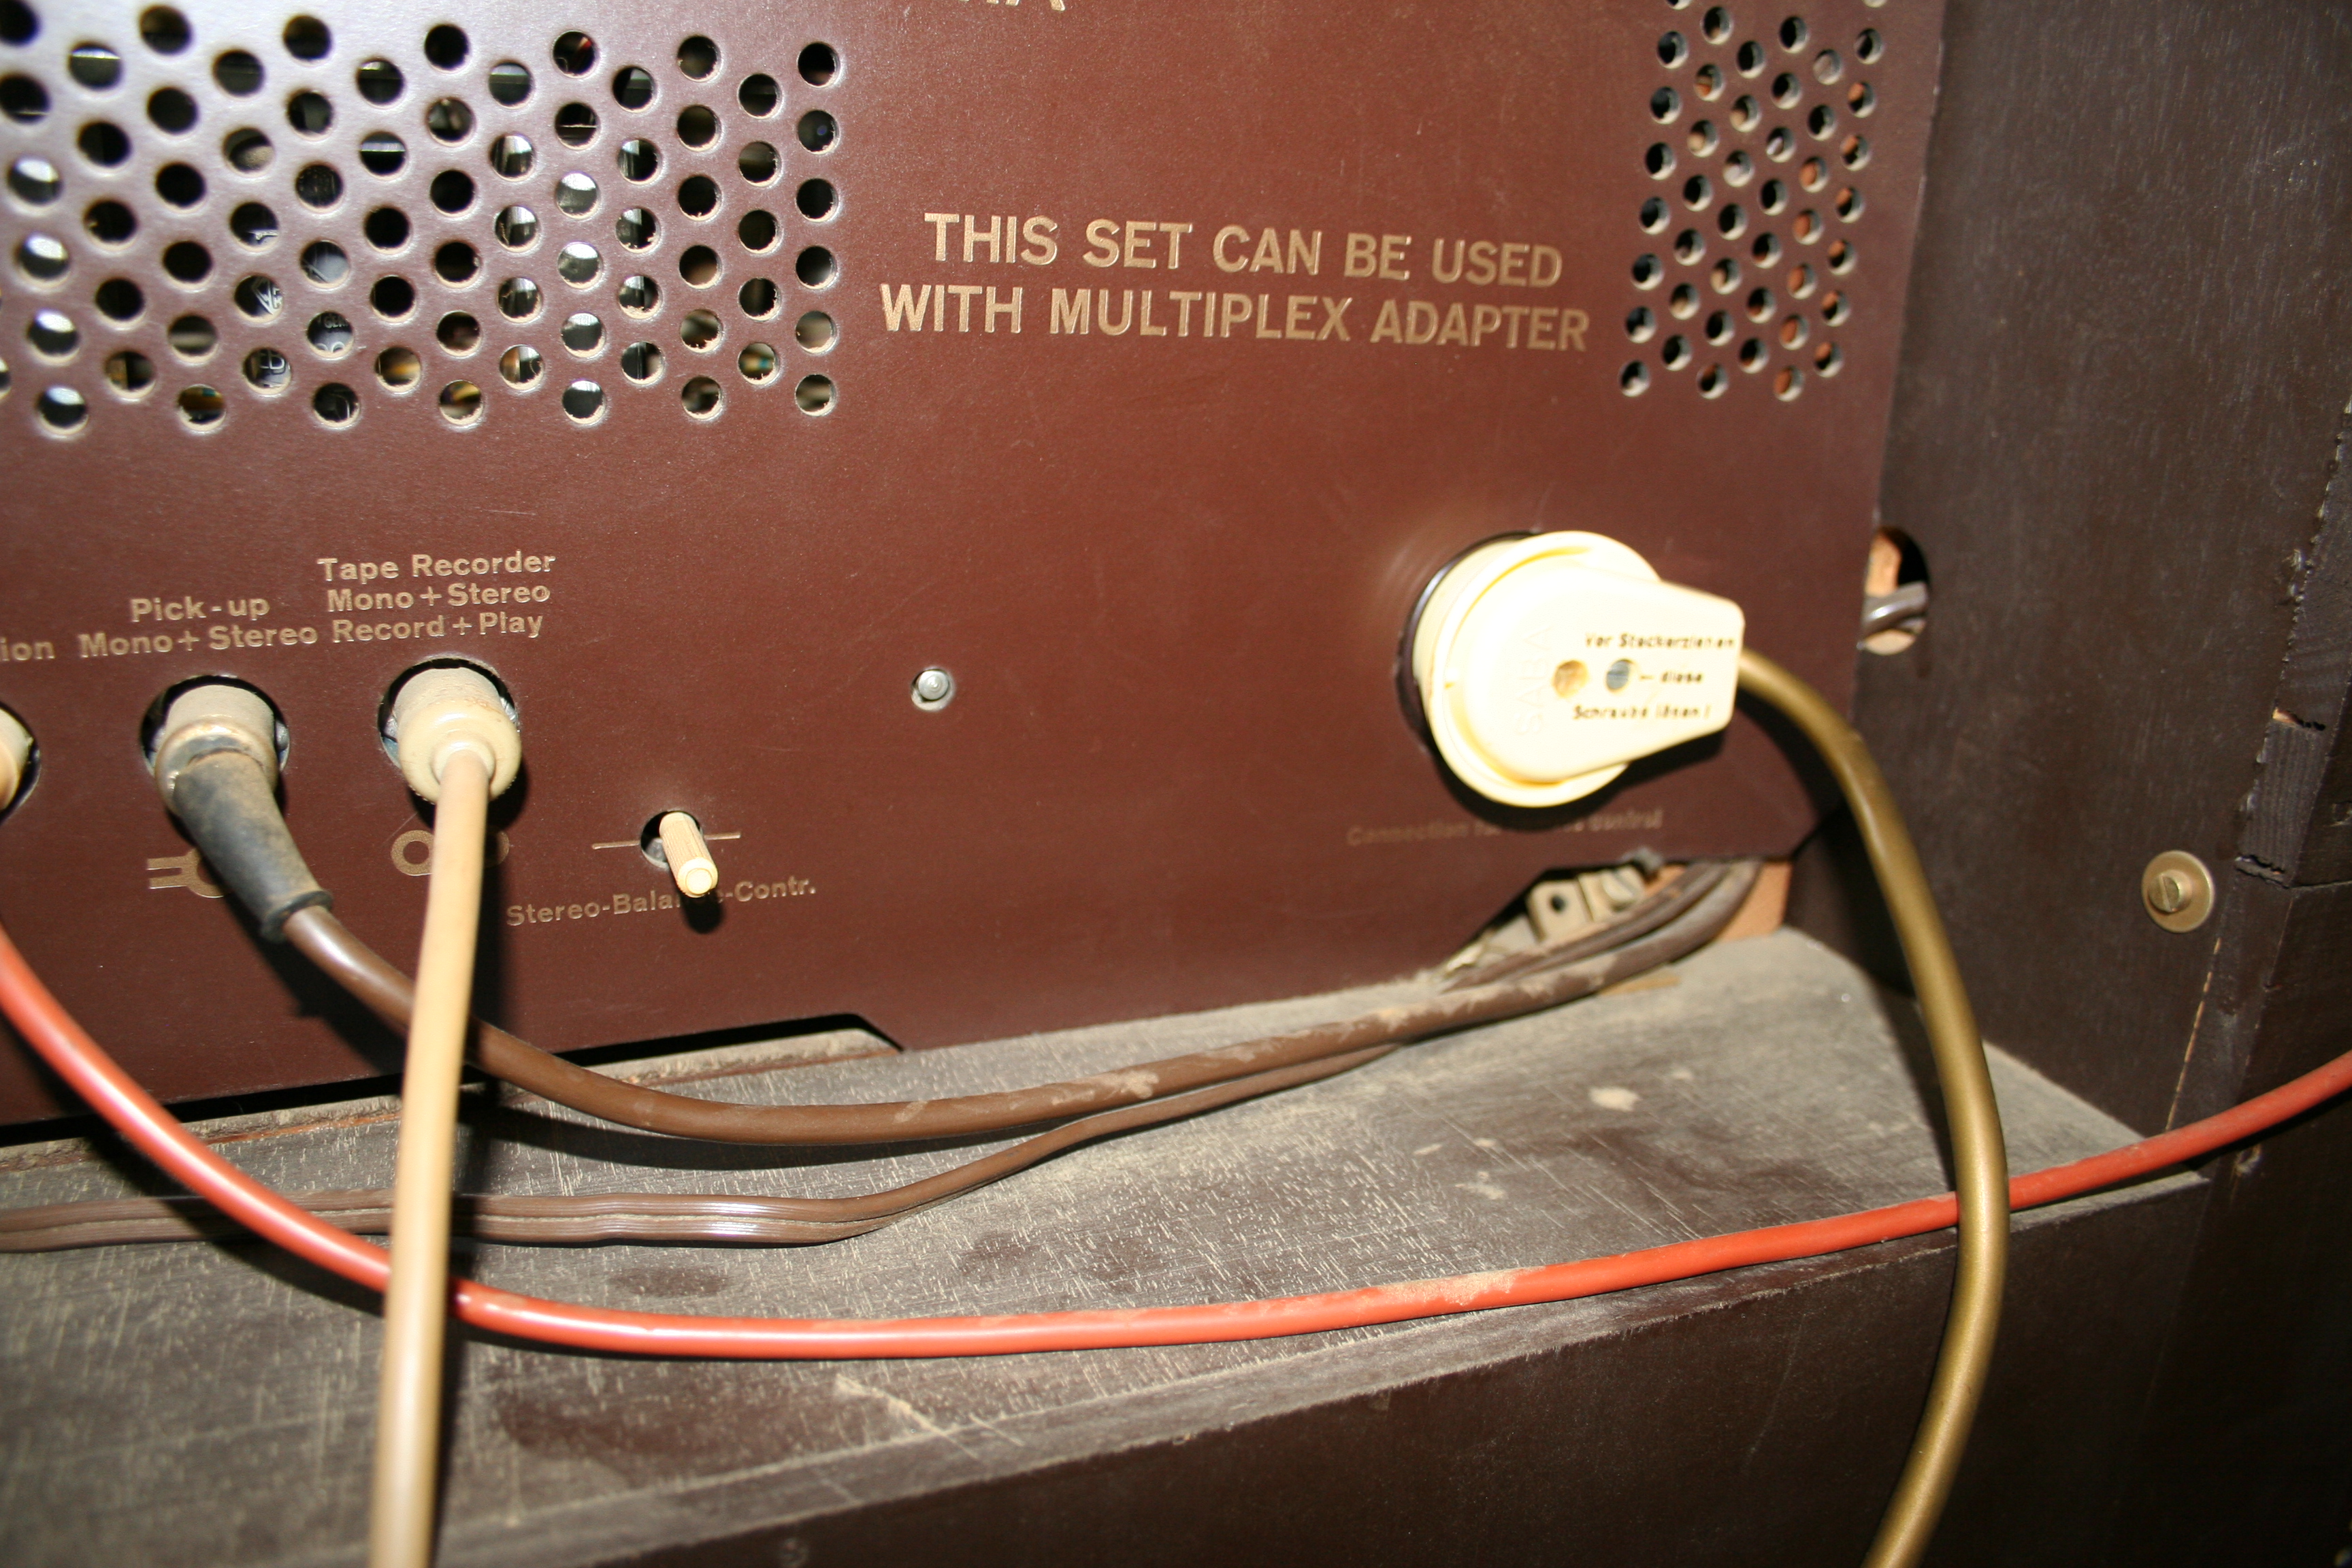
These two pictures show the connector for the remote
control and the remote control connected.
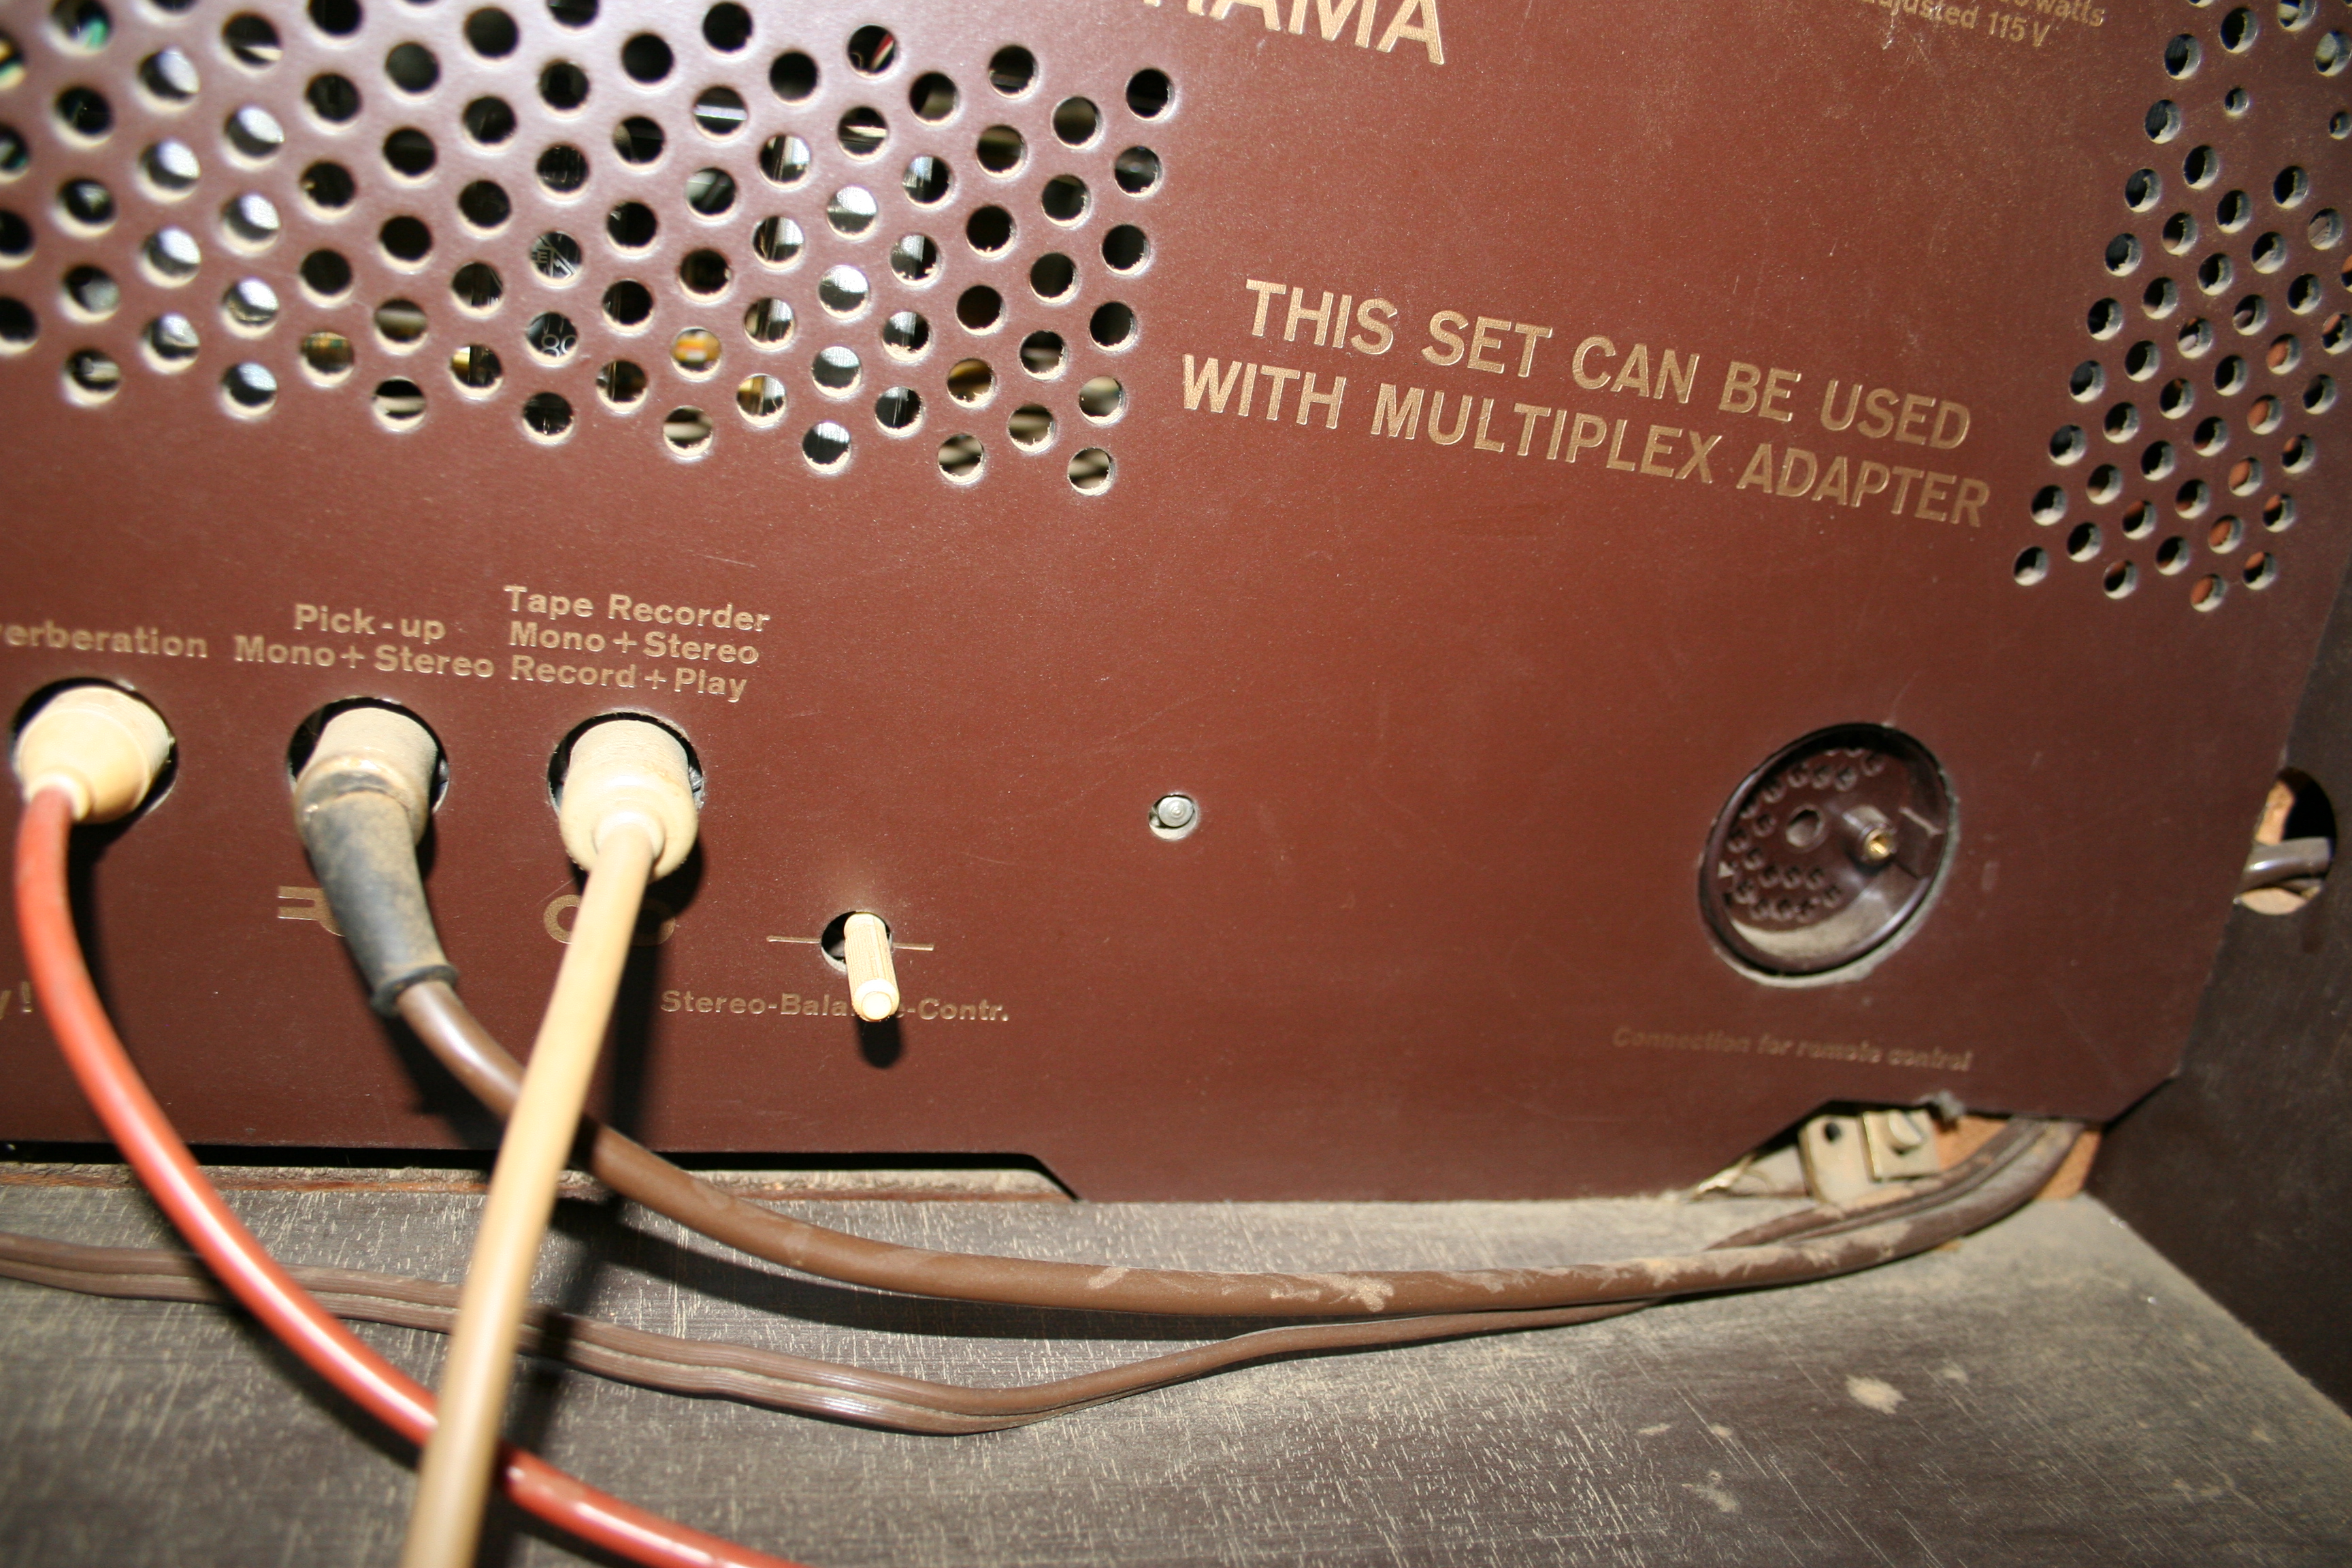
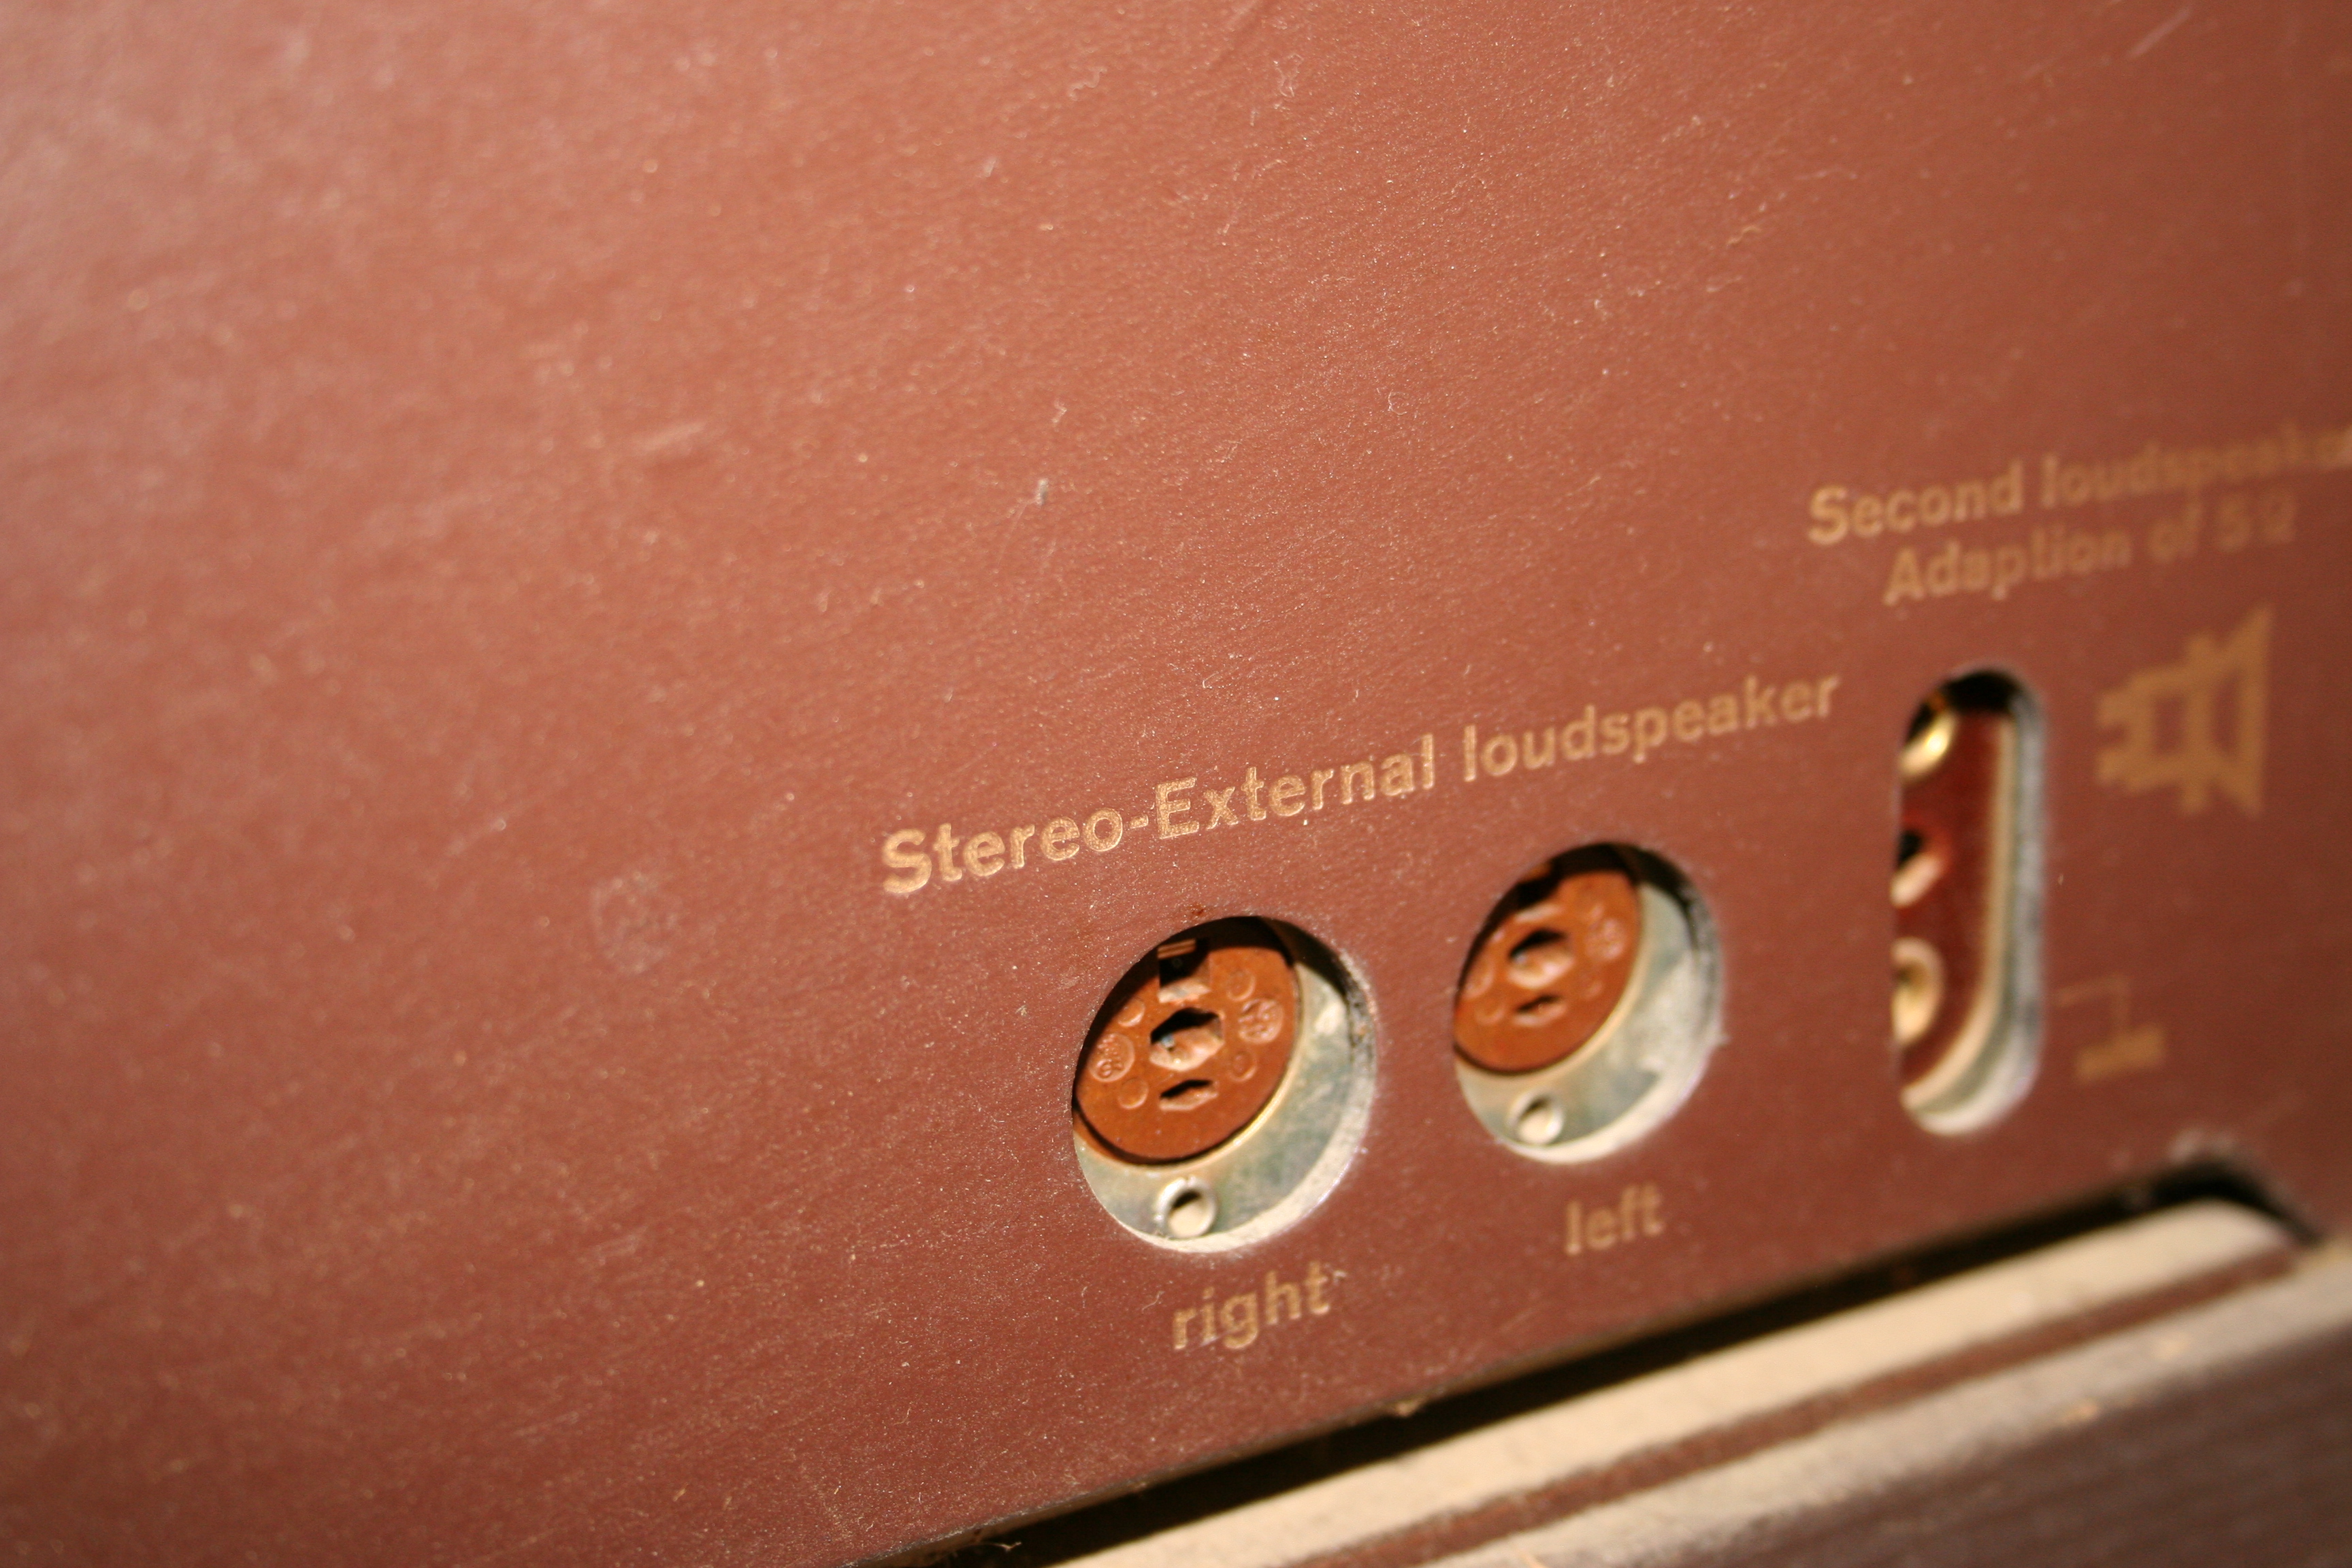
And this shows the connections for external
speakers.
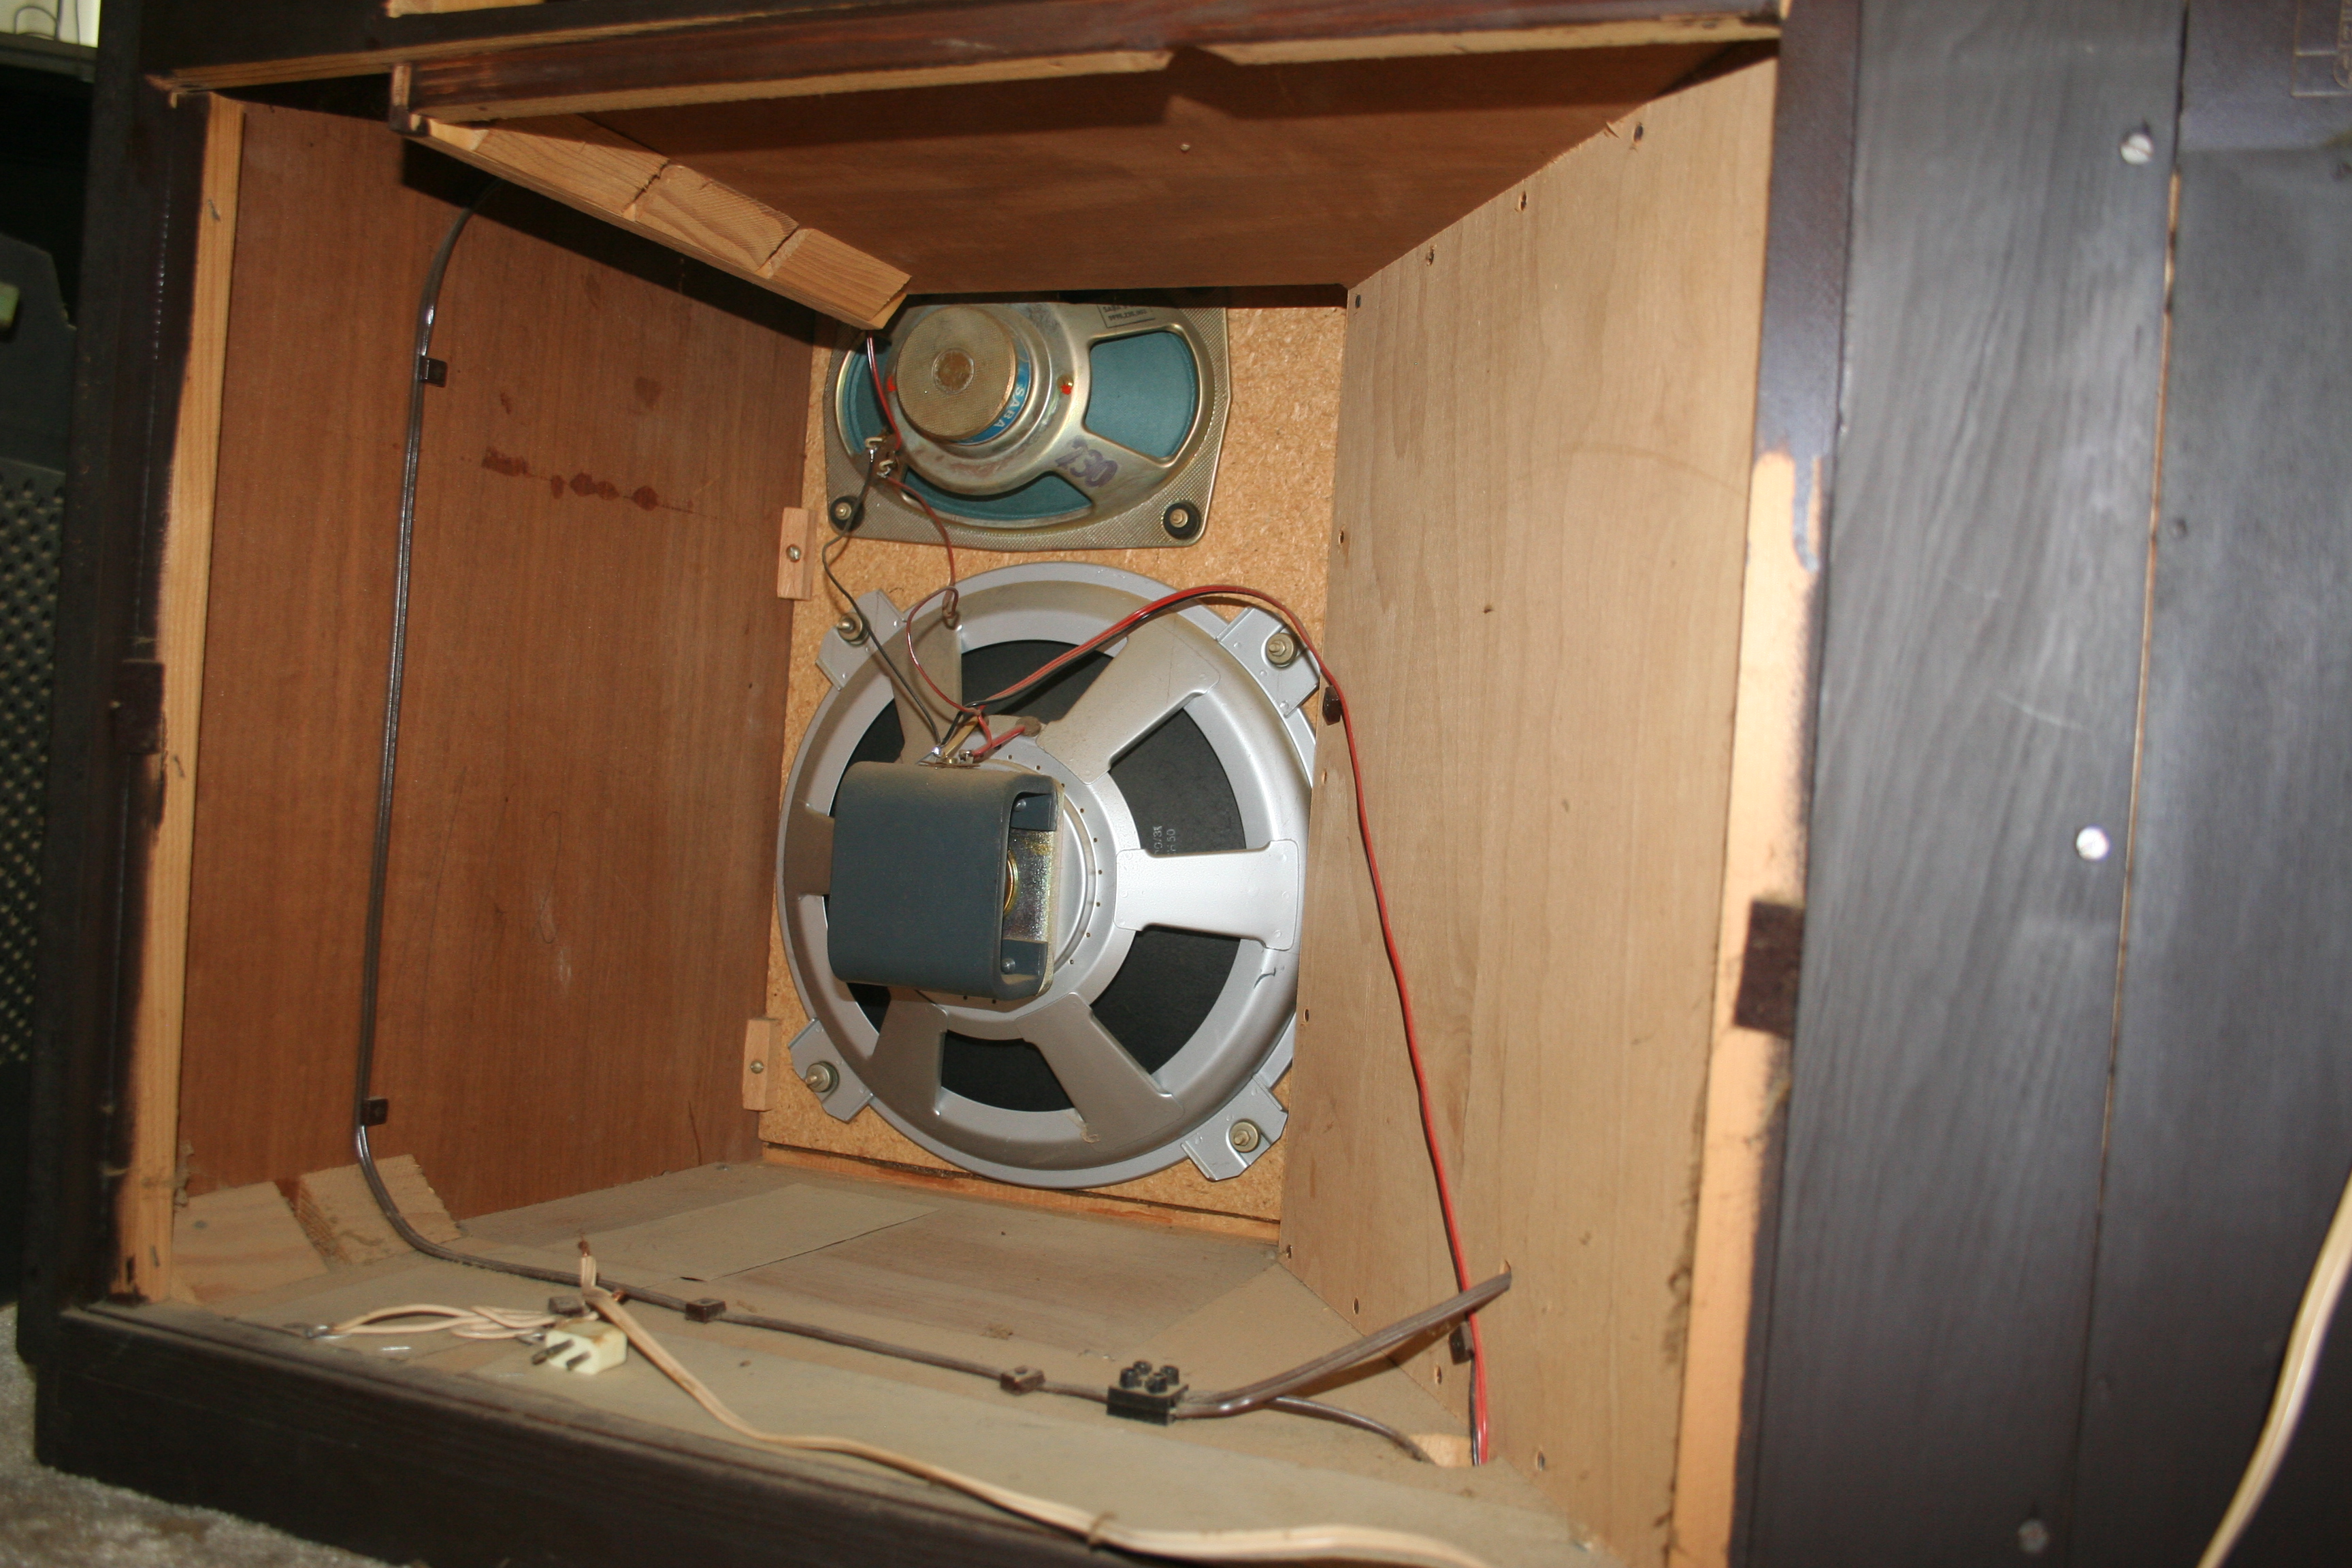
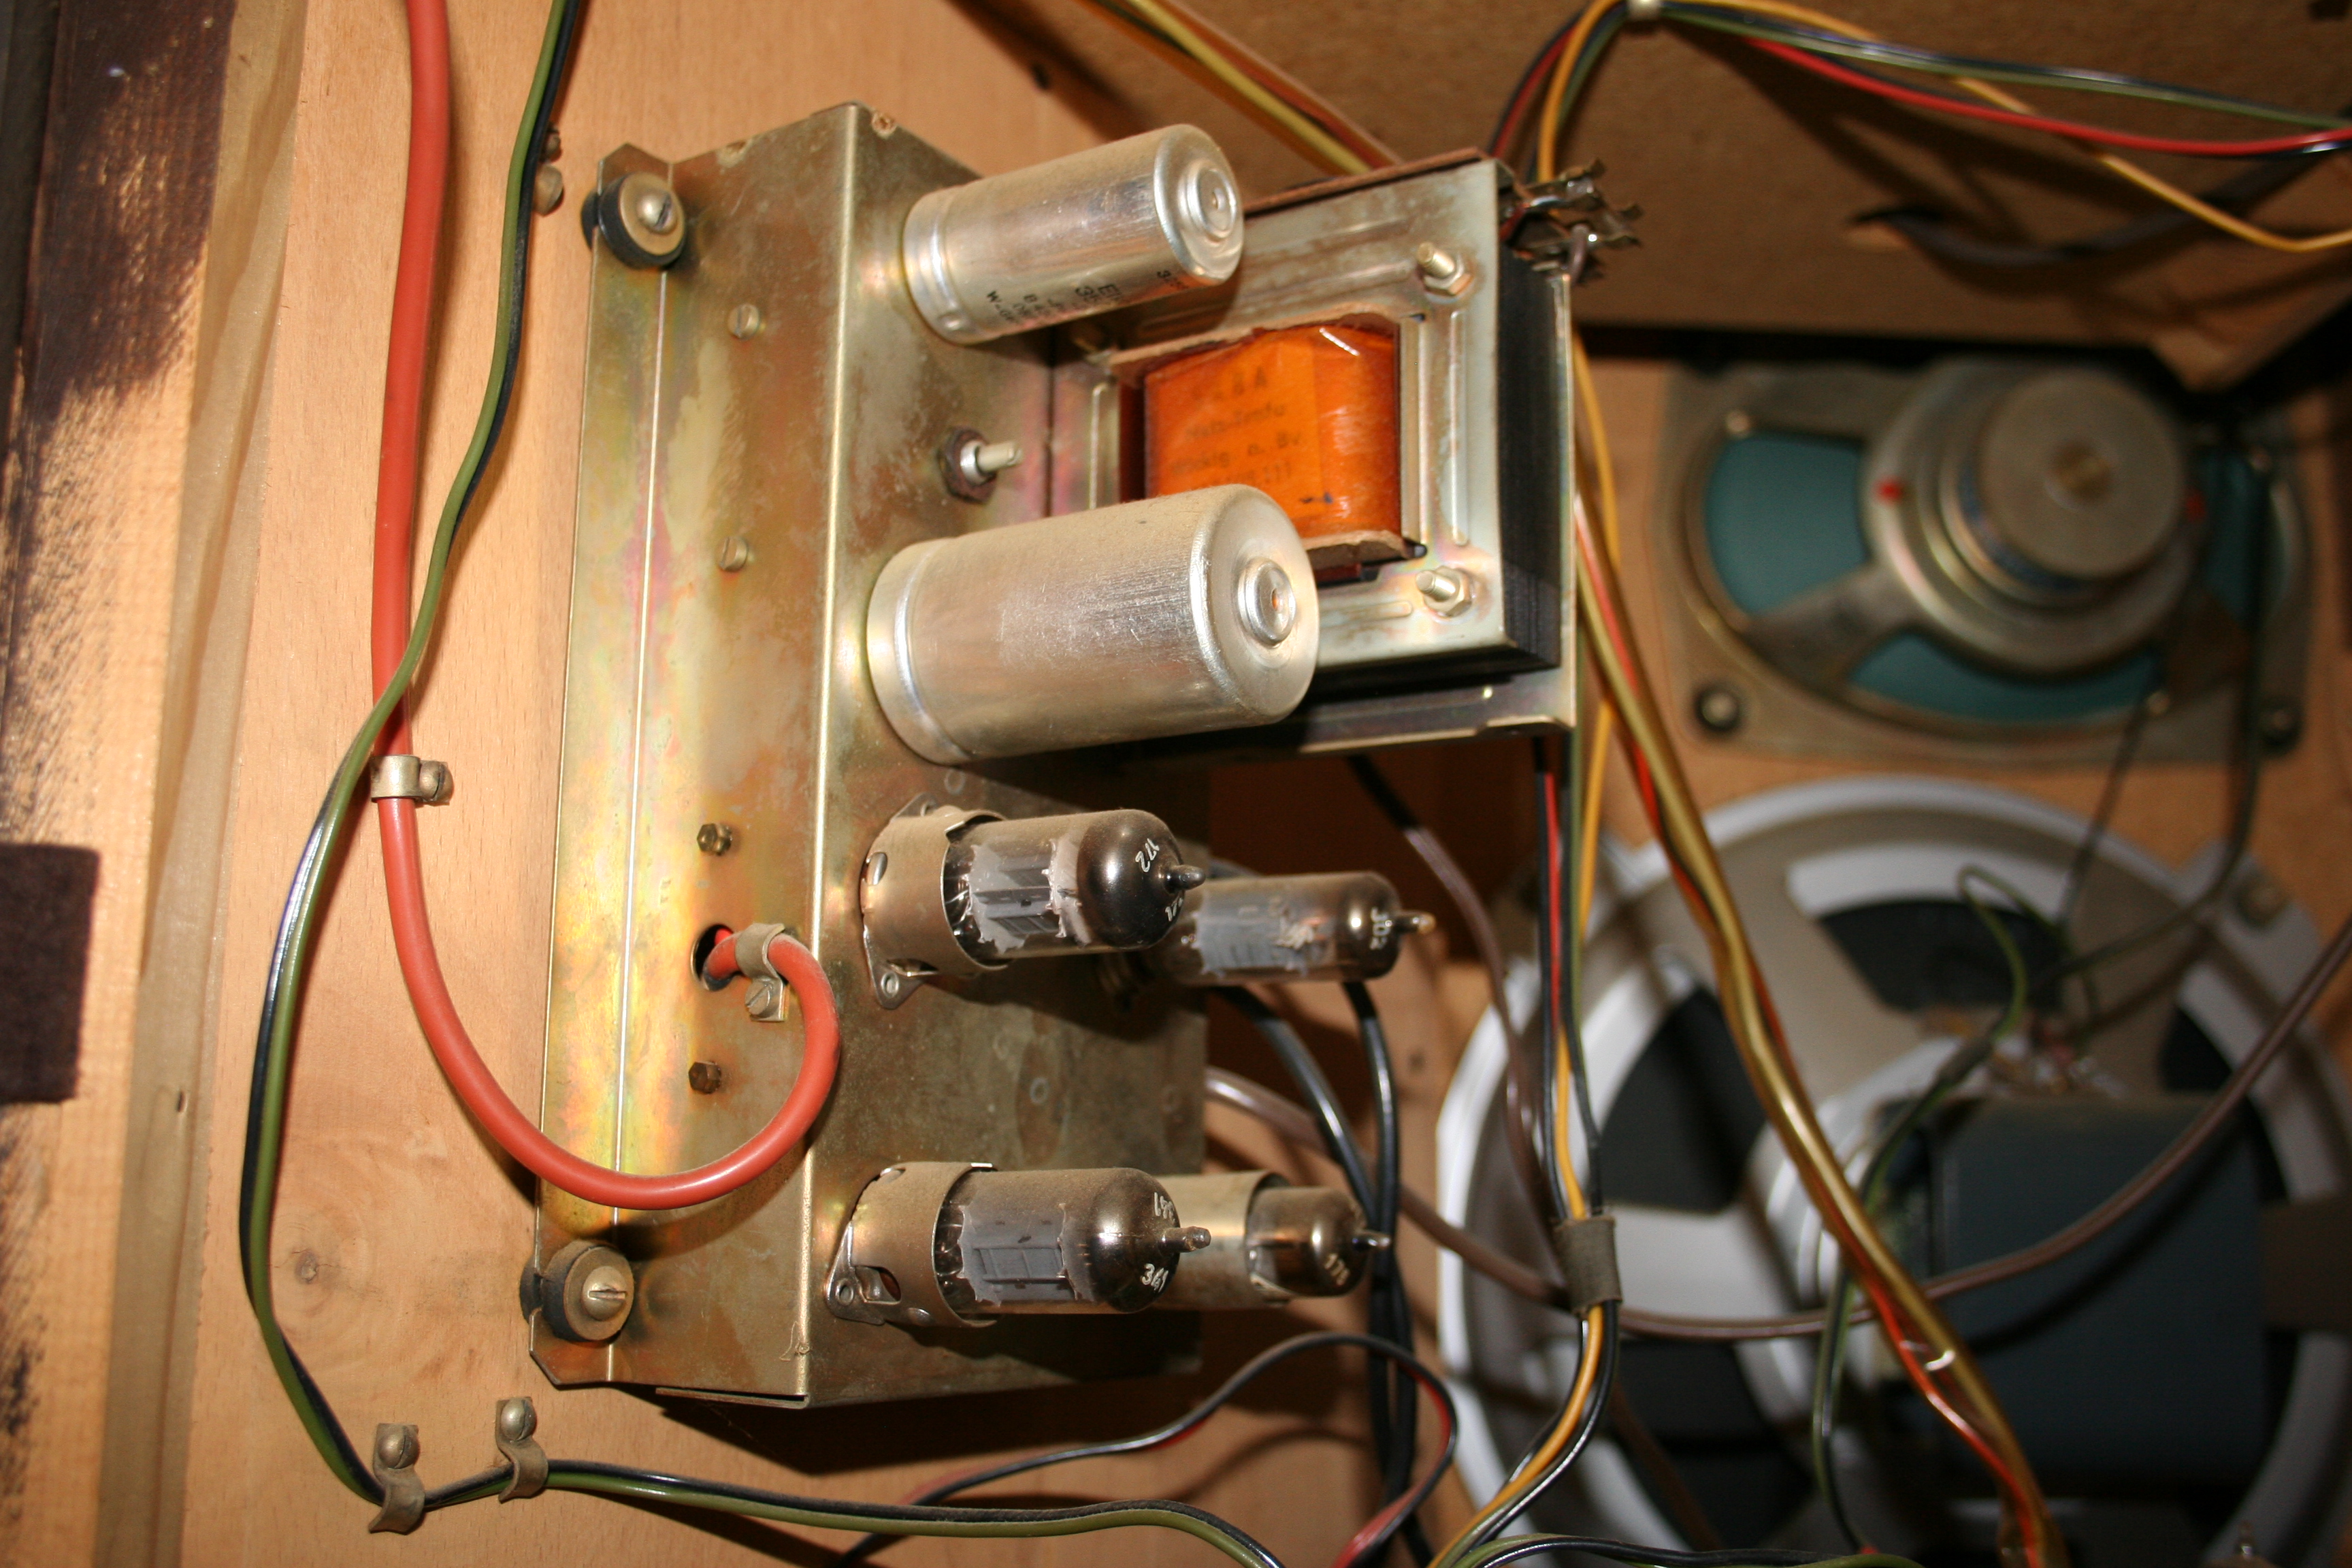
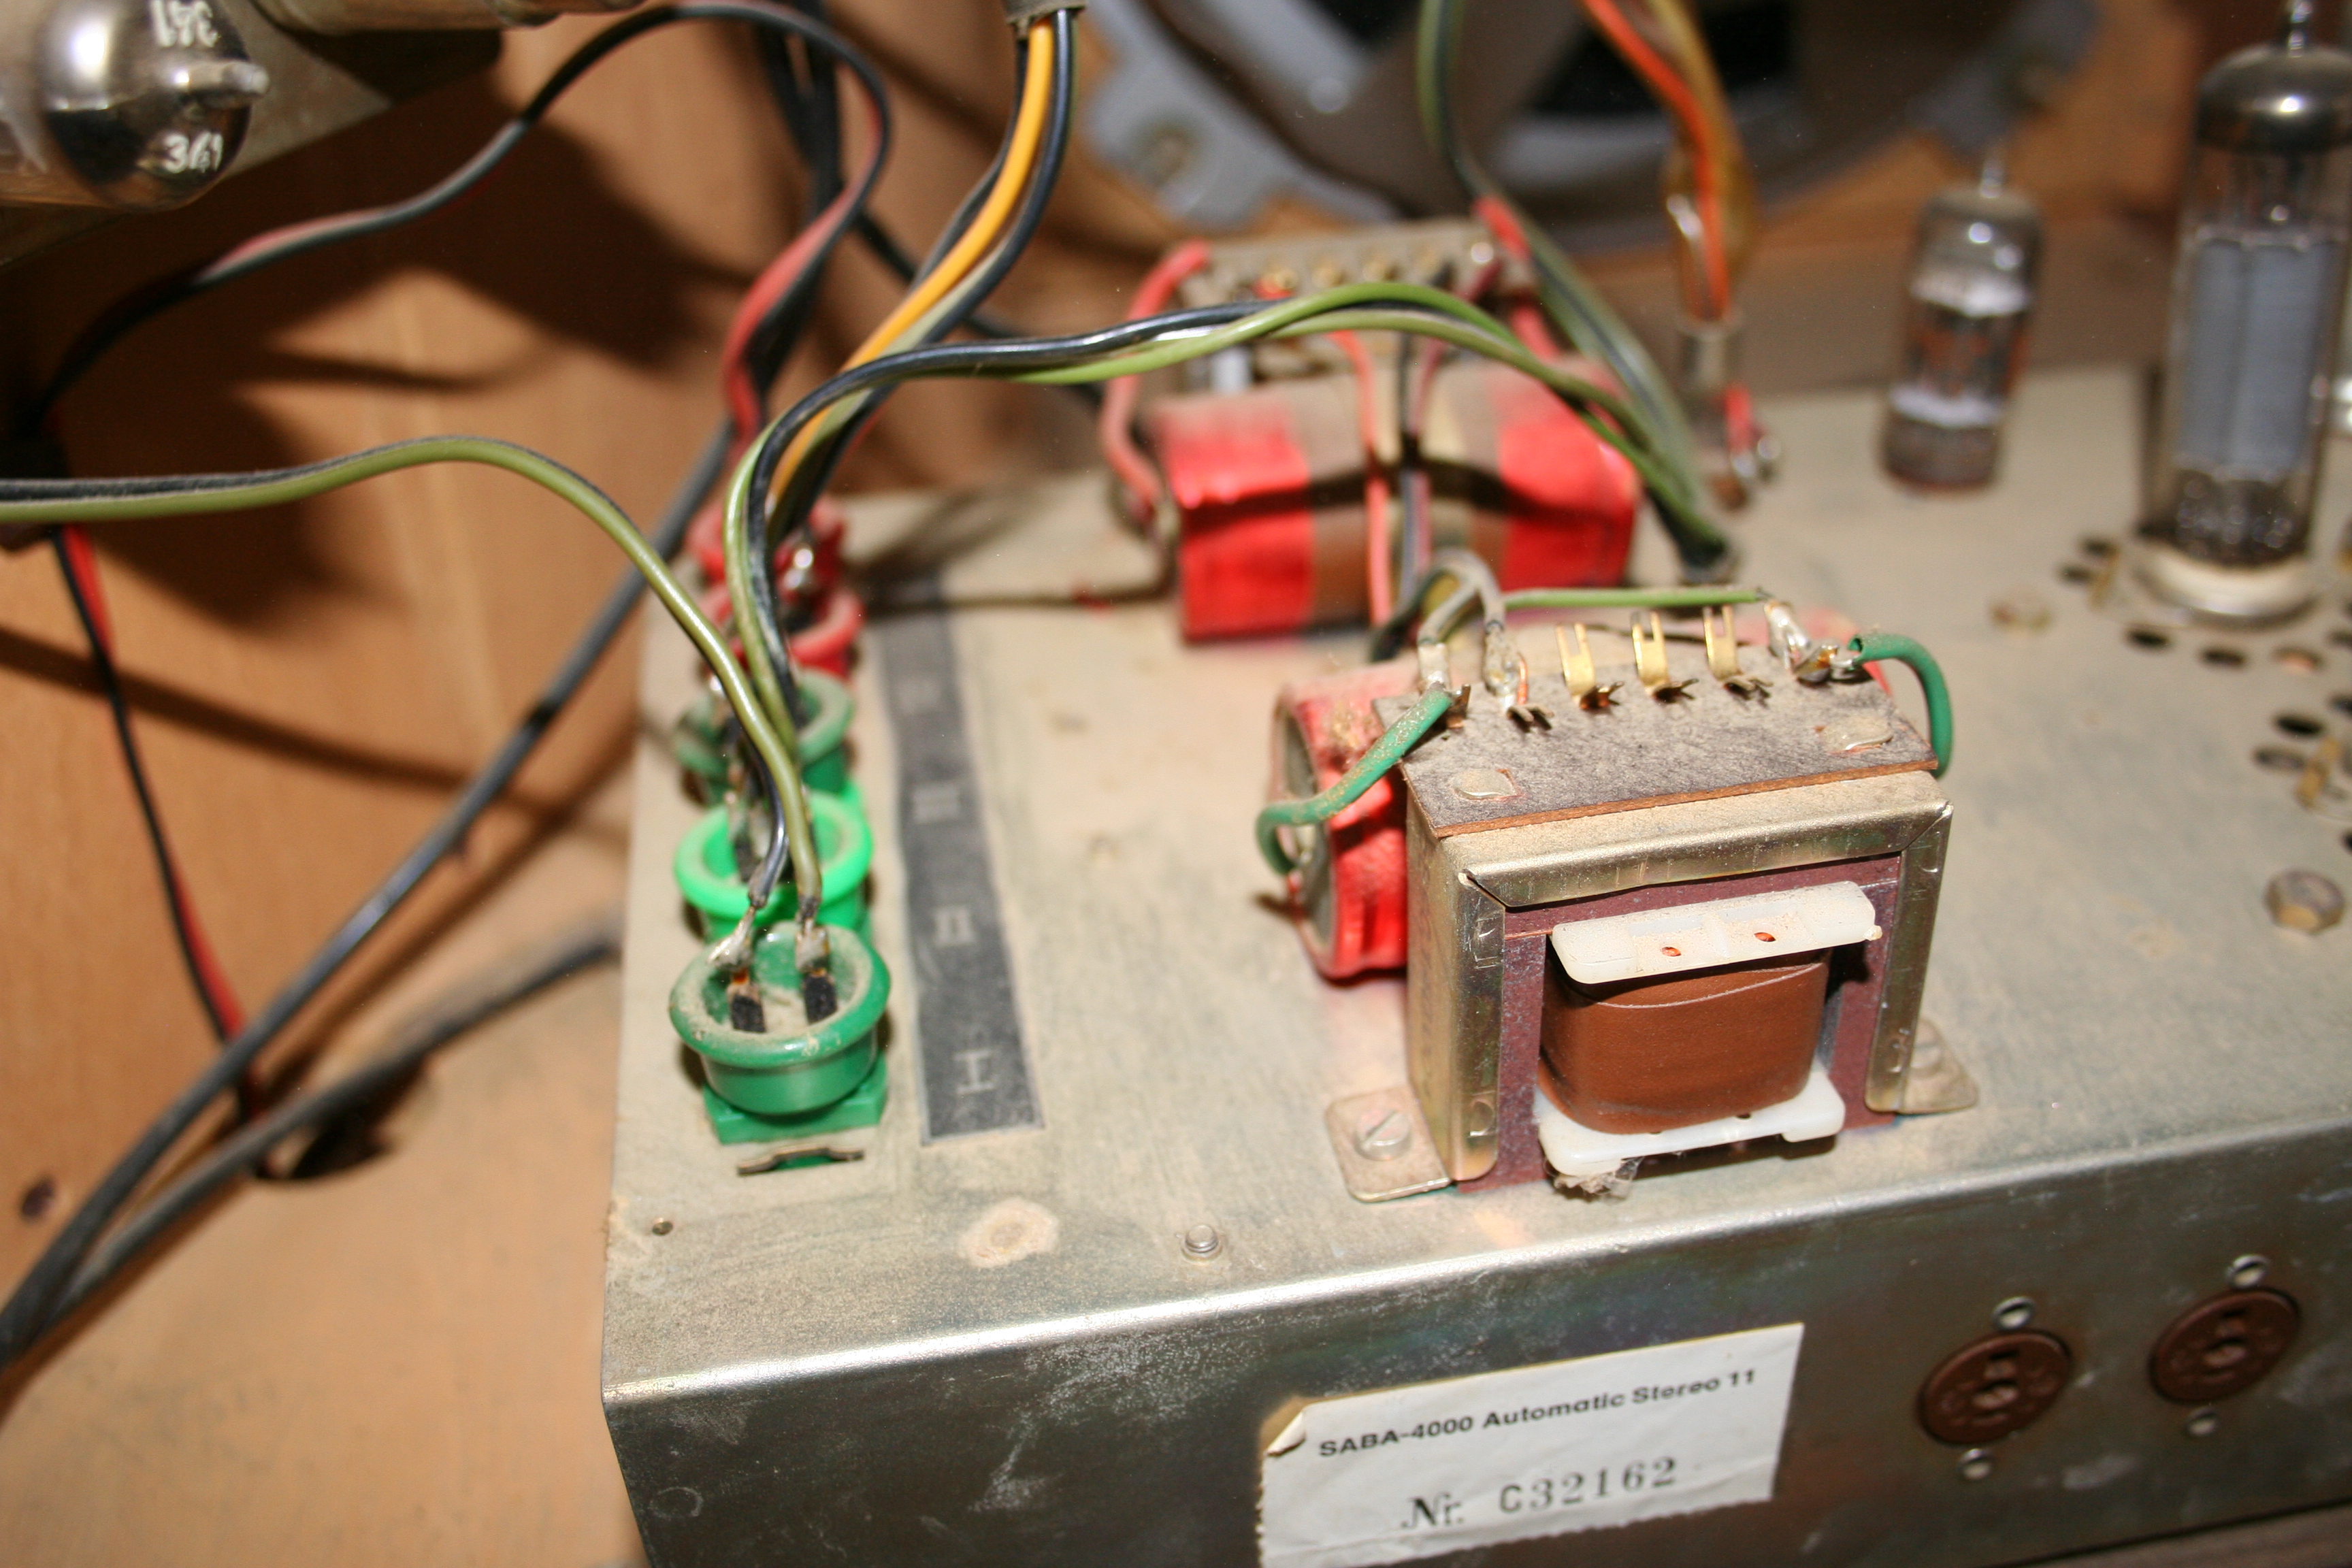
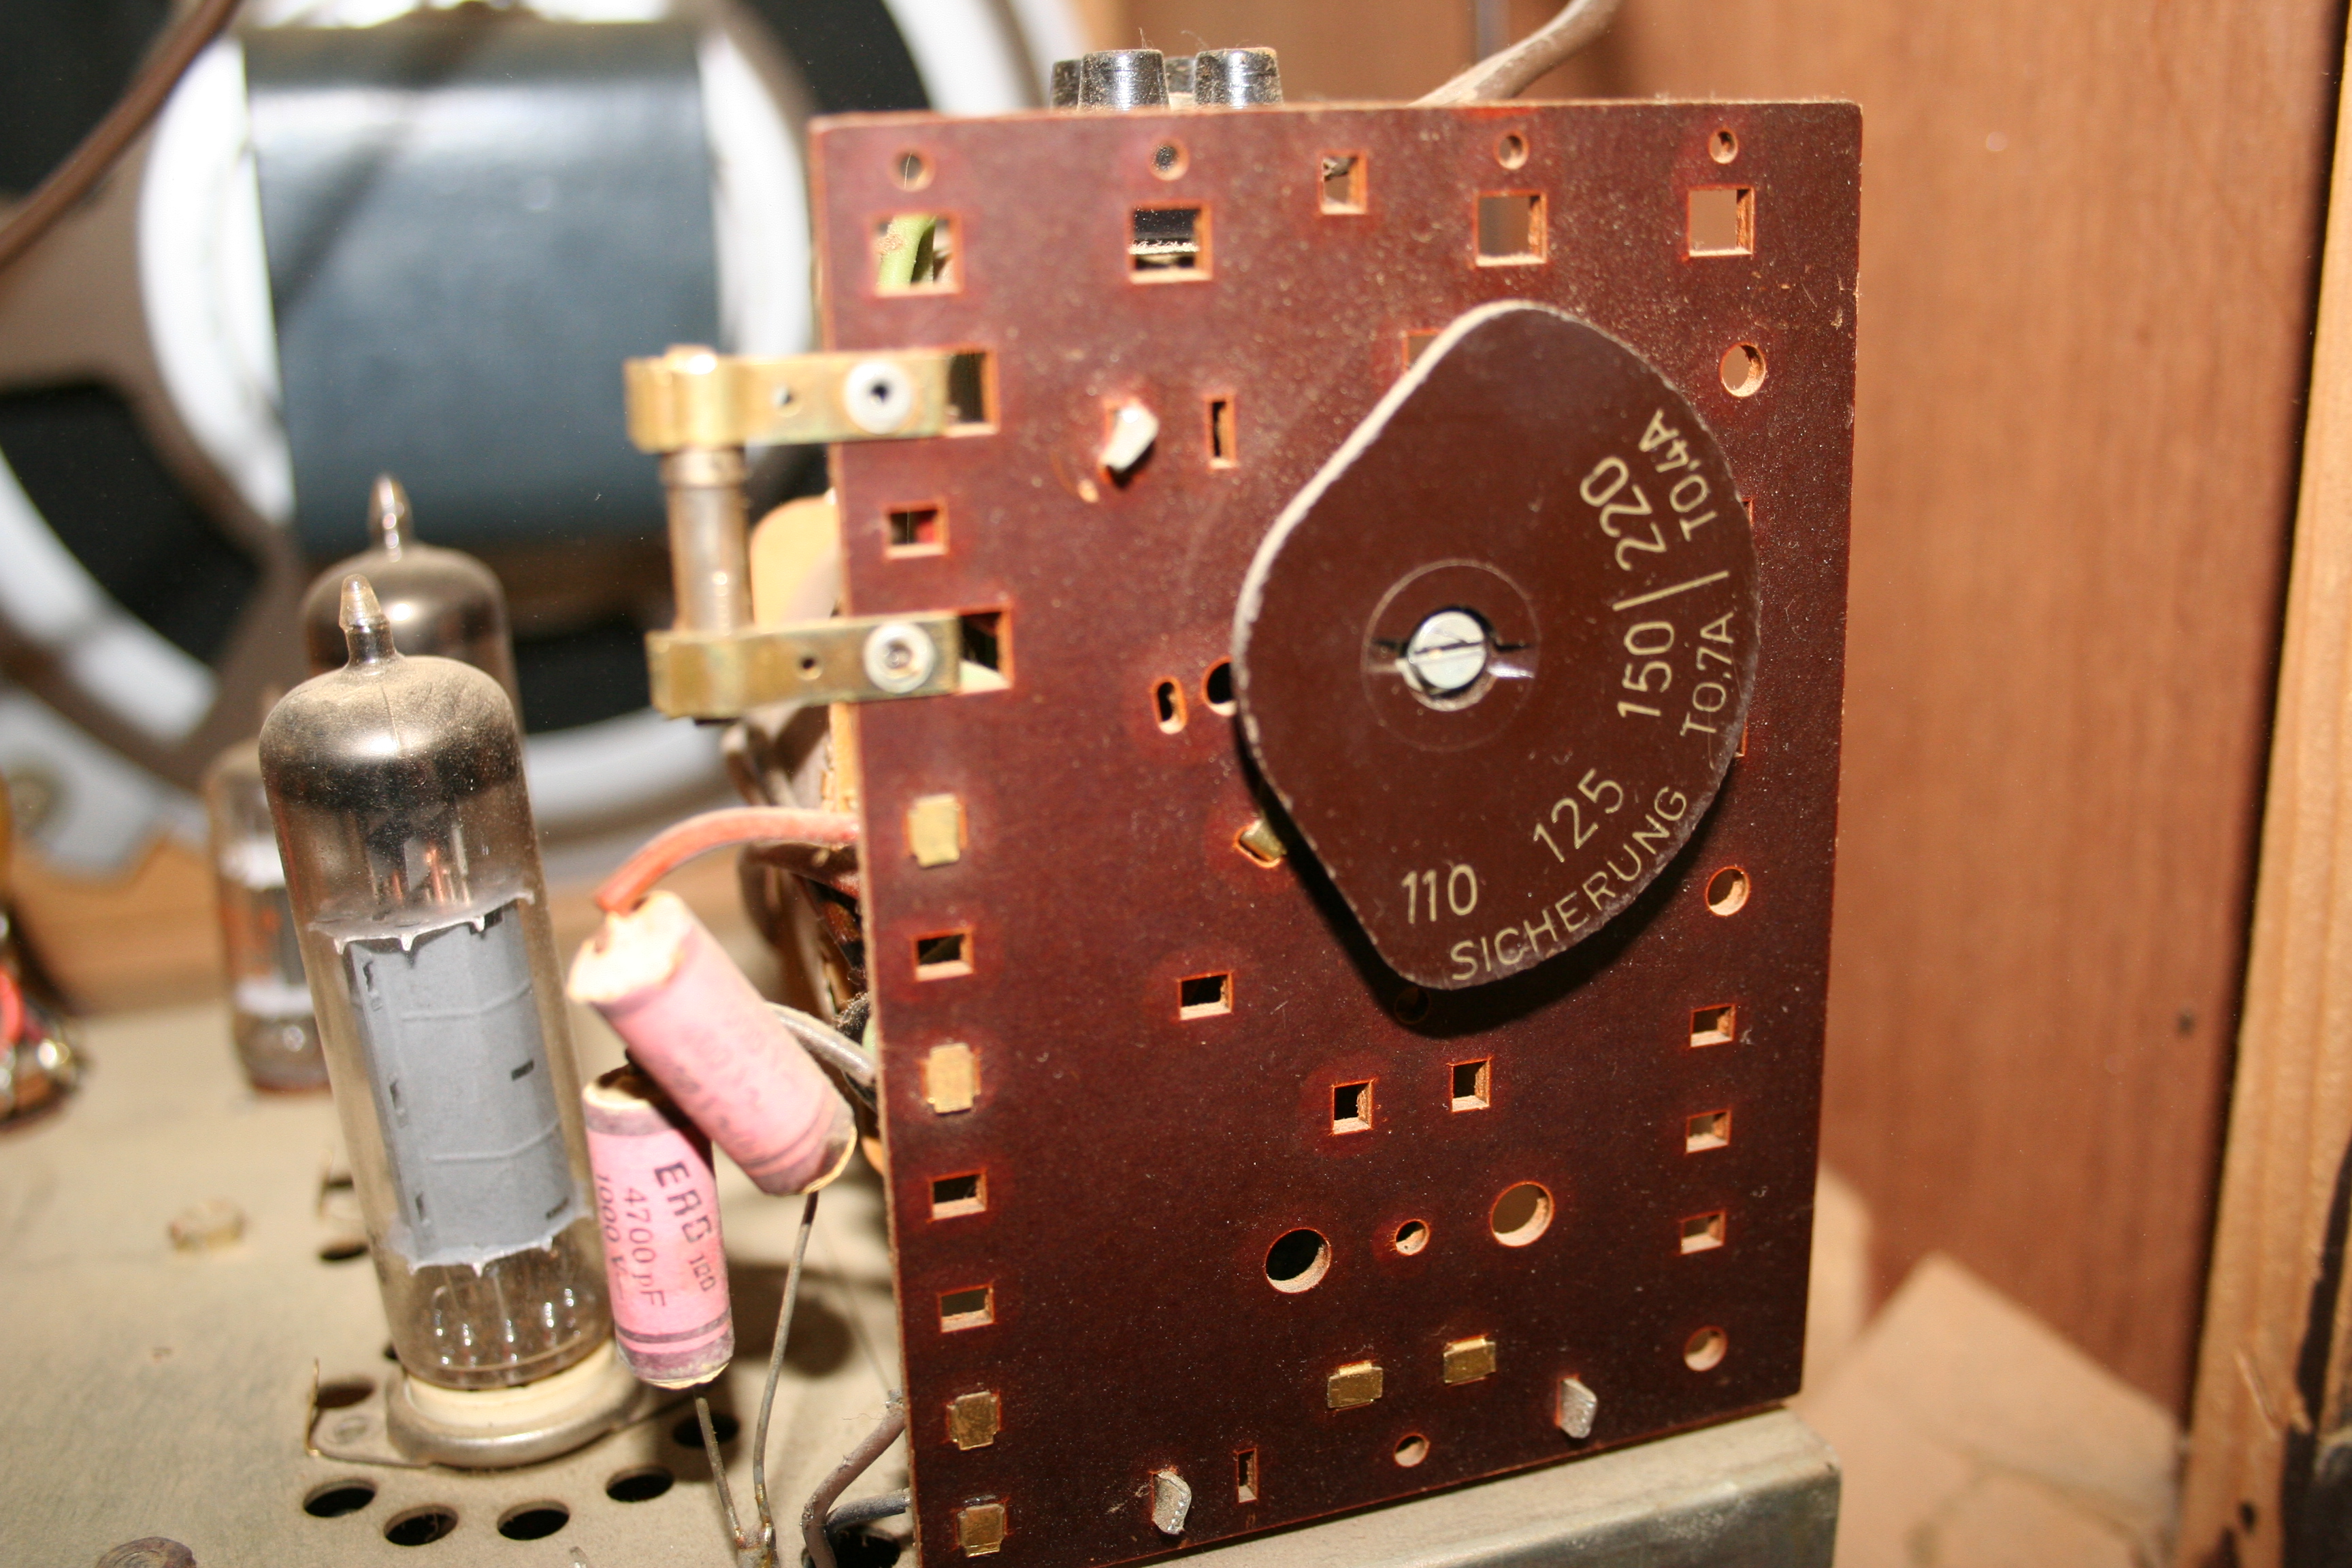
Now we get to the right-side speaker enclosure. (Thats on your left as you look from
the back.)
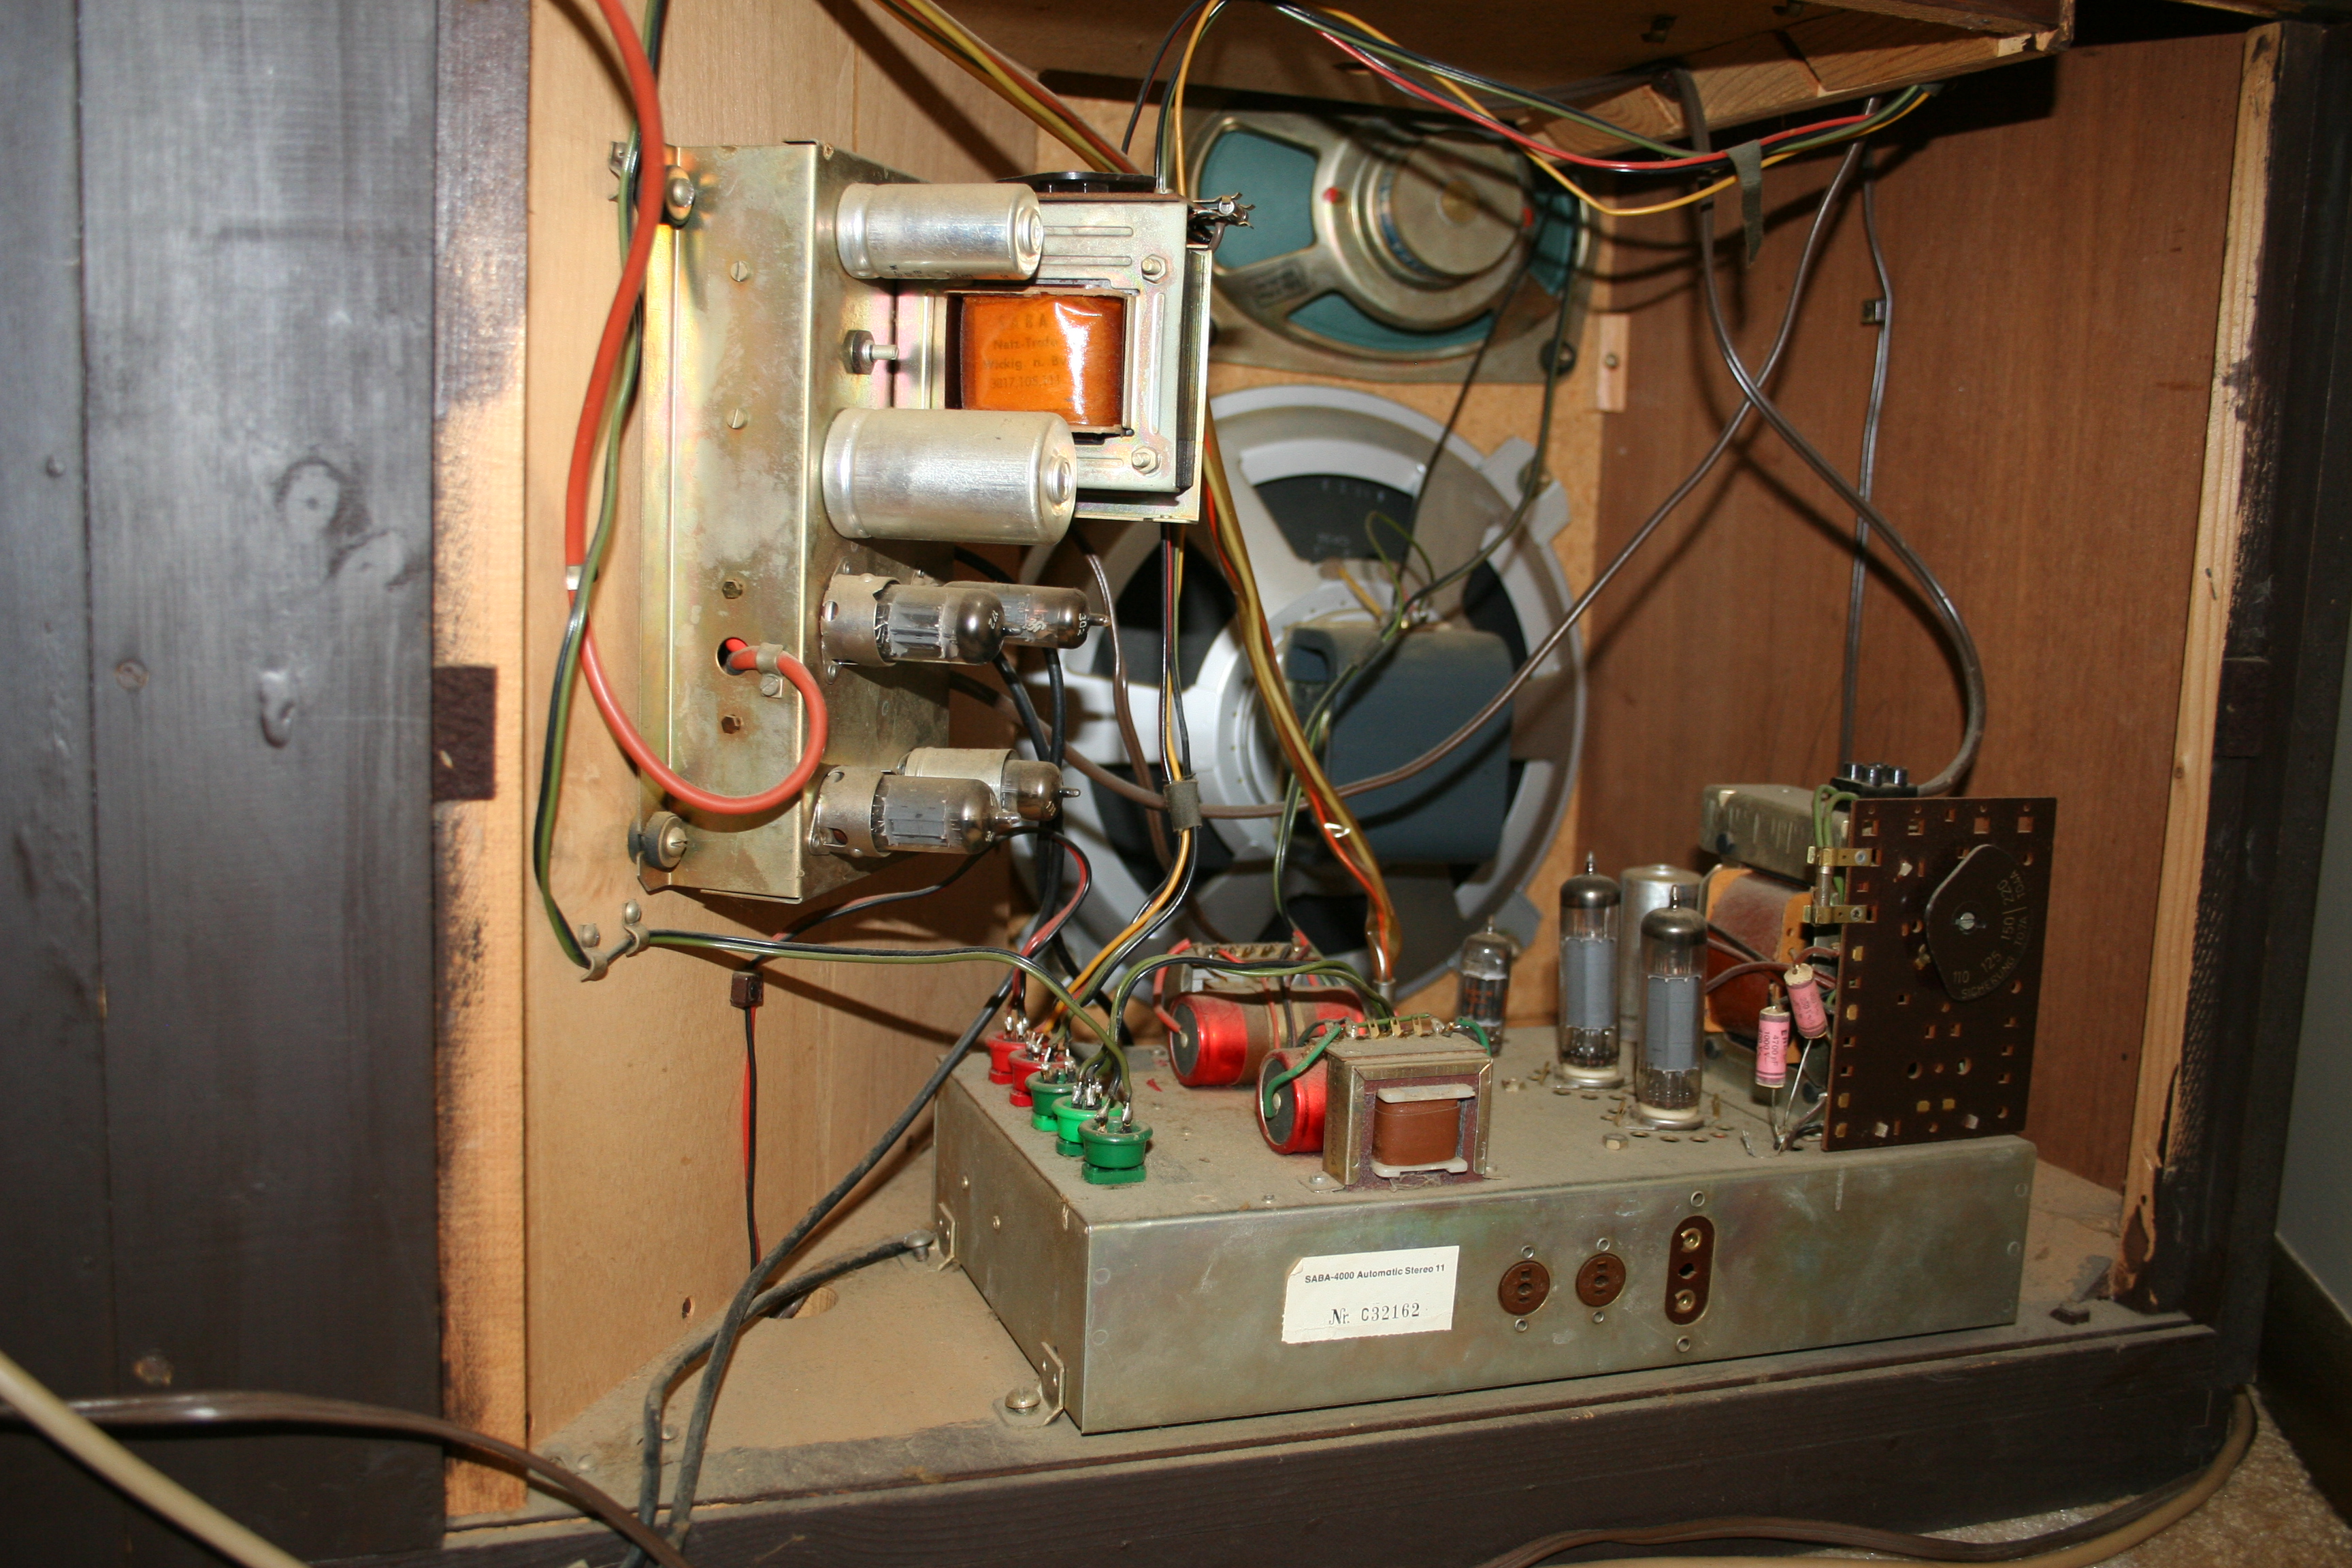
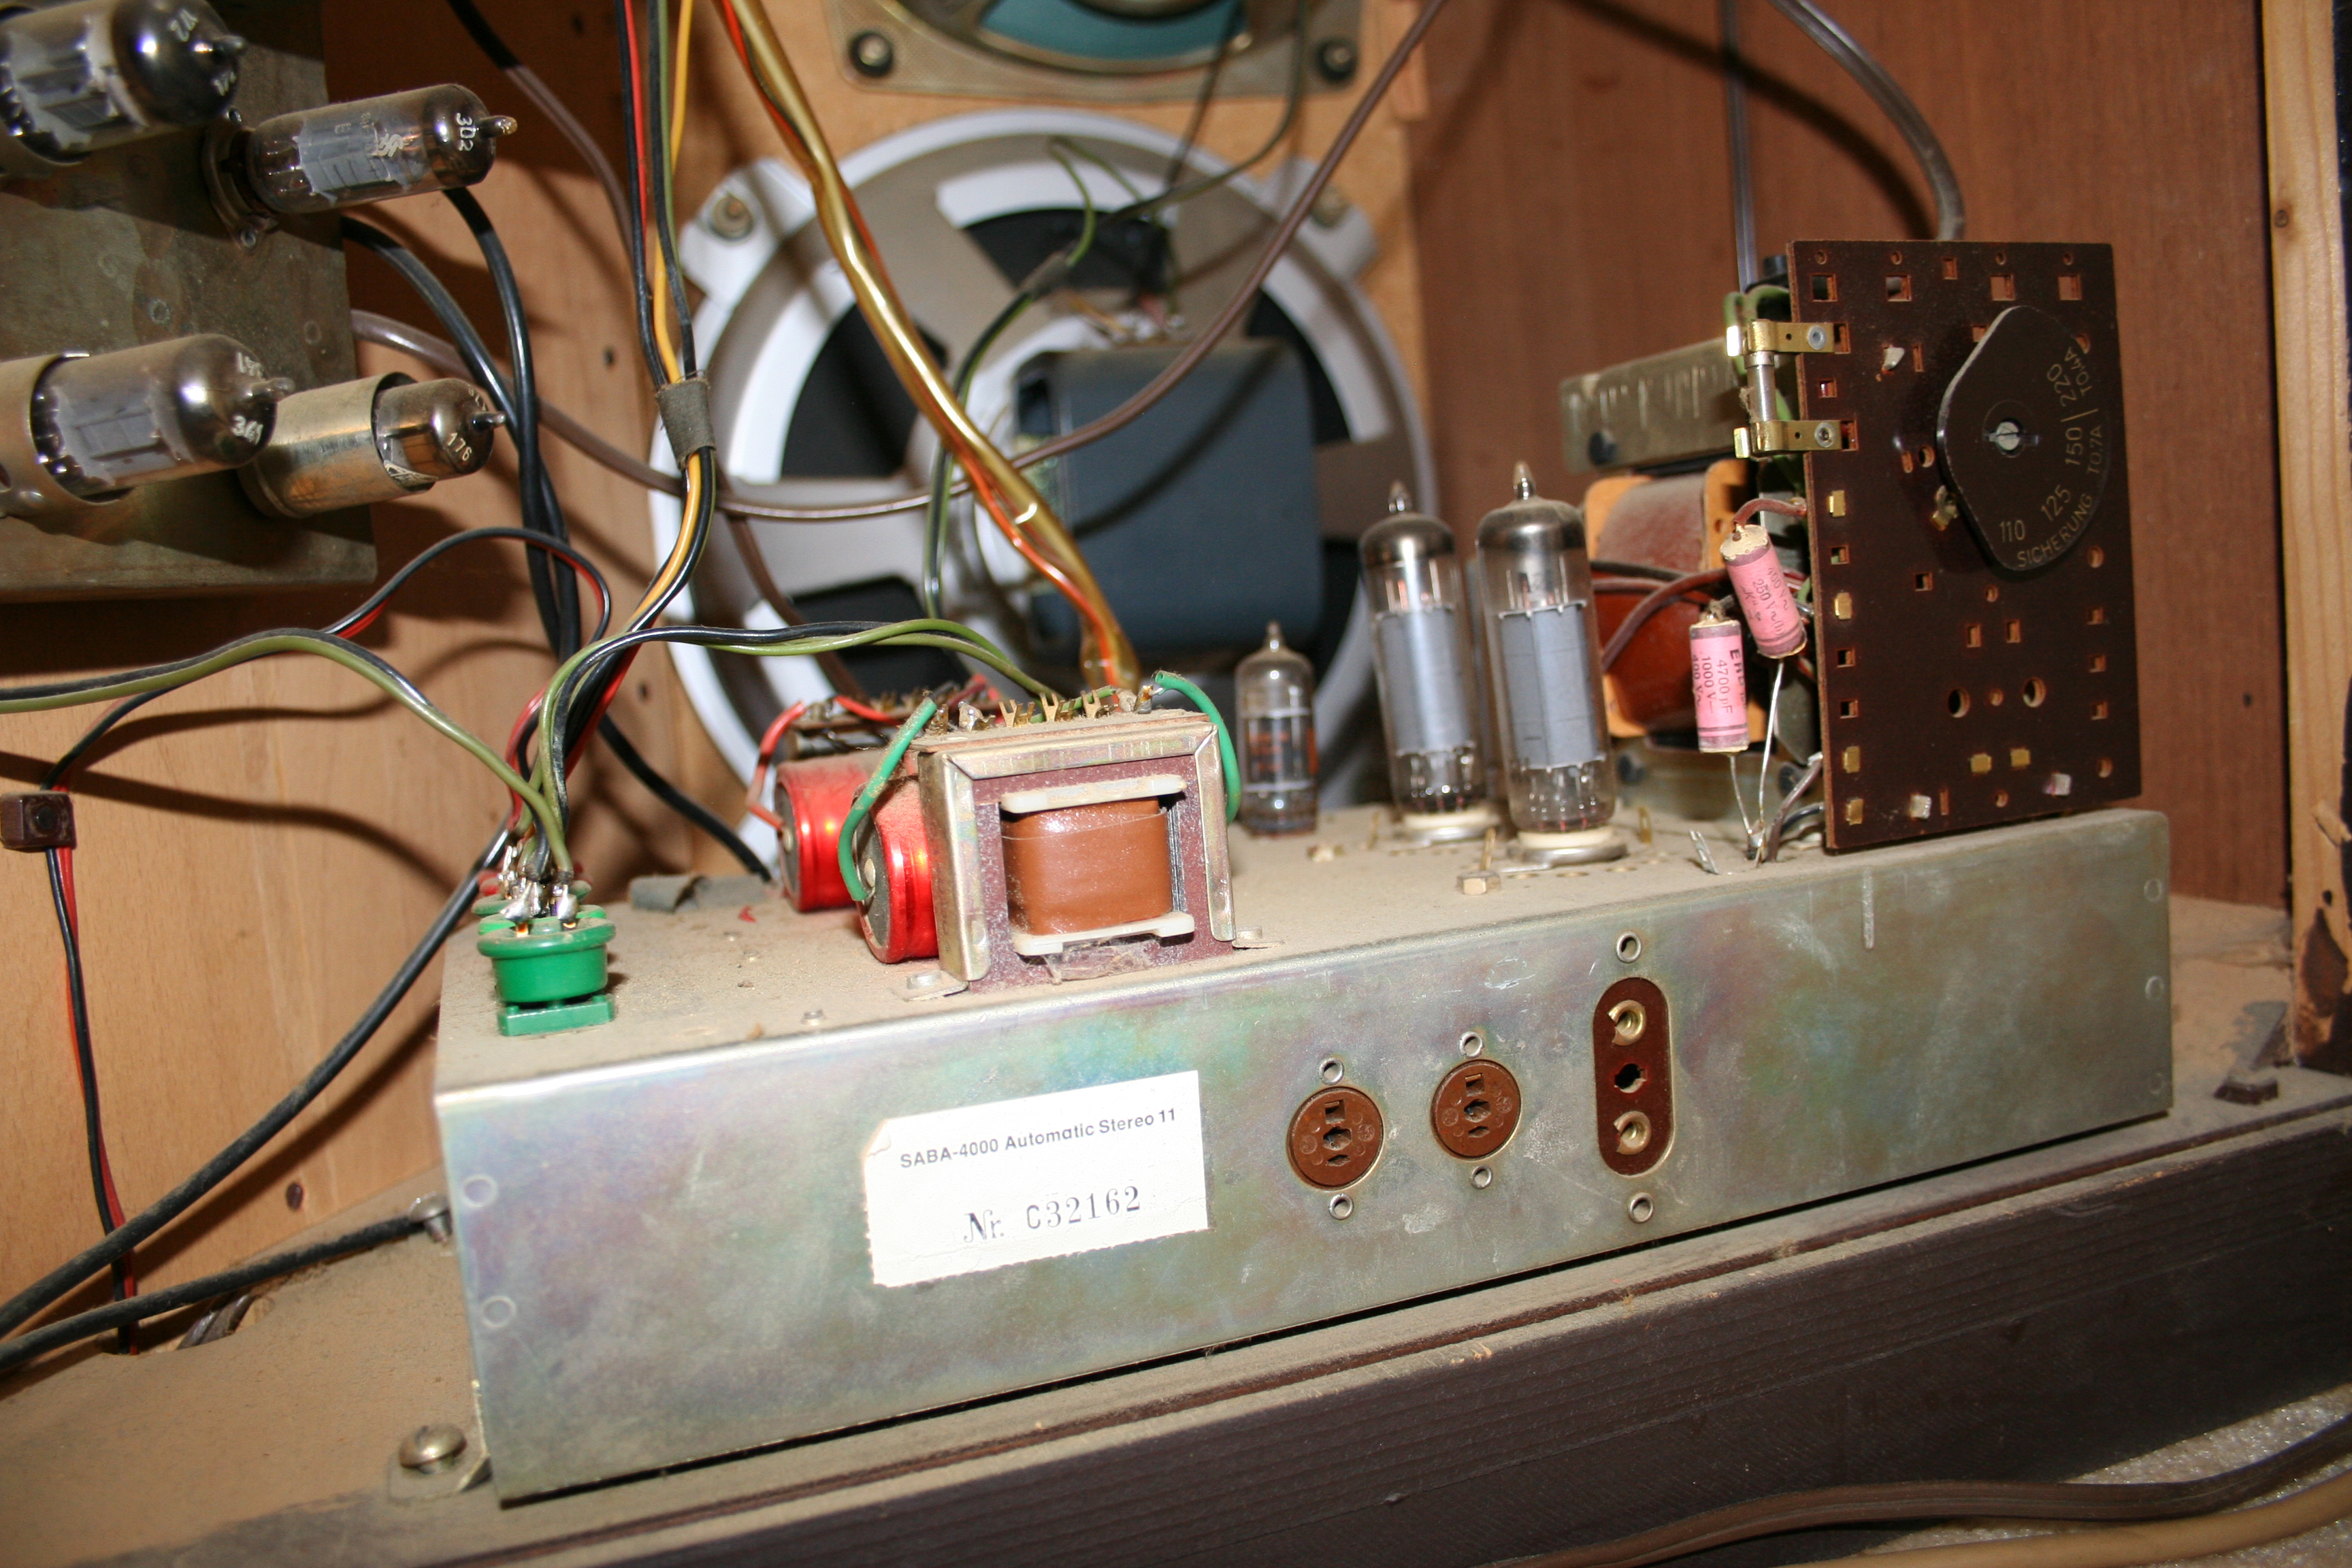
The other side is just a little busier. I think Ive shown enough of my
ignorance about radio parts already, so Ill just shut up and let those of you
who know this stuff enjoy the pictures.
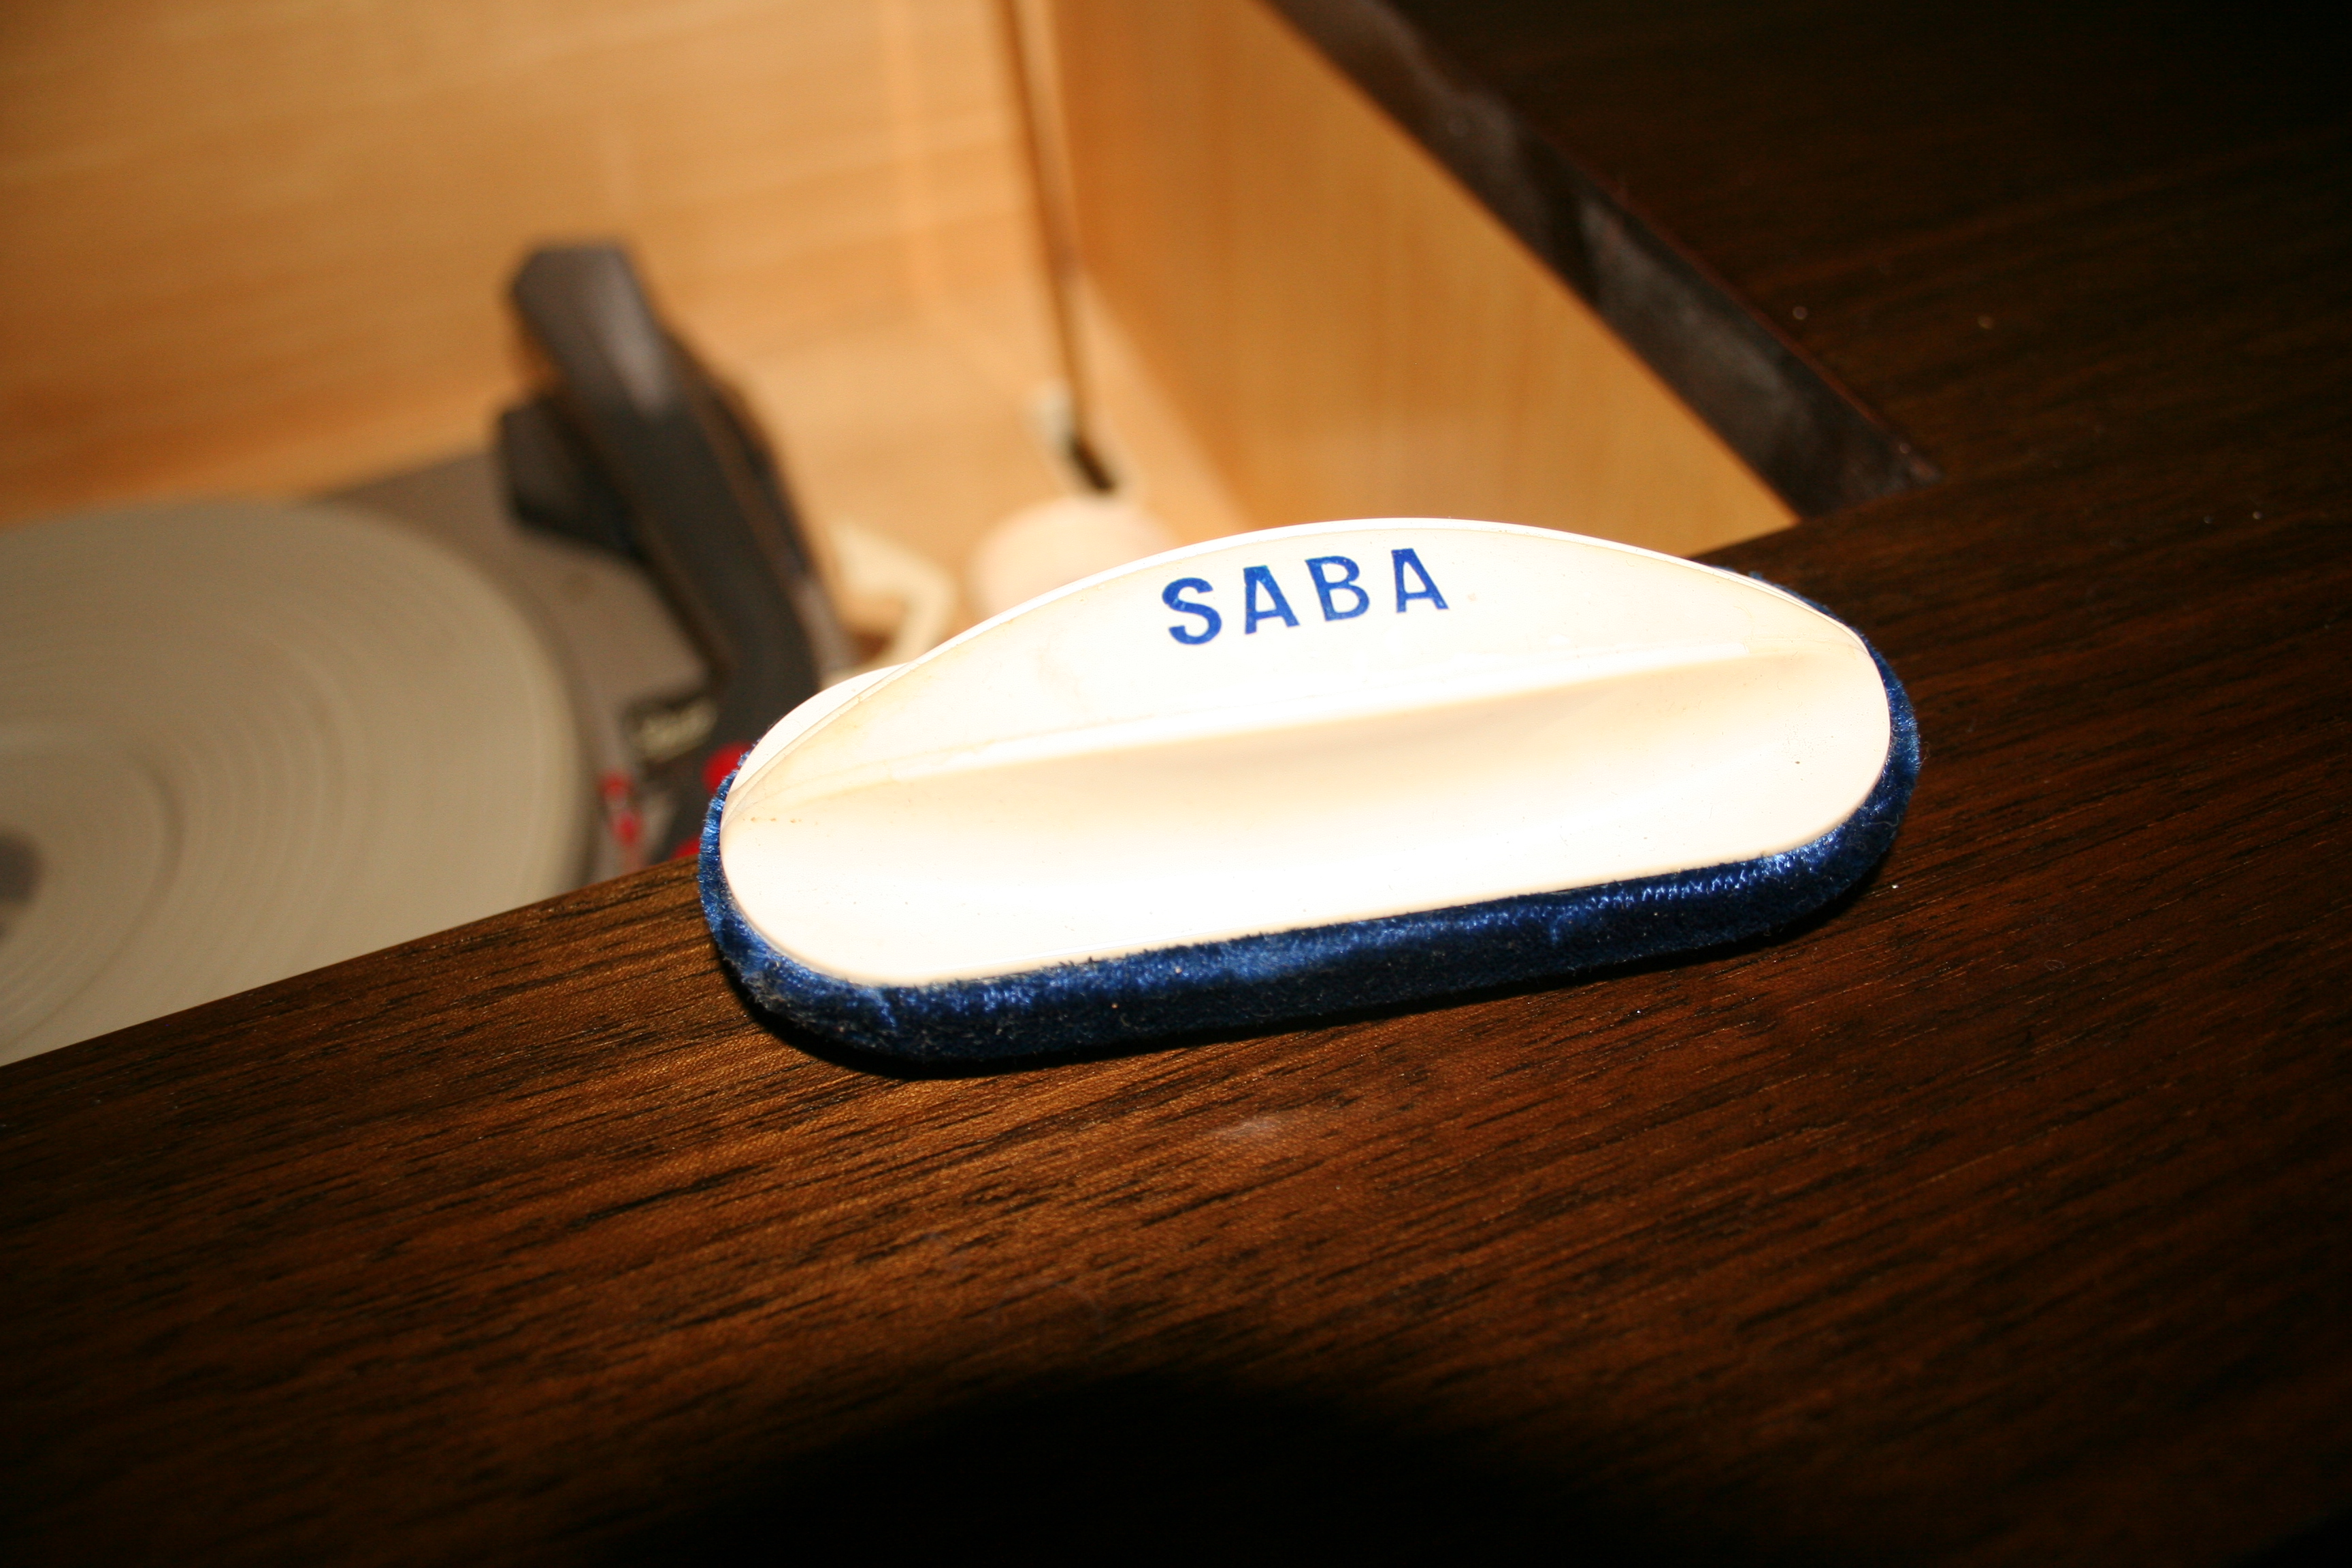
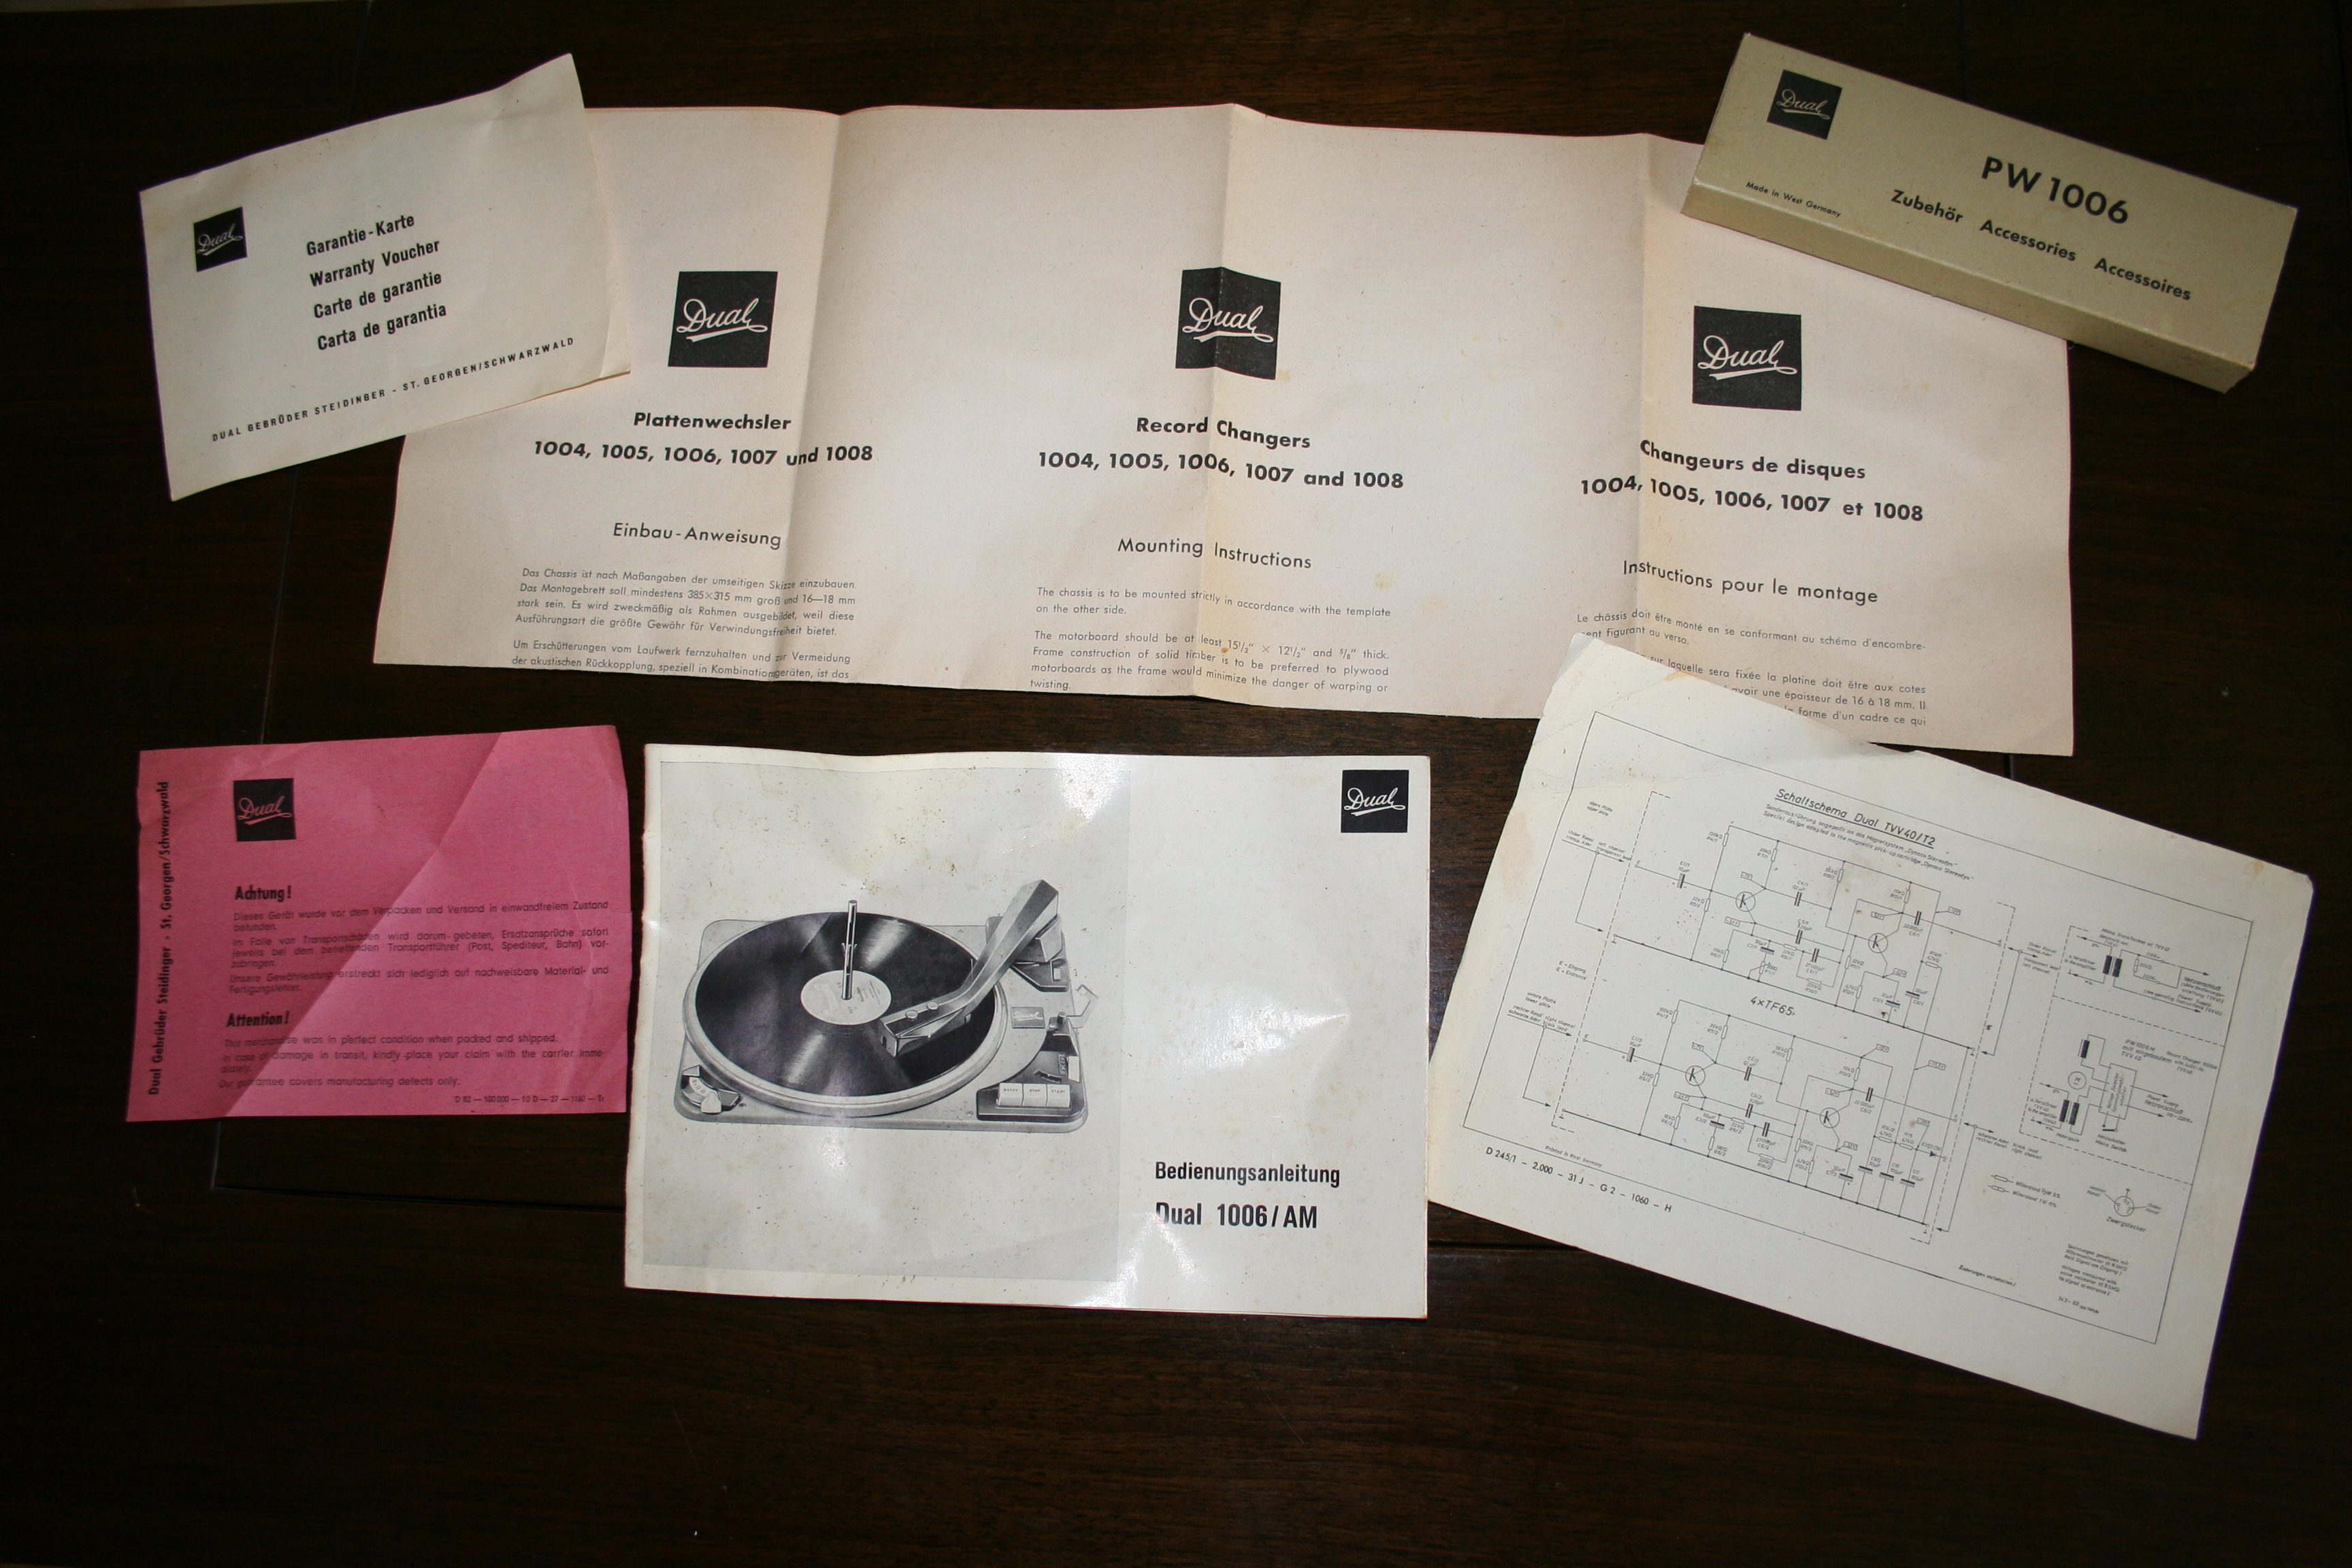
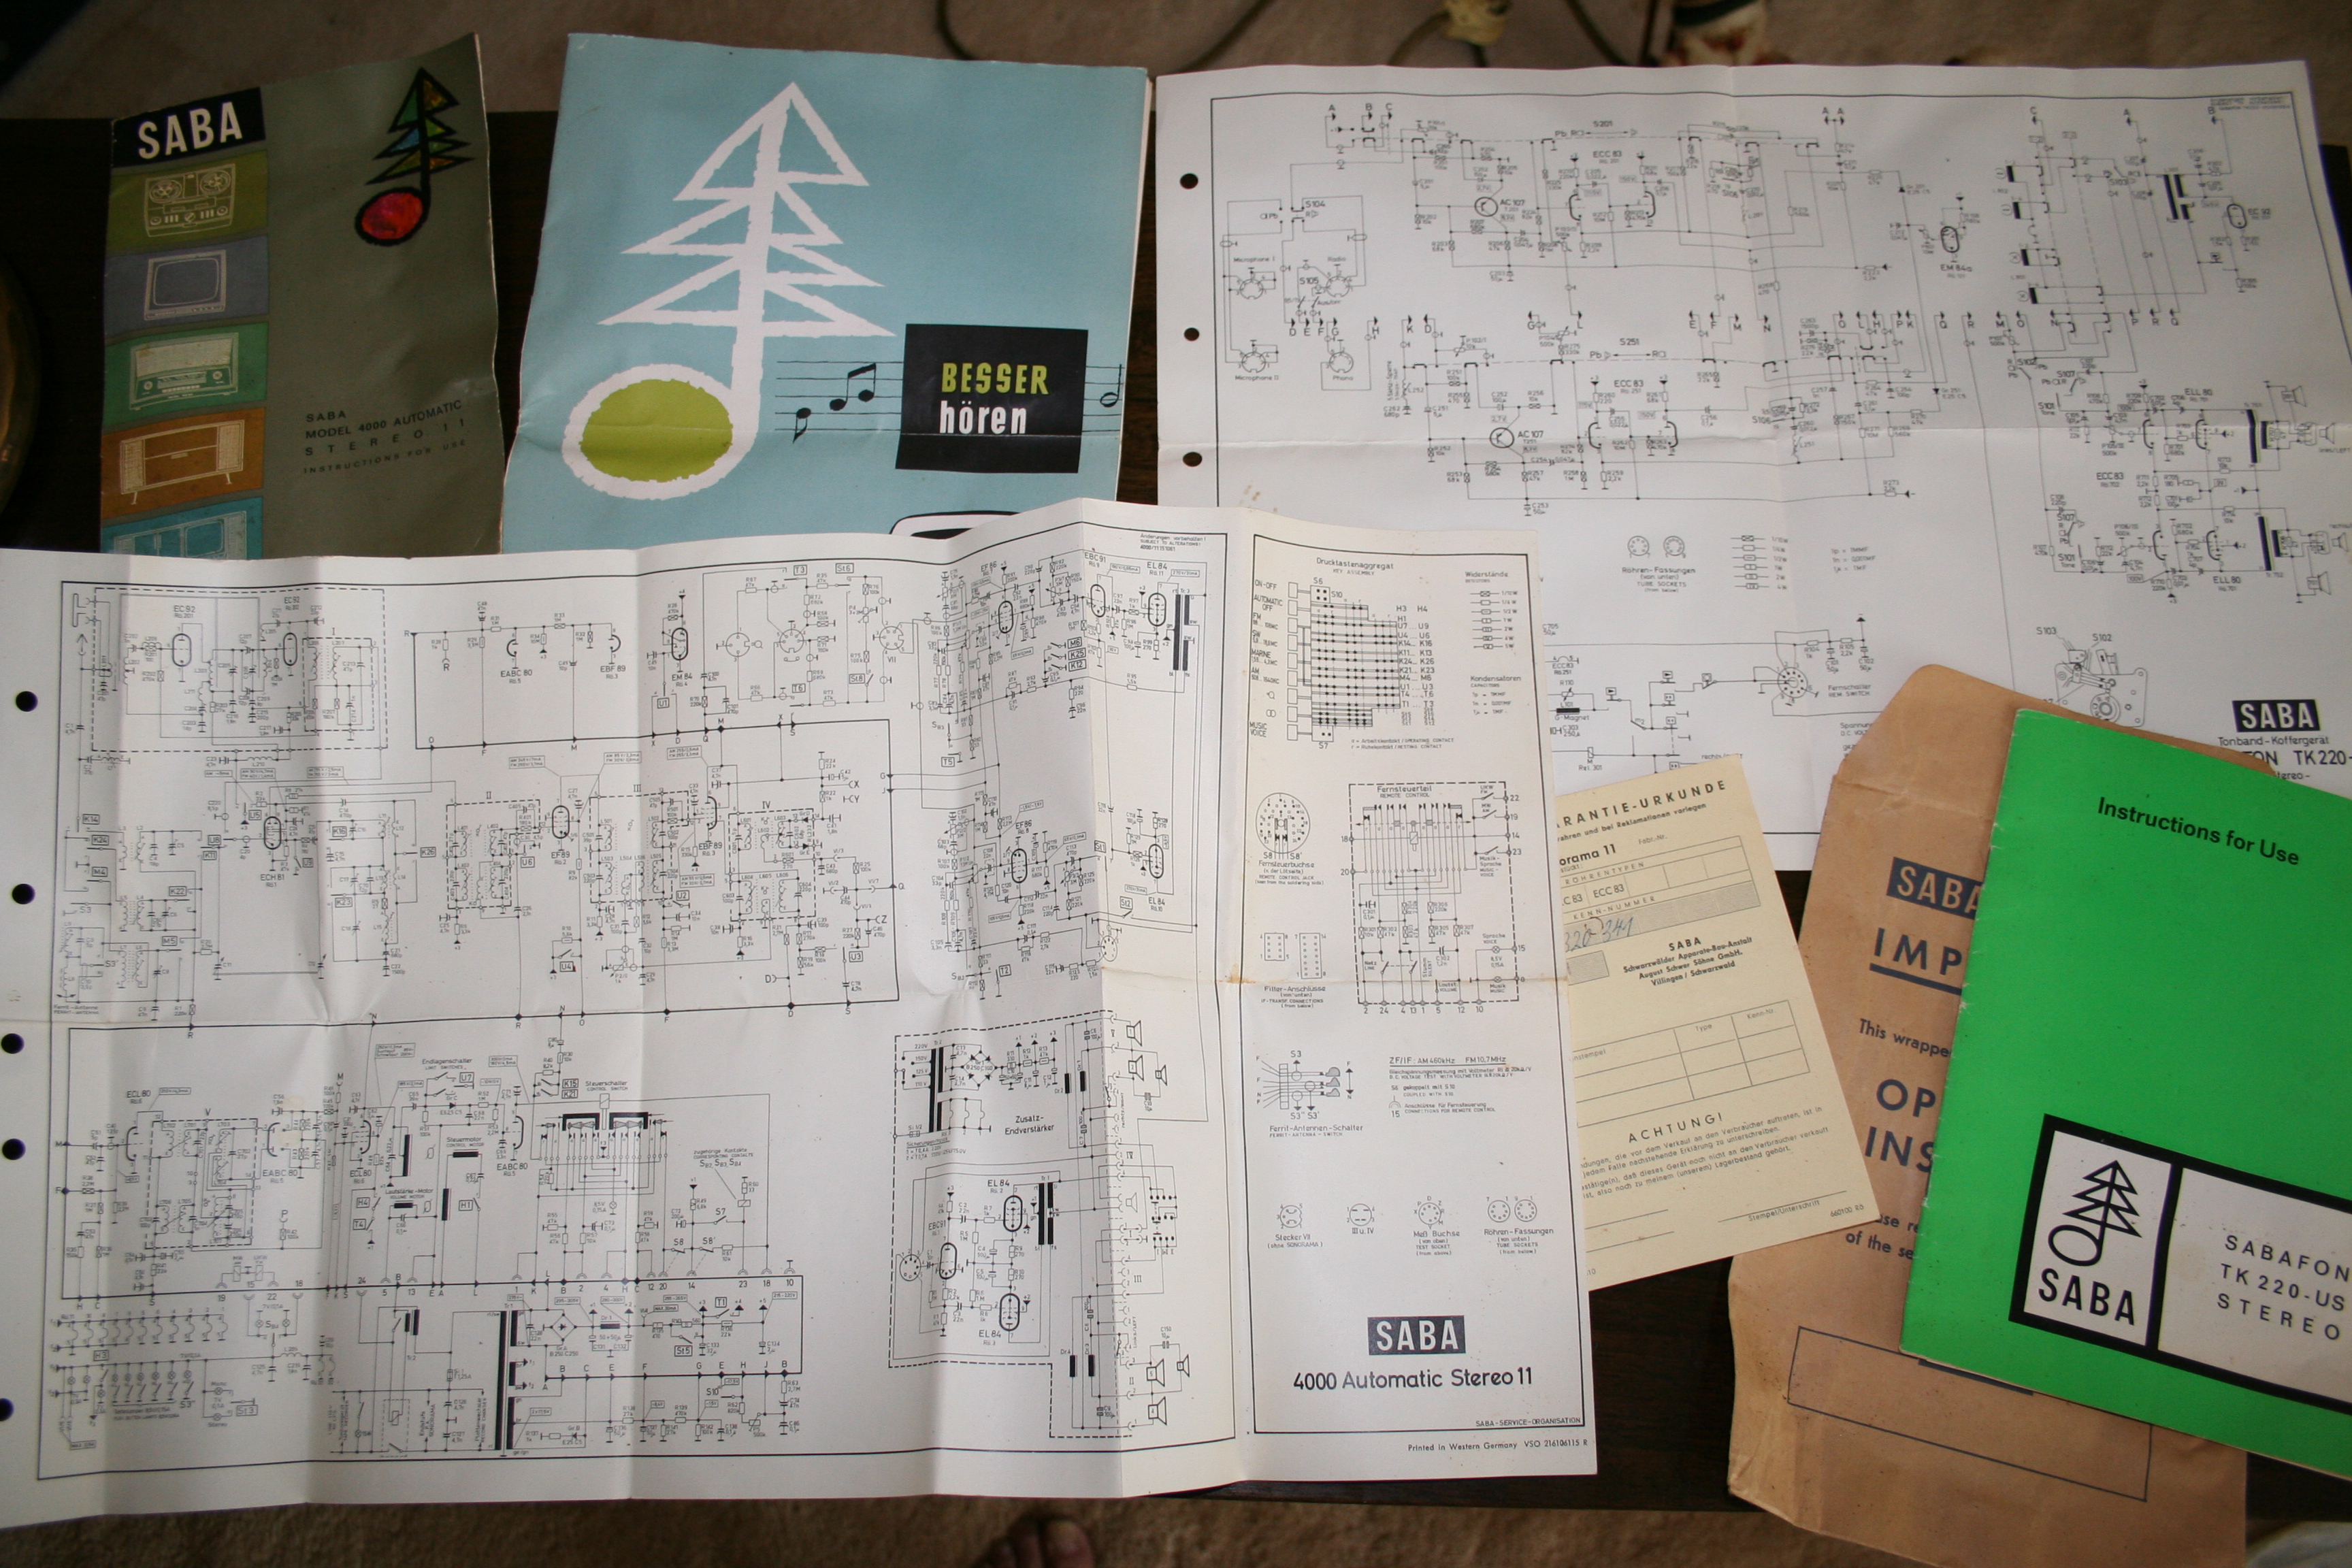
These are the documents and a spare part for the Dual
turntable that I still have.
And here is the
I
had fun putting this all together.
My brother in law knows absolutely everything about stereos and speakers
and had not heard of
Oh,
yes. The last I knew, my